
1973 Triumph Tiger 750 TR7RV
A true surprise, this came to me as a gift from Sheryl and her band in the Christmas of 2015. In addition to some hard earned cash I think maybe a guitar or two were exchanged to get this from an ad on Craigslist into my garage. The presentation was a classic We-need-to-see-you-in-the-garage surprise that I will never forget. It was and remains to be an incredible (and powerful) gift that keeps on giving. It’s challenging to work on but the rewards (when you get it right) are plentiful. Truth be told without the help of master engineer and Brit Bike savant, Mr Frank Kays, it would probably be gathering dust in my garage forever a mystery and a frustration to my basic skills. But Frank got it running reliably and consistently and inspired me to learn more about these temperamental twins. Over the years I’ve learned a lot and in fact I think I’ve and managed to improve the bike bit by bit.


The bike on the day that I got it. It ran but was a little unpredictable. What I needed was a Triumph guru and Robert knew just the man: Frank Kays, a soon to be retired engineer in Columbia, TN who came up in his truck and trailer to pick it up.
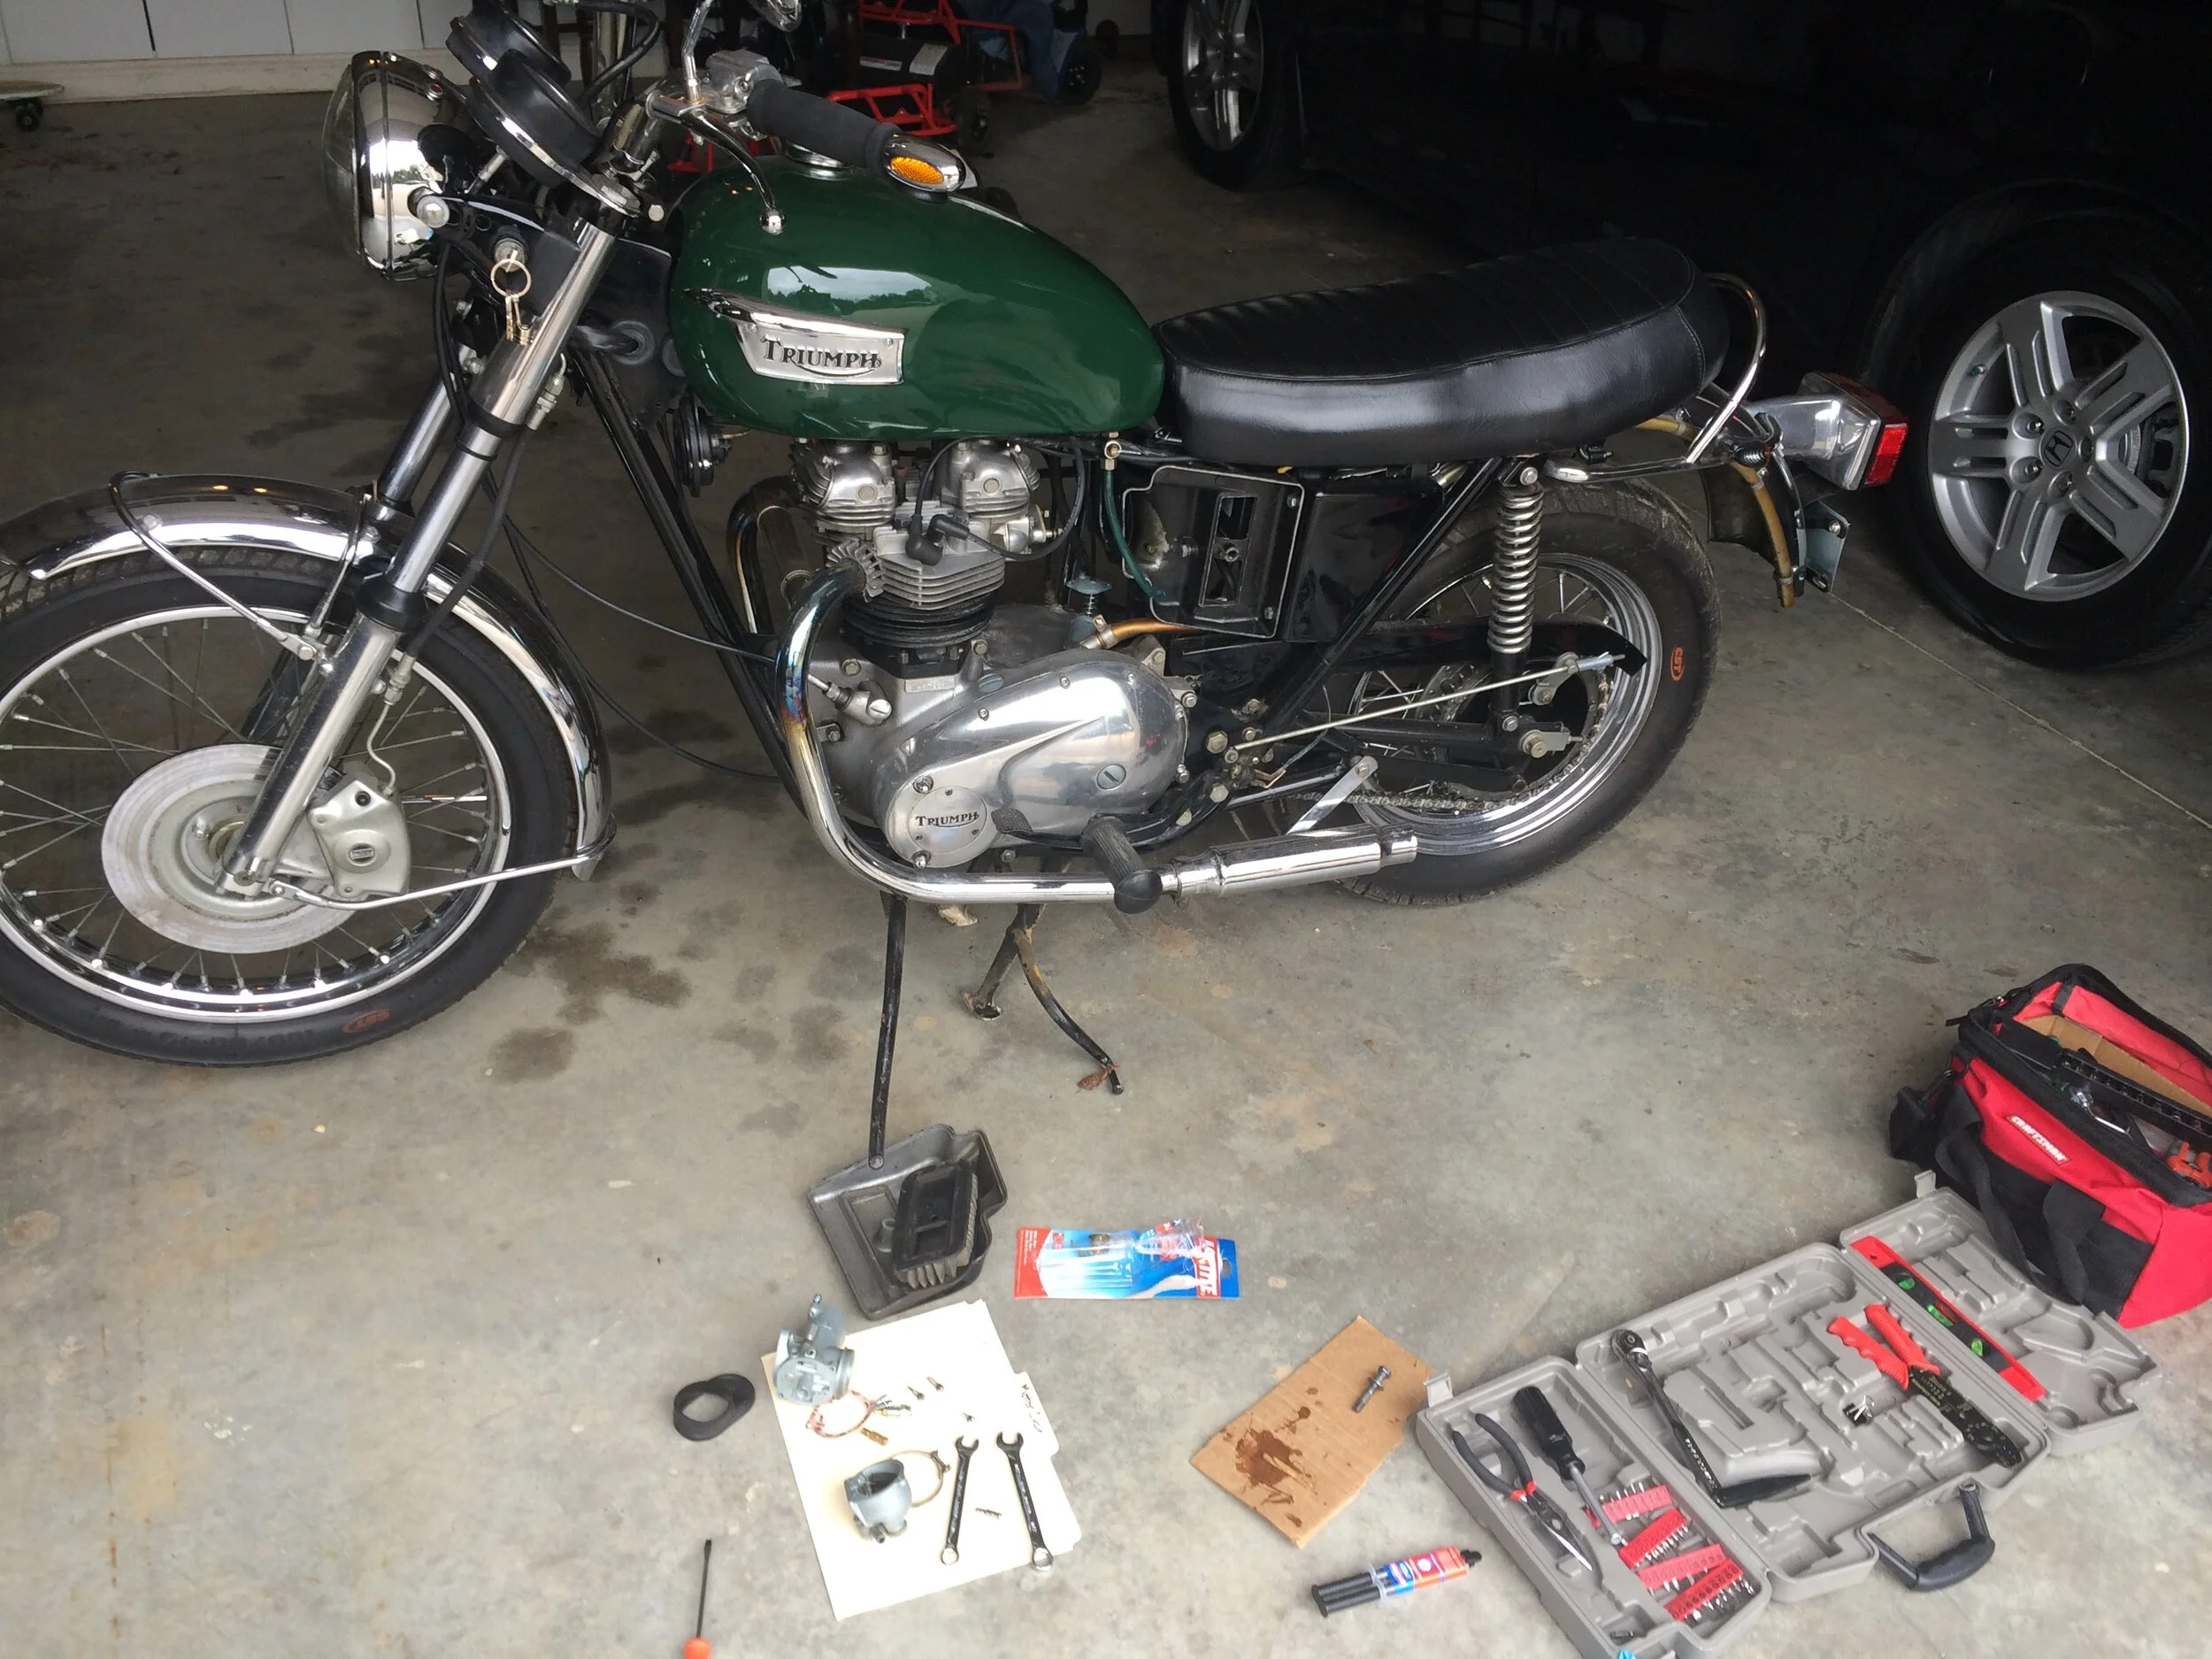
I made my own efforts to get it running properly but this was the beginning of my steep Triumph learning curve. Epoxy glue? Never a good sign.

One thing I managed to fix was the clicking of the brake pads while they touched the disc while running down the road. A Britbike forum fix suggested to rob a couple of ballpoint pen springs, slide them on the the brake pad pins and that will keep them away from the disc and quiet. It worked!

The clocks needles were very 'wavy' Sent them to Nisonger Instruments for a refurb.

and they came back great!

Then the bike had a month vacation @ Frank's where he fixed a lot of things. Head was not in a good state, carboned up badly, stripped studs...and....not flat. He lapped the valves. Push rod seals were a complete mess. Also attended to the electrics and installed the authentic turn signals I had tracked down on Ebay. In the end, was running good.
By March 2019 it developed an electronic issue and was burning a bit of oil, so it went to Franks again. He determined that it needed new stator and a rebore. He did a great job, power increased so much that the clutch started to slip so much it clearly needed replacing....and that's where I decided I might be able to do it...
Working on the clutch. Part 1….March 2019

Replacing the clutch plates is a relatively easy task. Note how much adjustment the primary chain is requiring

Plates and plates

Someone made a desperate attempt to get more friction out of the steels

The best aid to doing this was Lowbrow Customs 16 part video covering every detail of Todd disassembling and reassembling a 1968 Triumph 650. Although mine is a 1973 750.....motors are virtually the same. https://www.youtube.com/watch?v=tWCdHG0pz3o&t=4s.

sometimes the printed manual is all you need...

I'm not saying that the procedure was a complete failure but let's just say this was the first attempt and I didn't realize that all these black particles were the rubbers inside this hub disentigrating which would cause me to revisit the clutch, not once but twice! Like I say: it's a relentless quest to get it right. and we do.

Oil scavenger bowl filled with excess silicone gasket.
the loose primary chain carved a wee hole in the scavenger pipe.
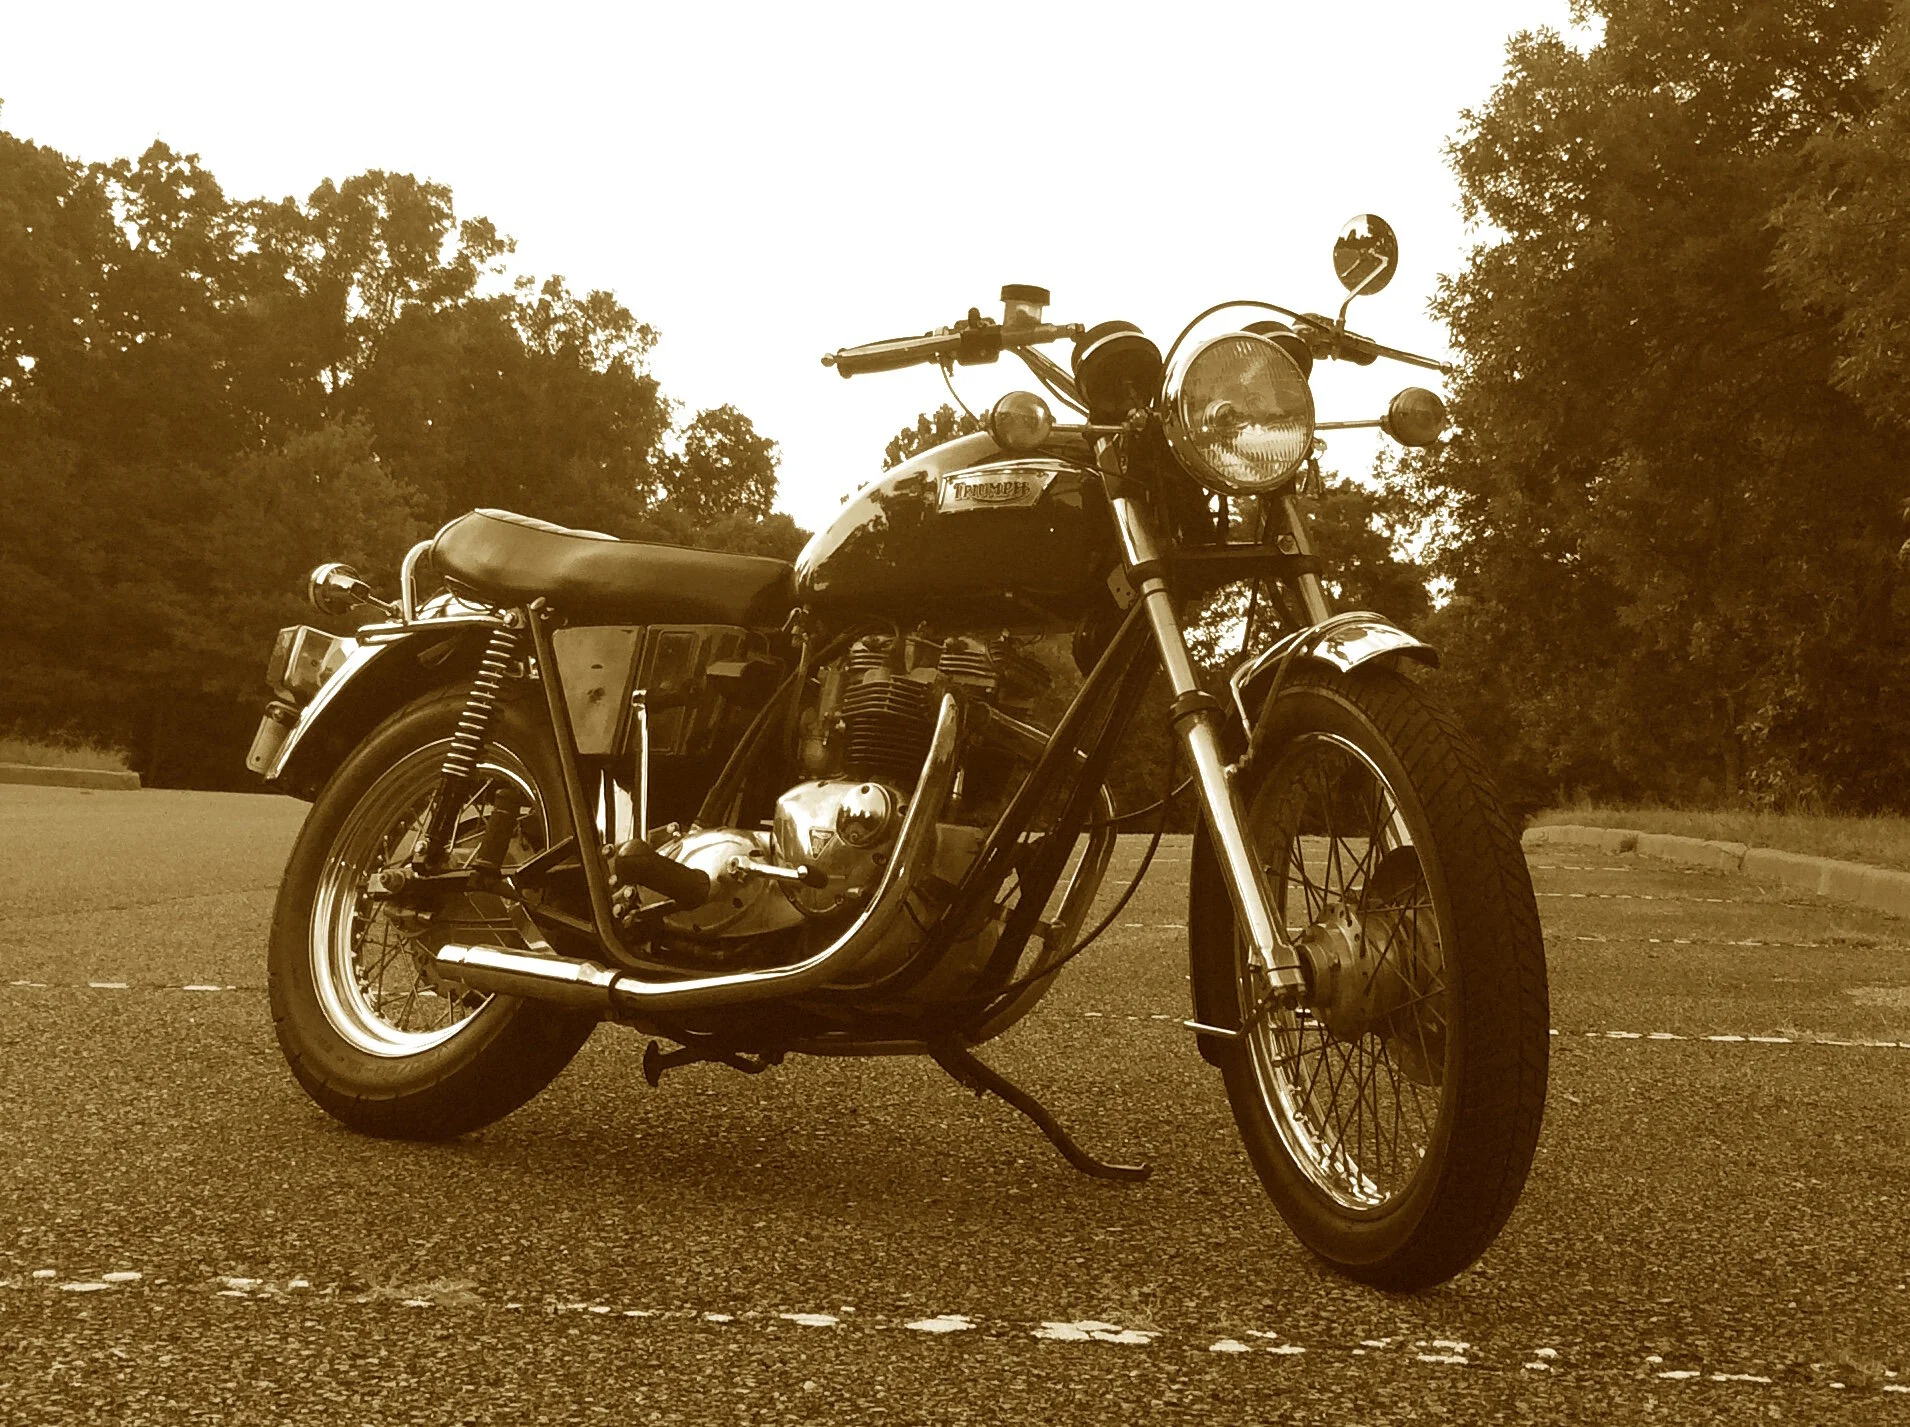
Got it back on the road fairly quickly....but it wasn't to be for long.

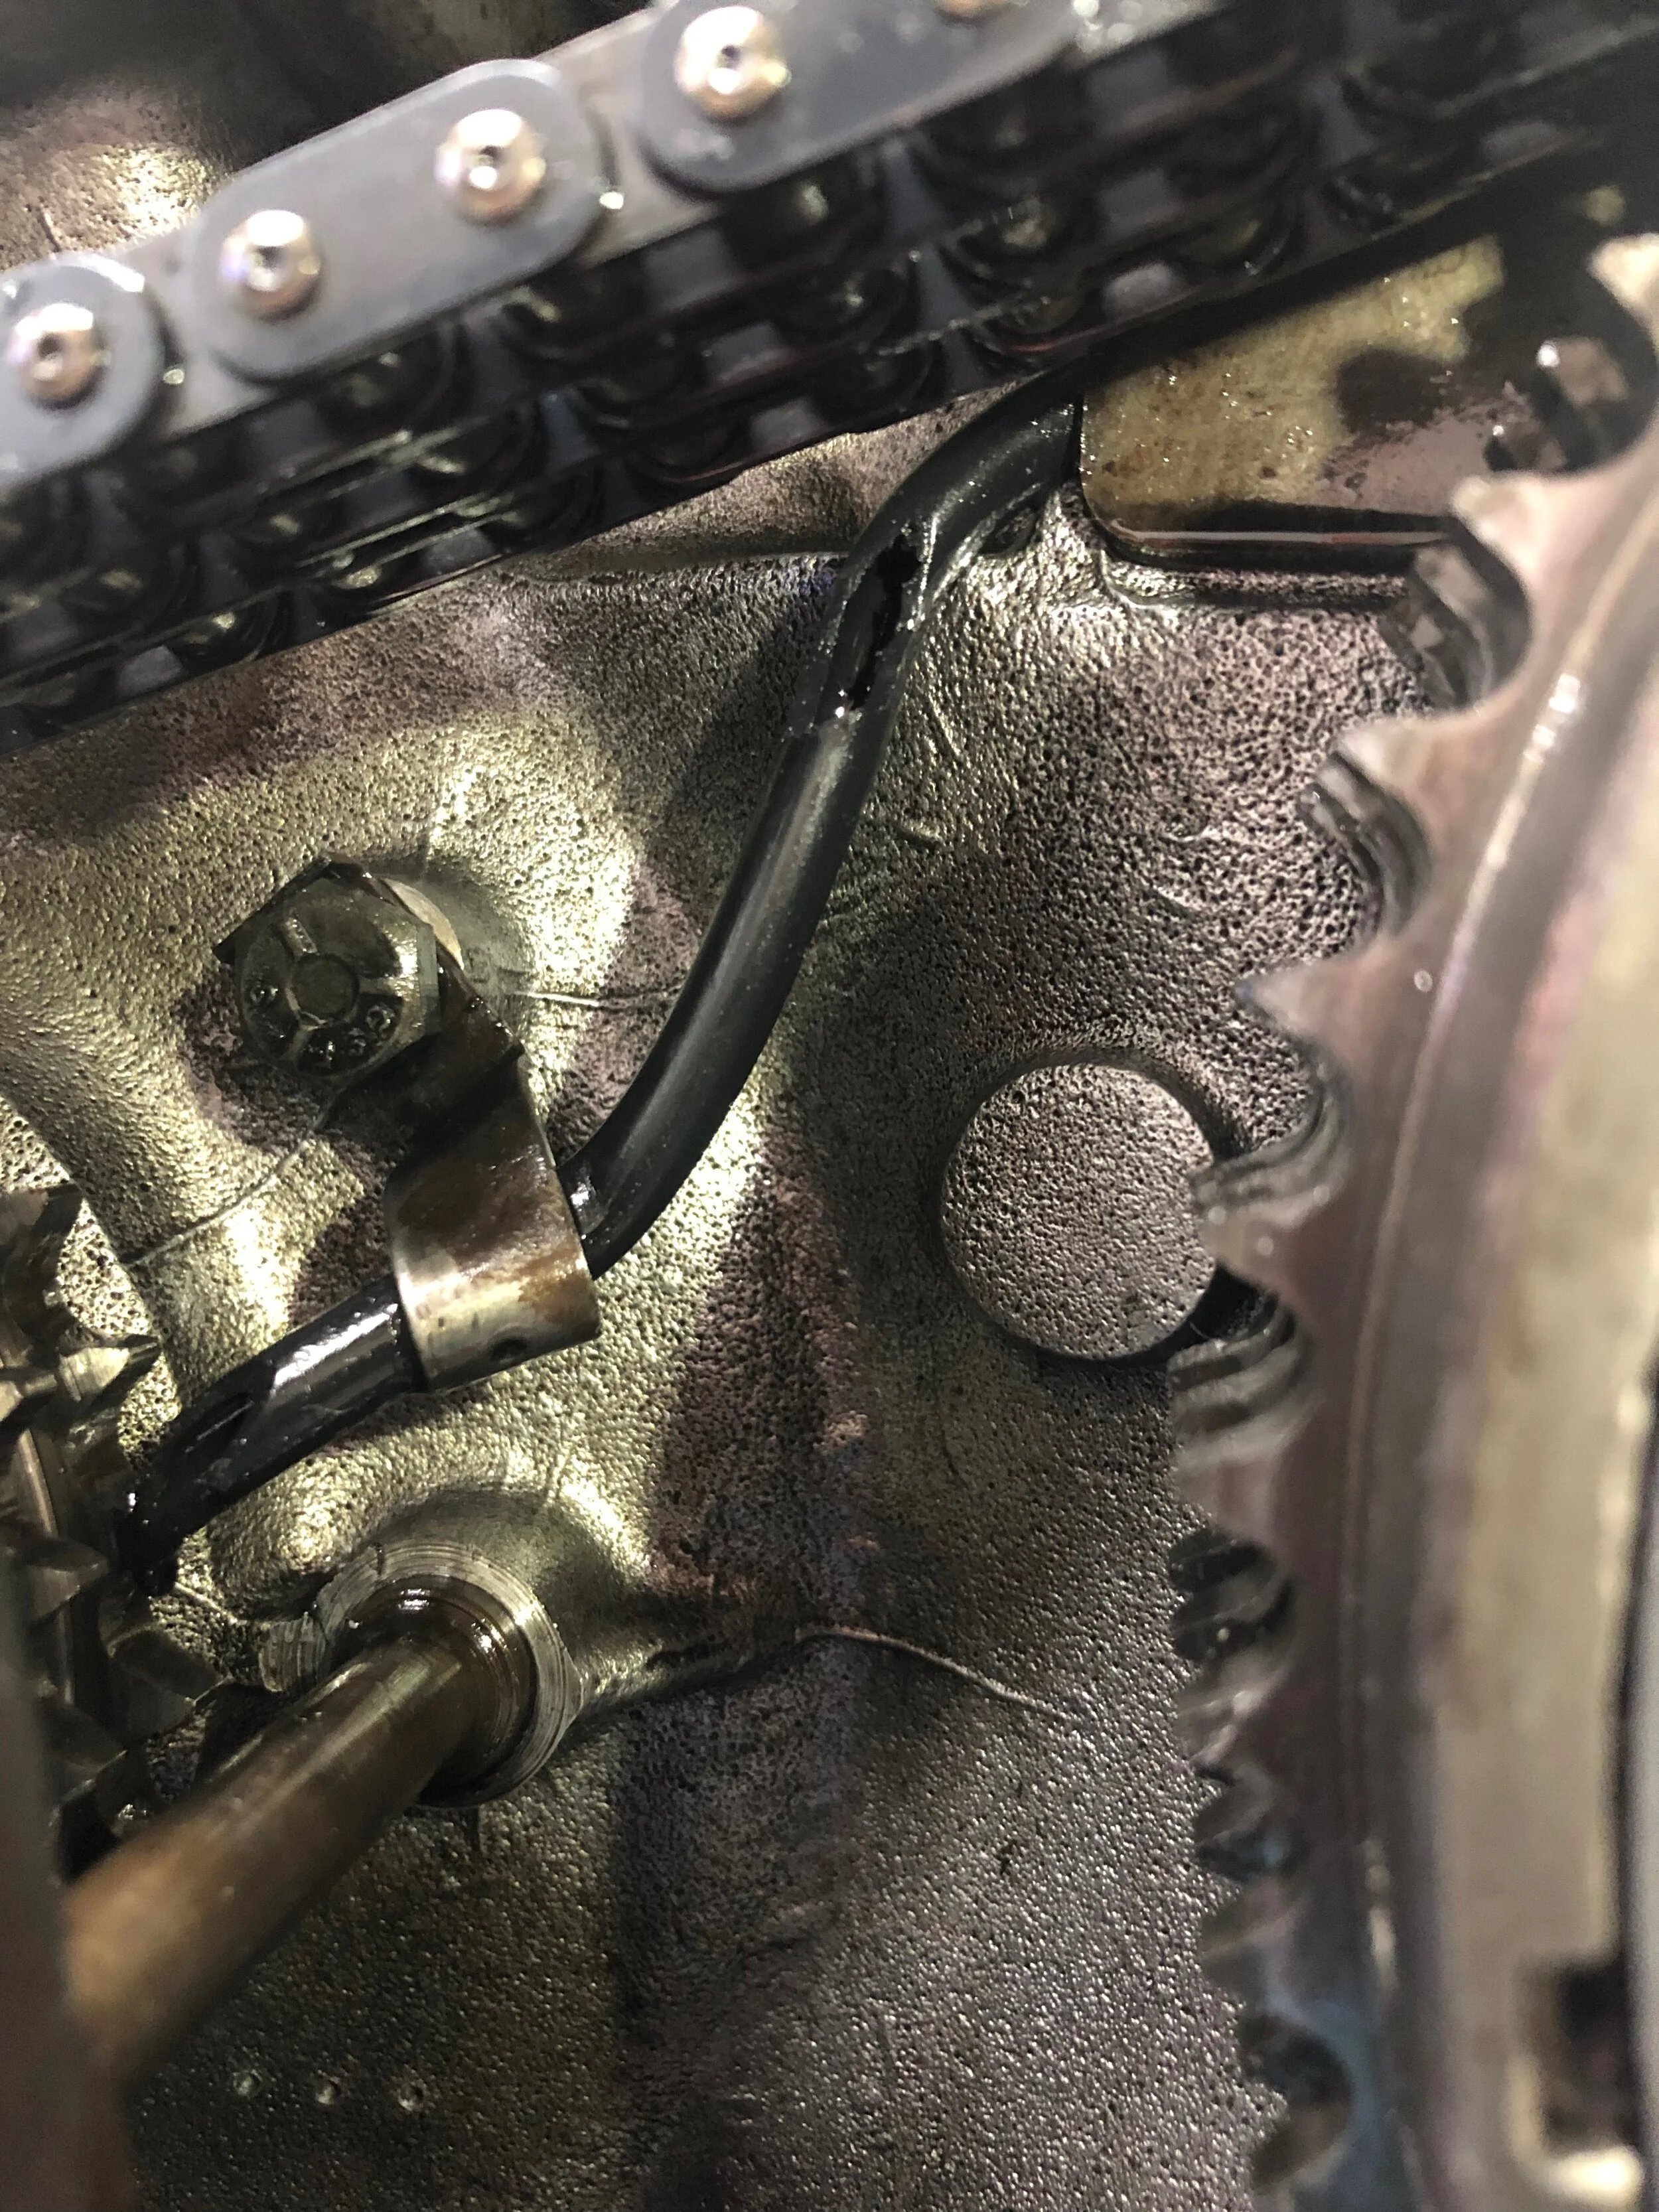
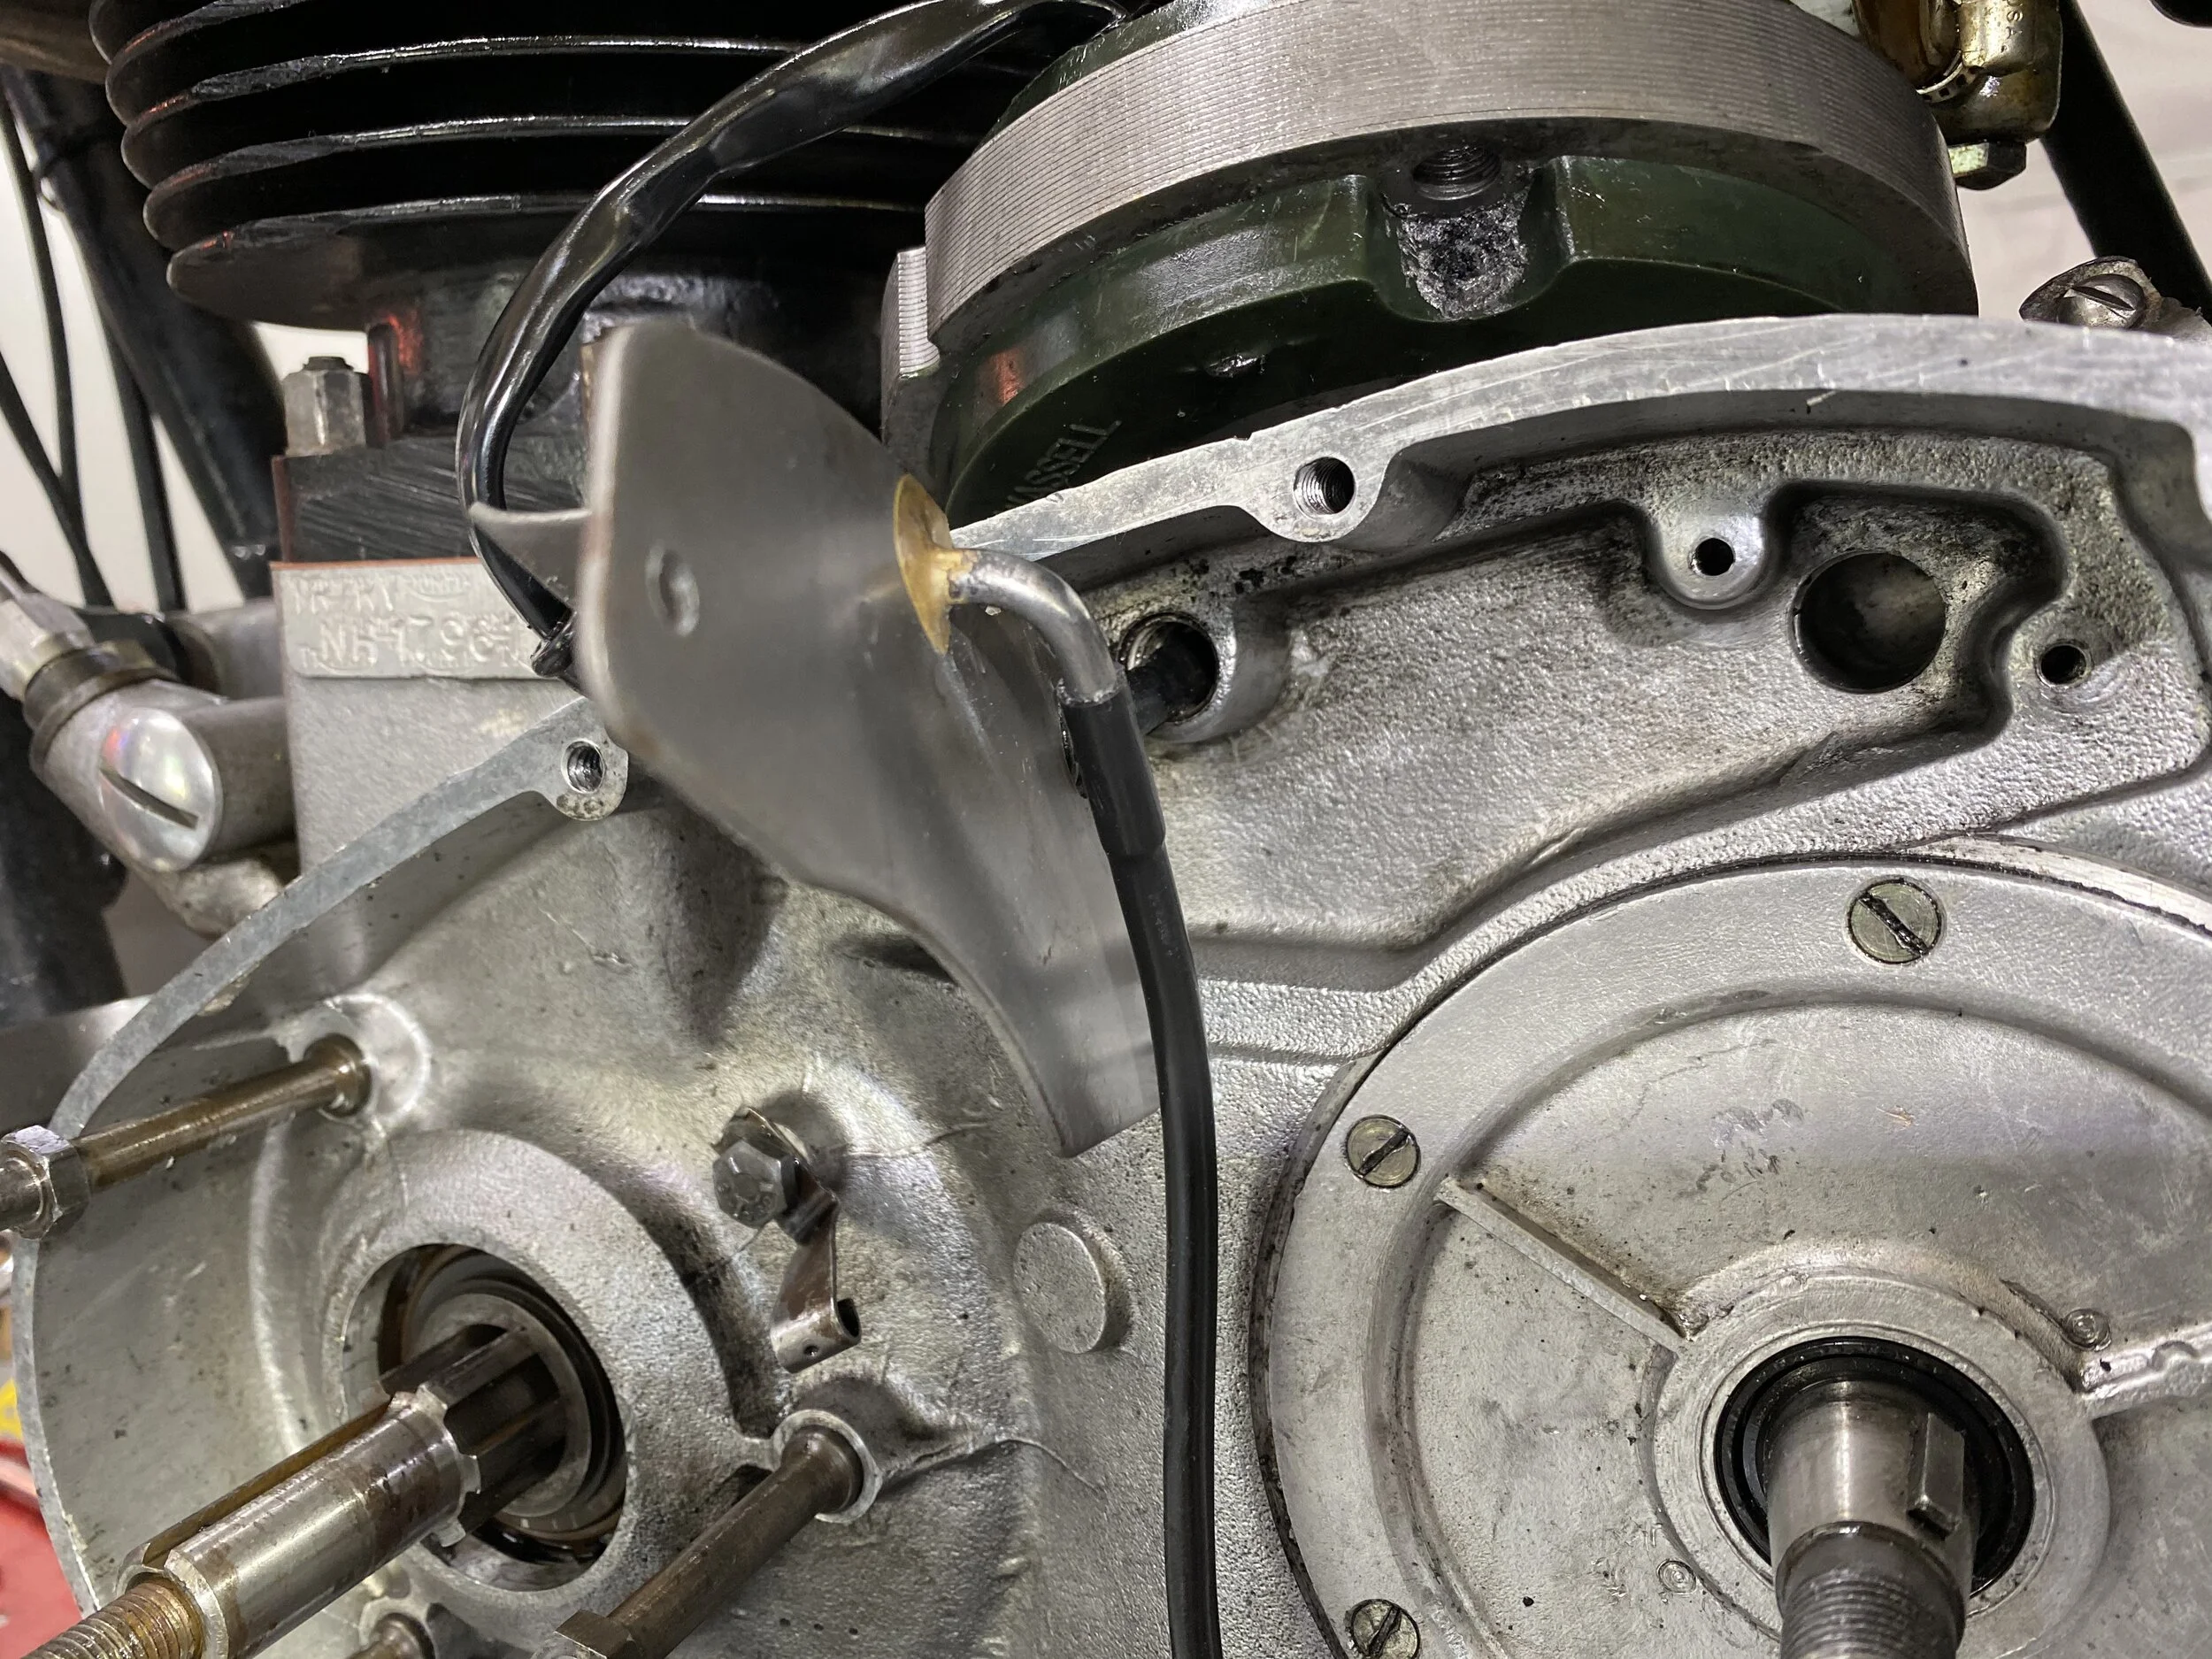
Oil scavenger system.
The bowl or tray at the top of the picture collects oil sprayed from the primary chain and then channels it down to the primary gear giving it some extra lubrication…..the hole worn by the chain isn’t a huge concern but I will replace that pipe.
Working on the Clutch. Part 2.
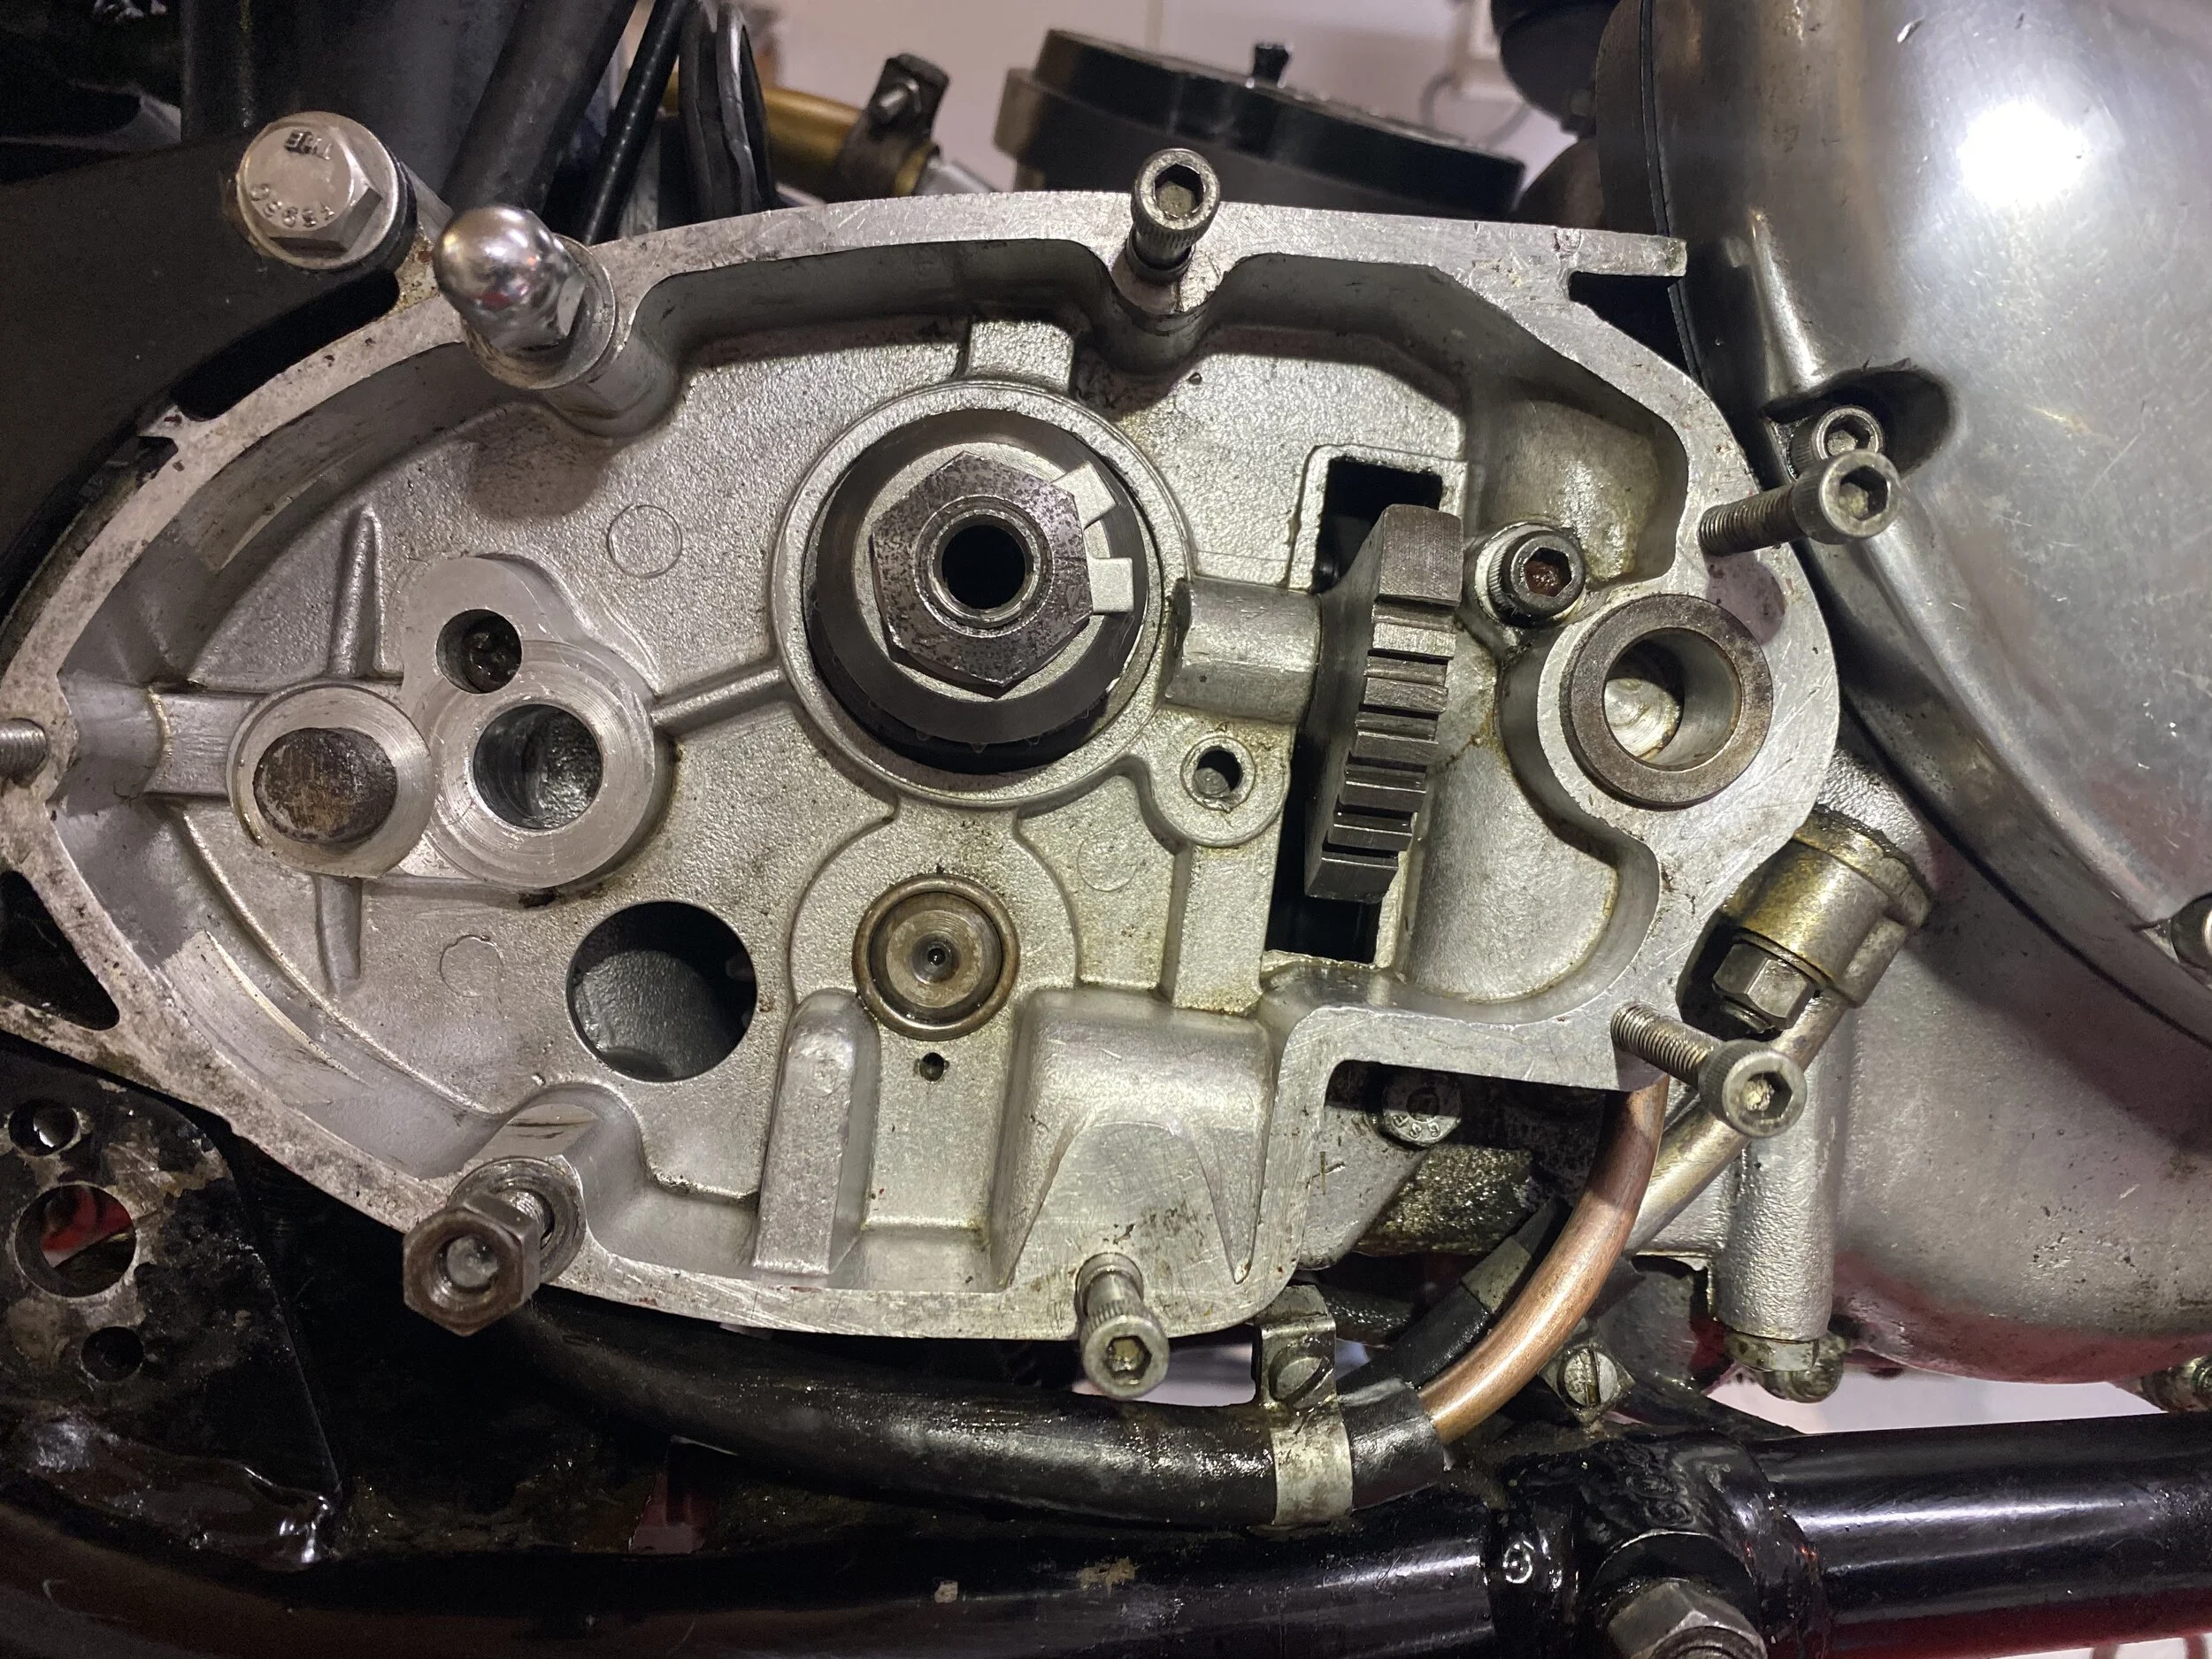
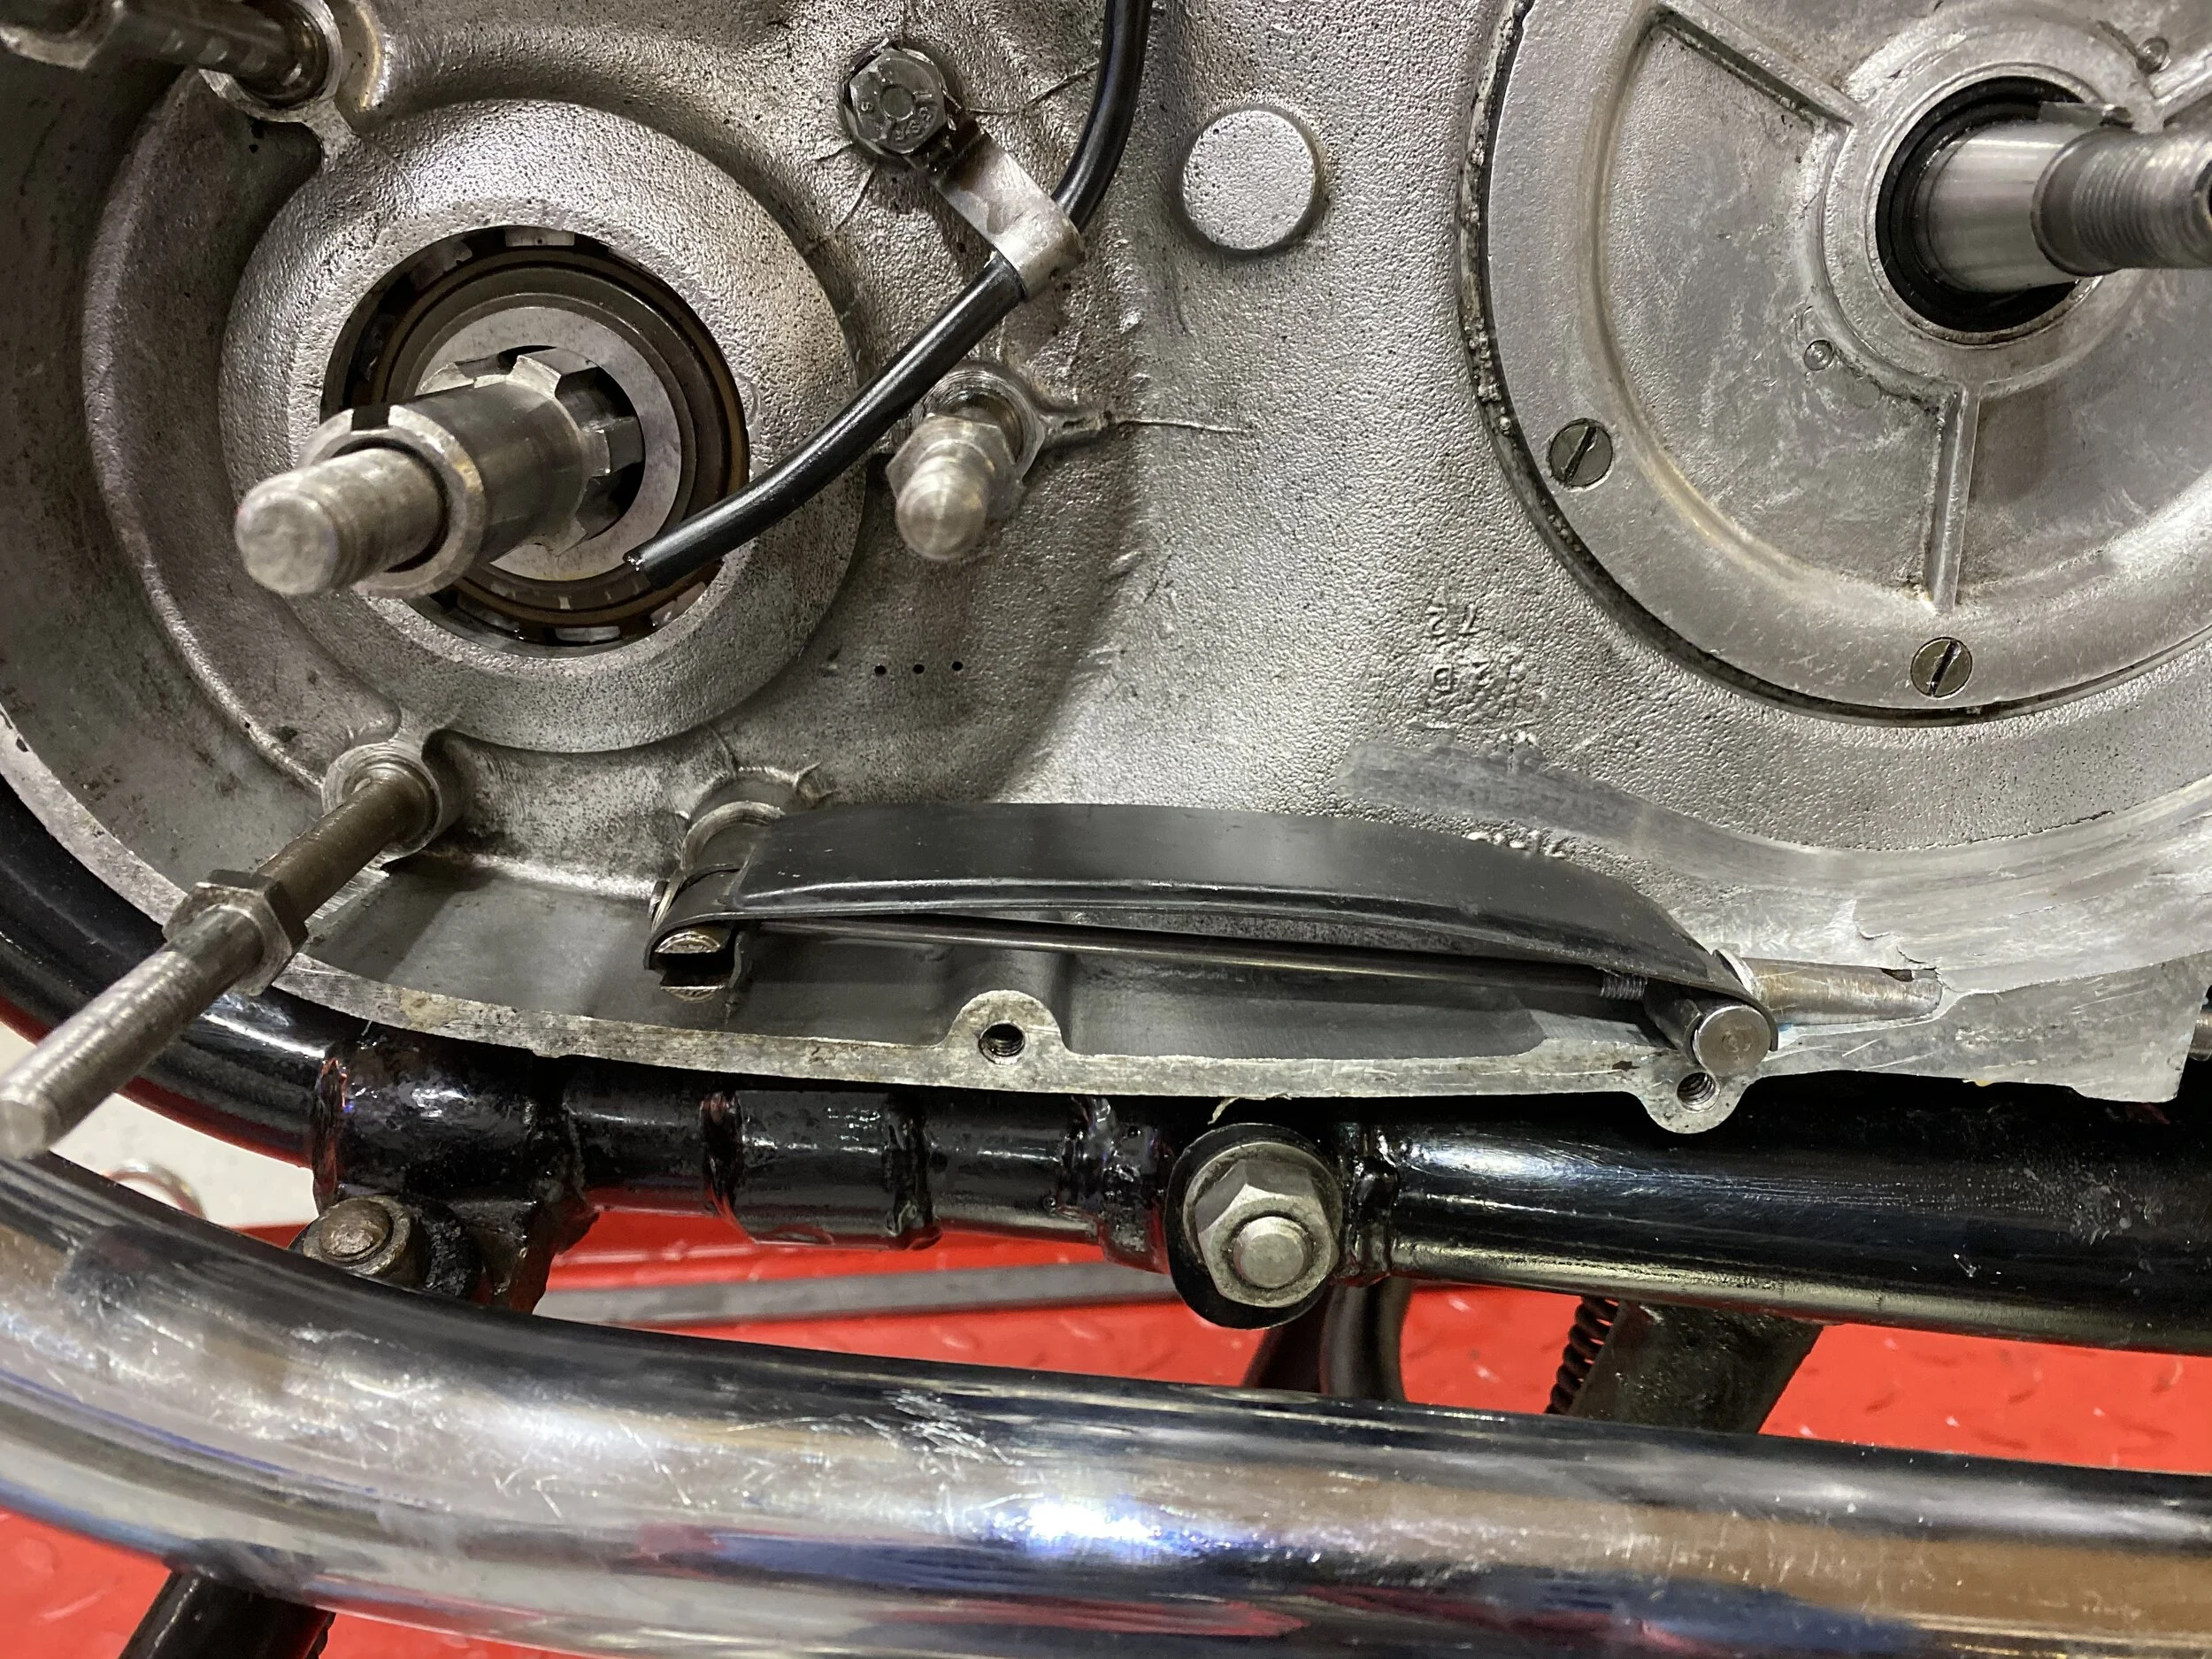
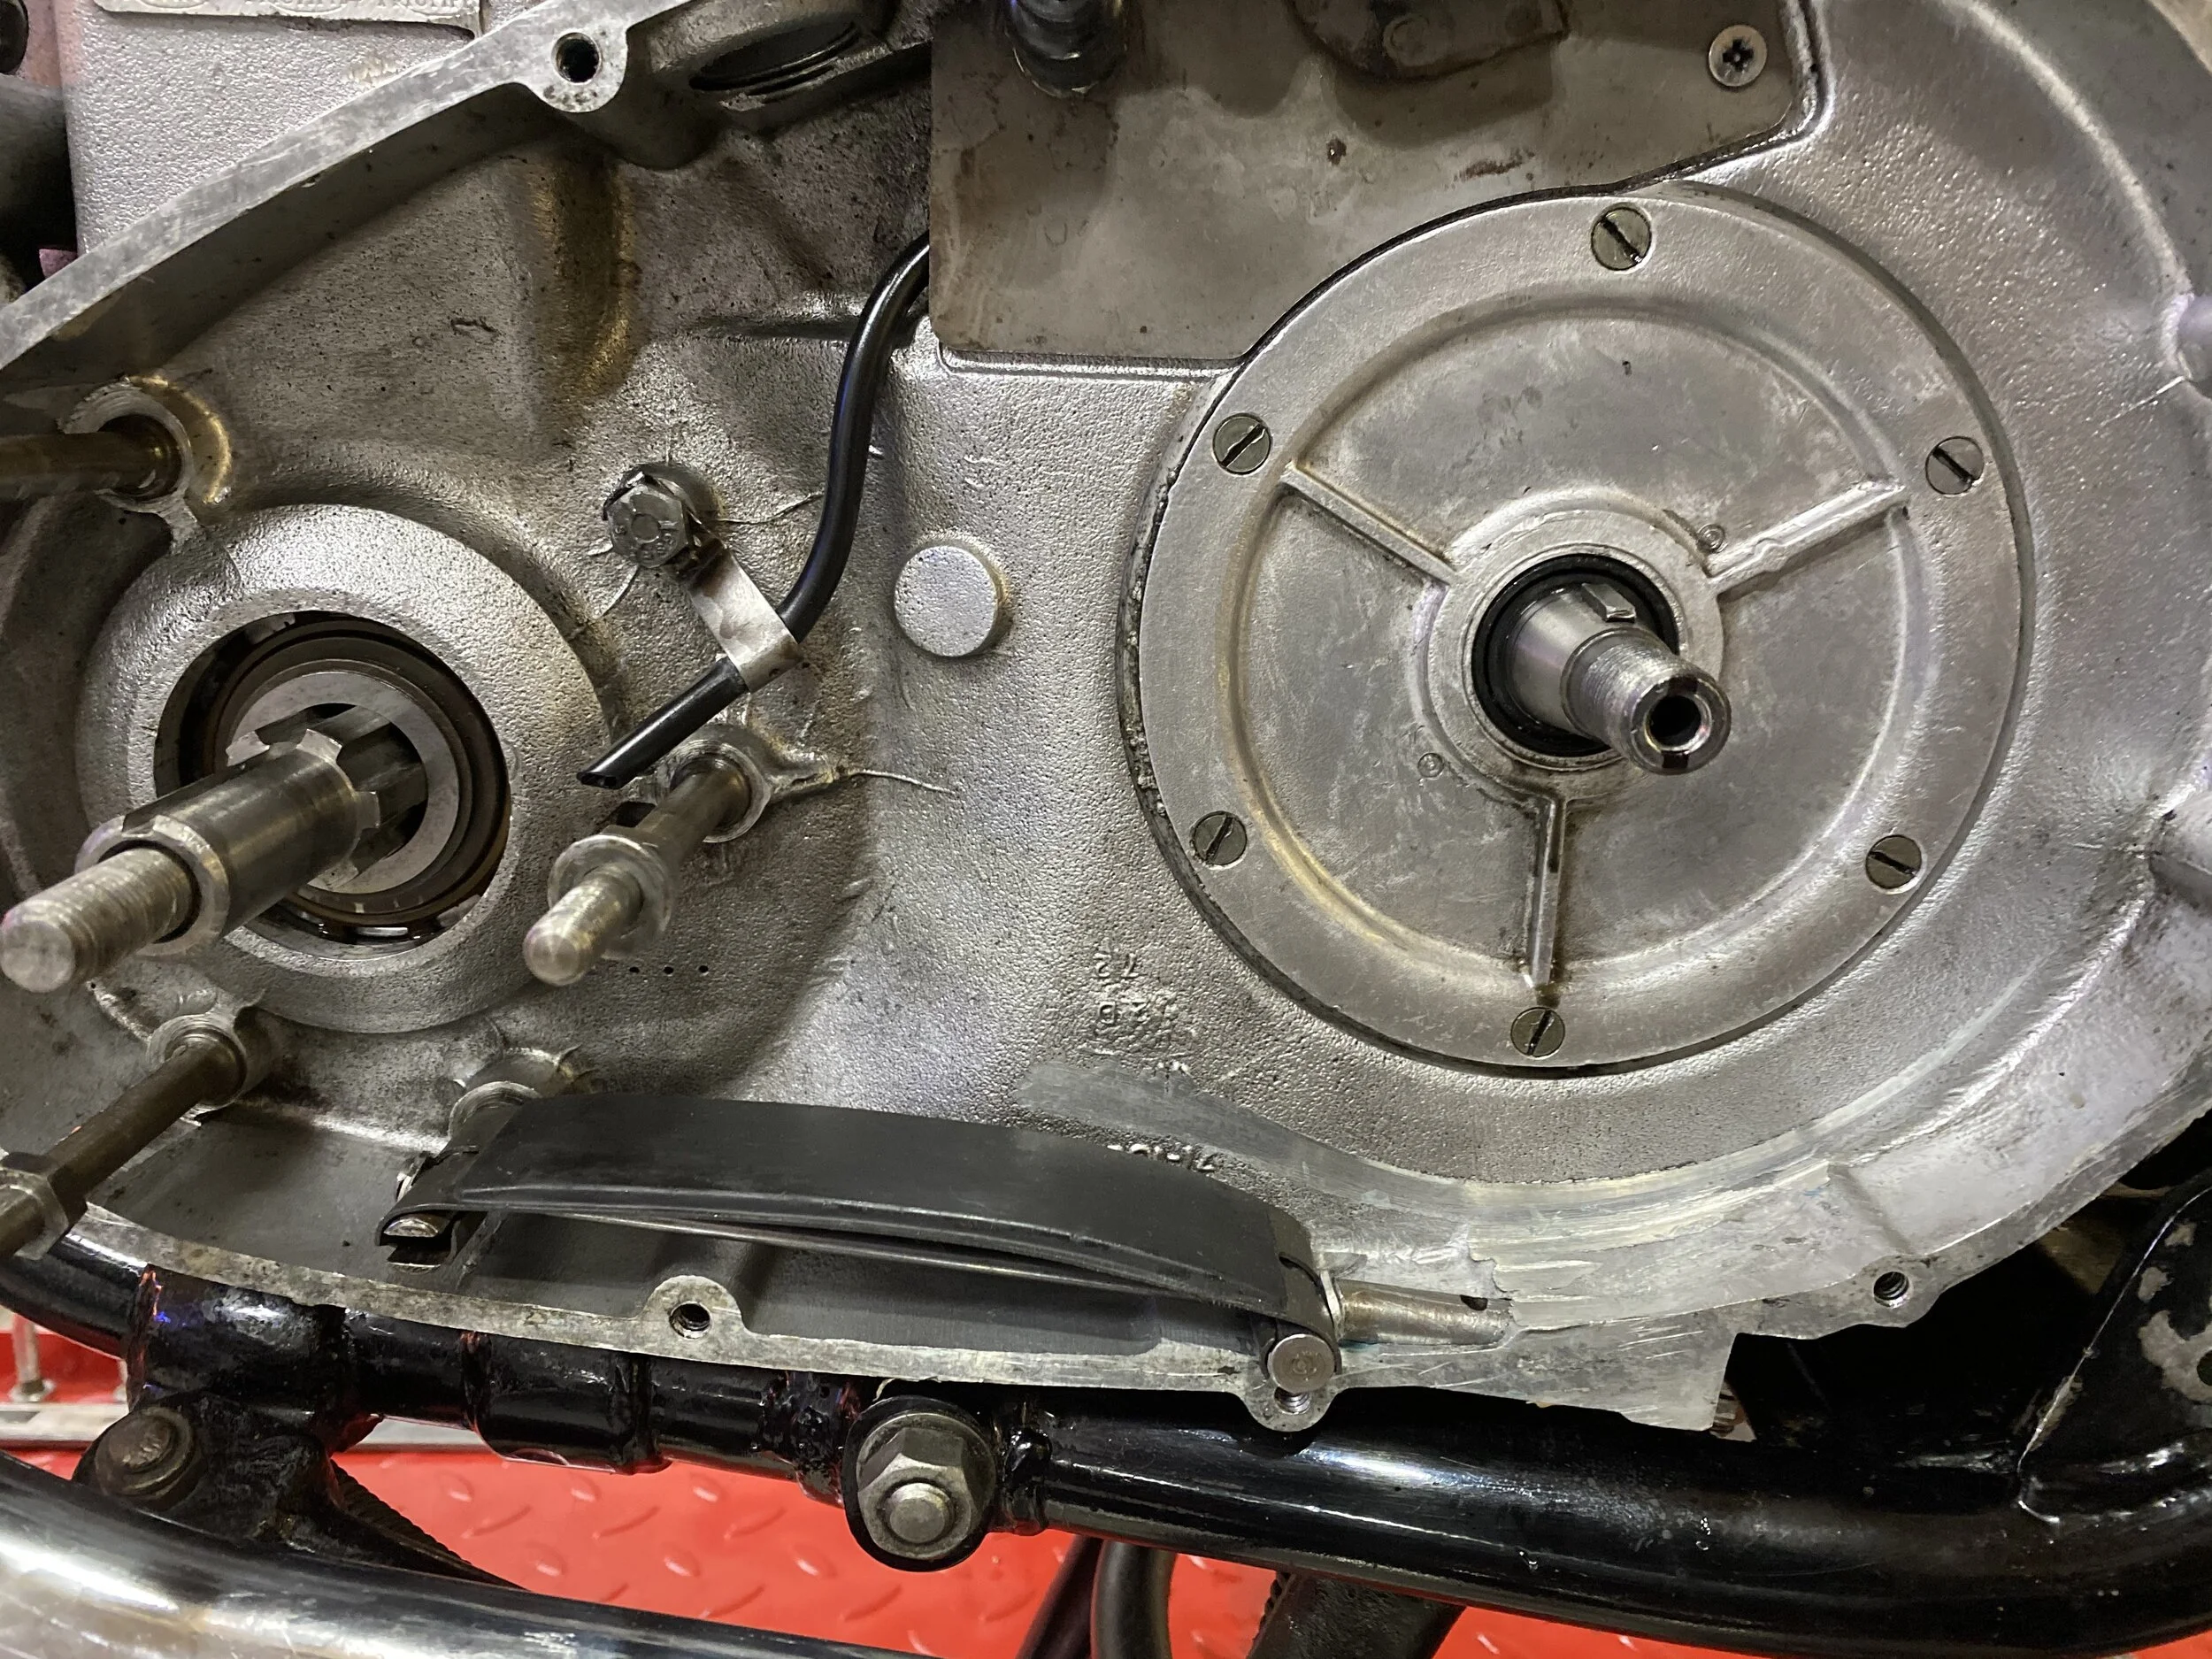
Then…a few weeks later, while on a quick run to the store I pulled in the clutch, felt a click and then the cable lost all tension as if it had snapped. On looking it over, the cable was still in one piece and looked normal. It felt like something internal had gone adrift. I took off the right hand inspection/filler cover and with my finger can move the clutch lever (on which you connect the clutch cable) as high as I wanted (until it reached the inner wall of the cover) or as low as I wanted with no resistance other than the return spring. The whole mechanism still moved toward the left hand side of the engine as if it wants to push the clutch rod to disengage the clutch except: it's as if the clutch push rod is missing.
I took off the inspection cover on the primary case and the lock nut and adjusting screw are tight and look normal.


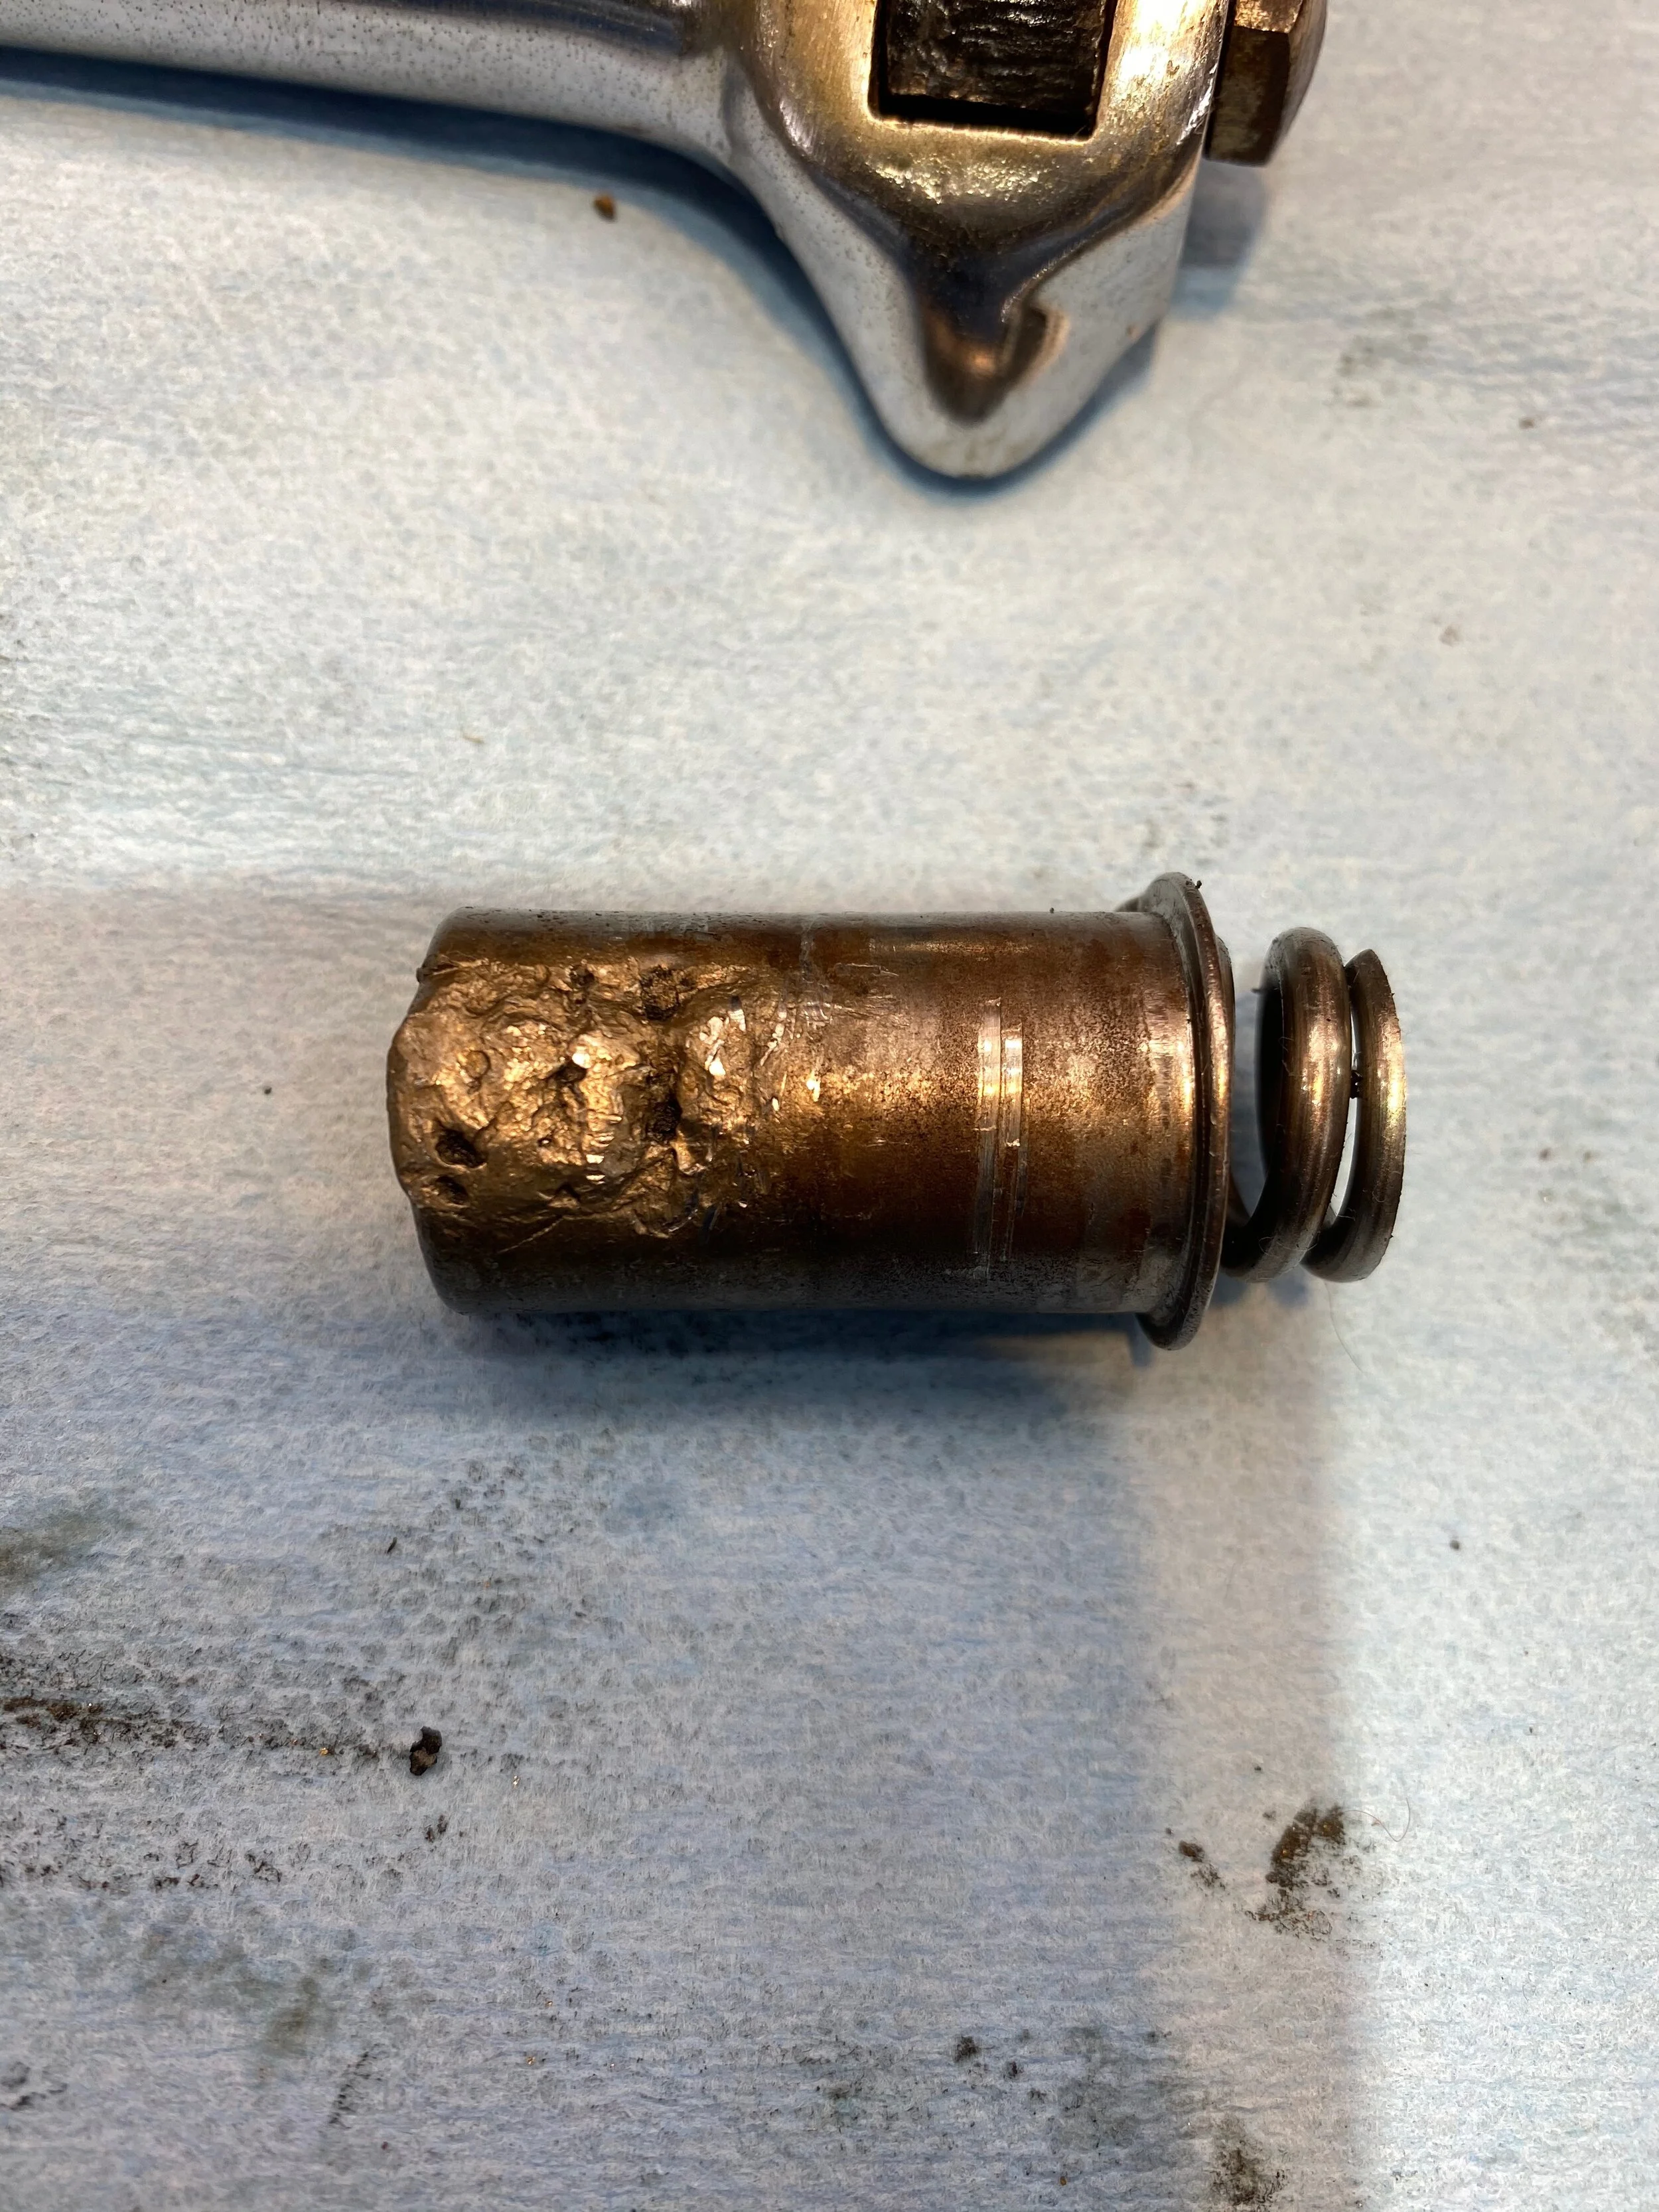
Clutch rod pusher mechanism seems to be intact and operating properly, although seems to be a lot of bronze debris....
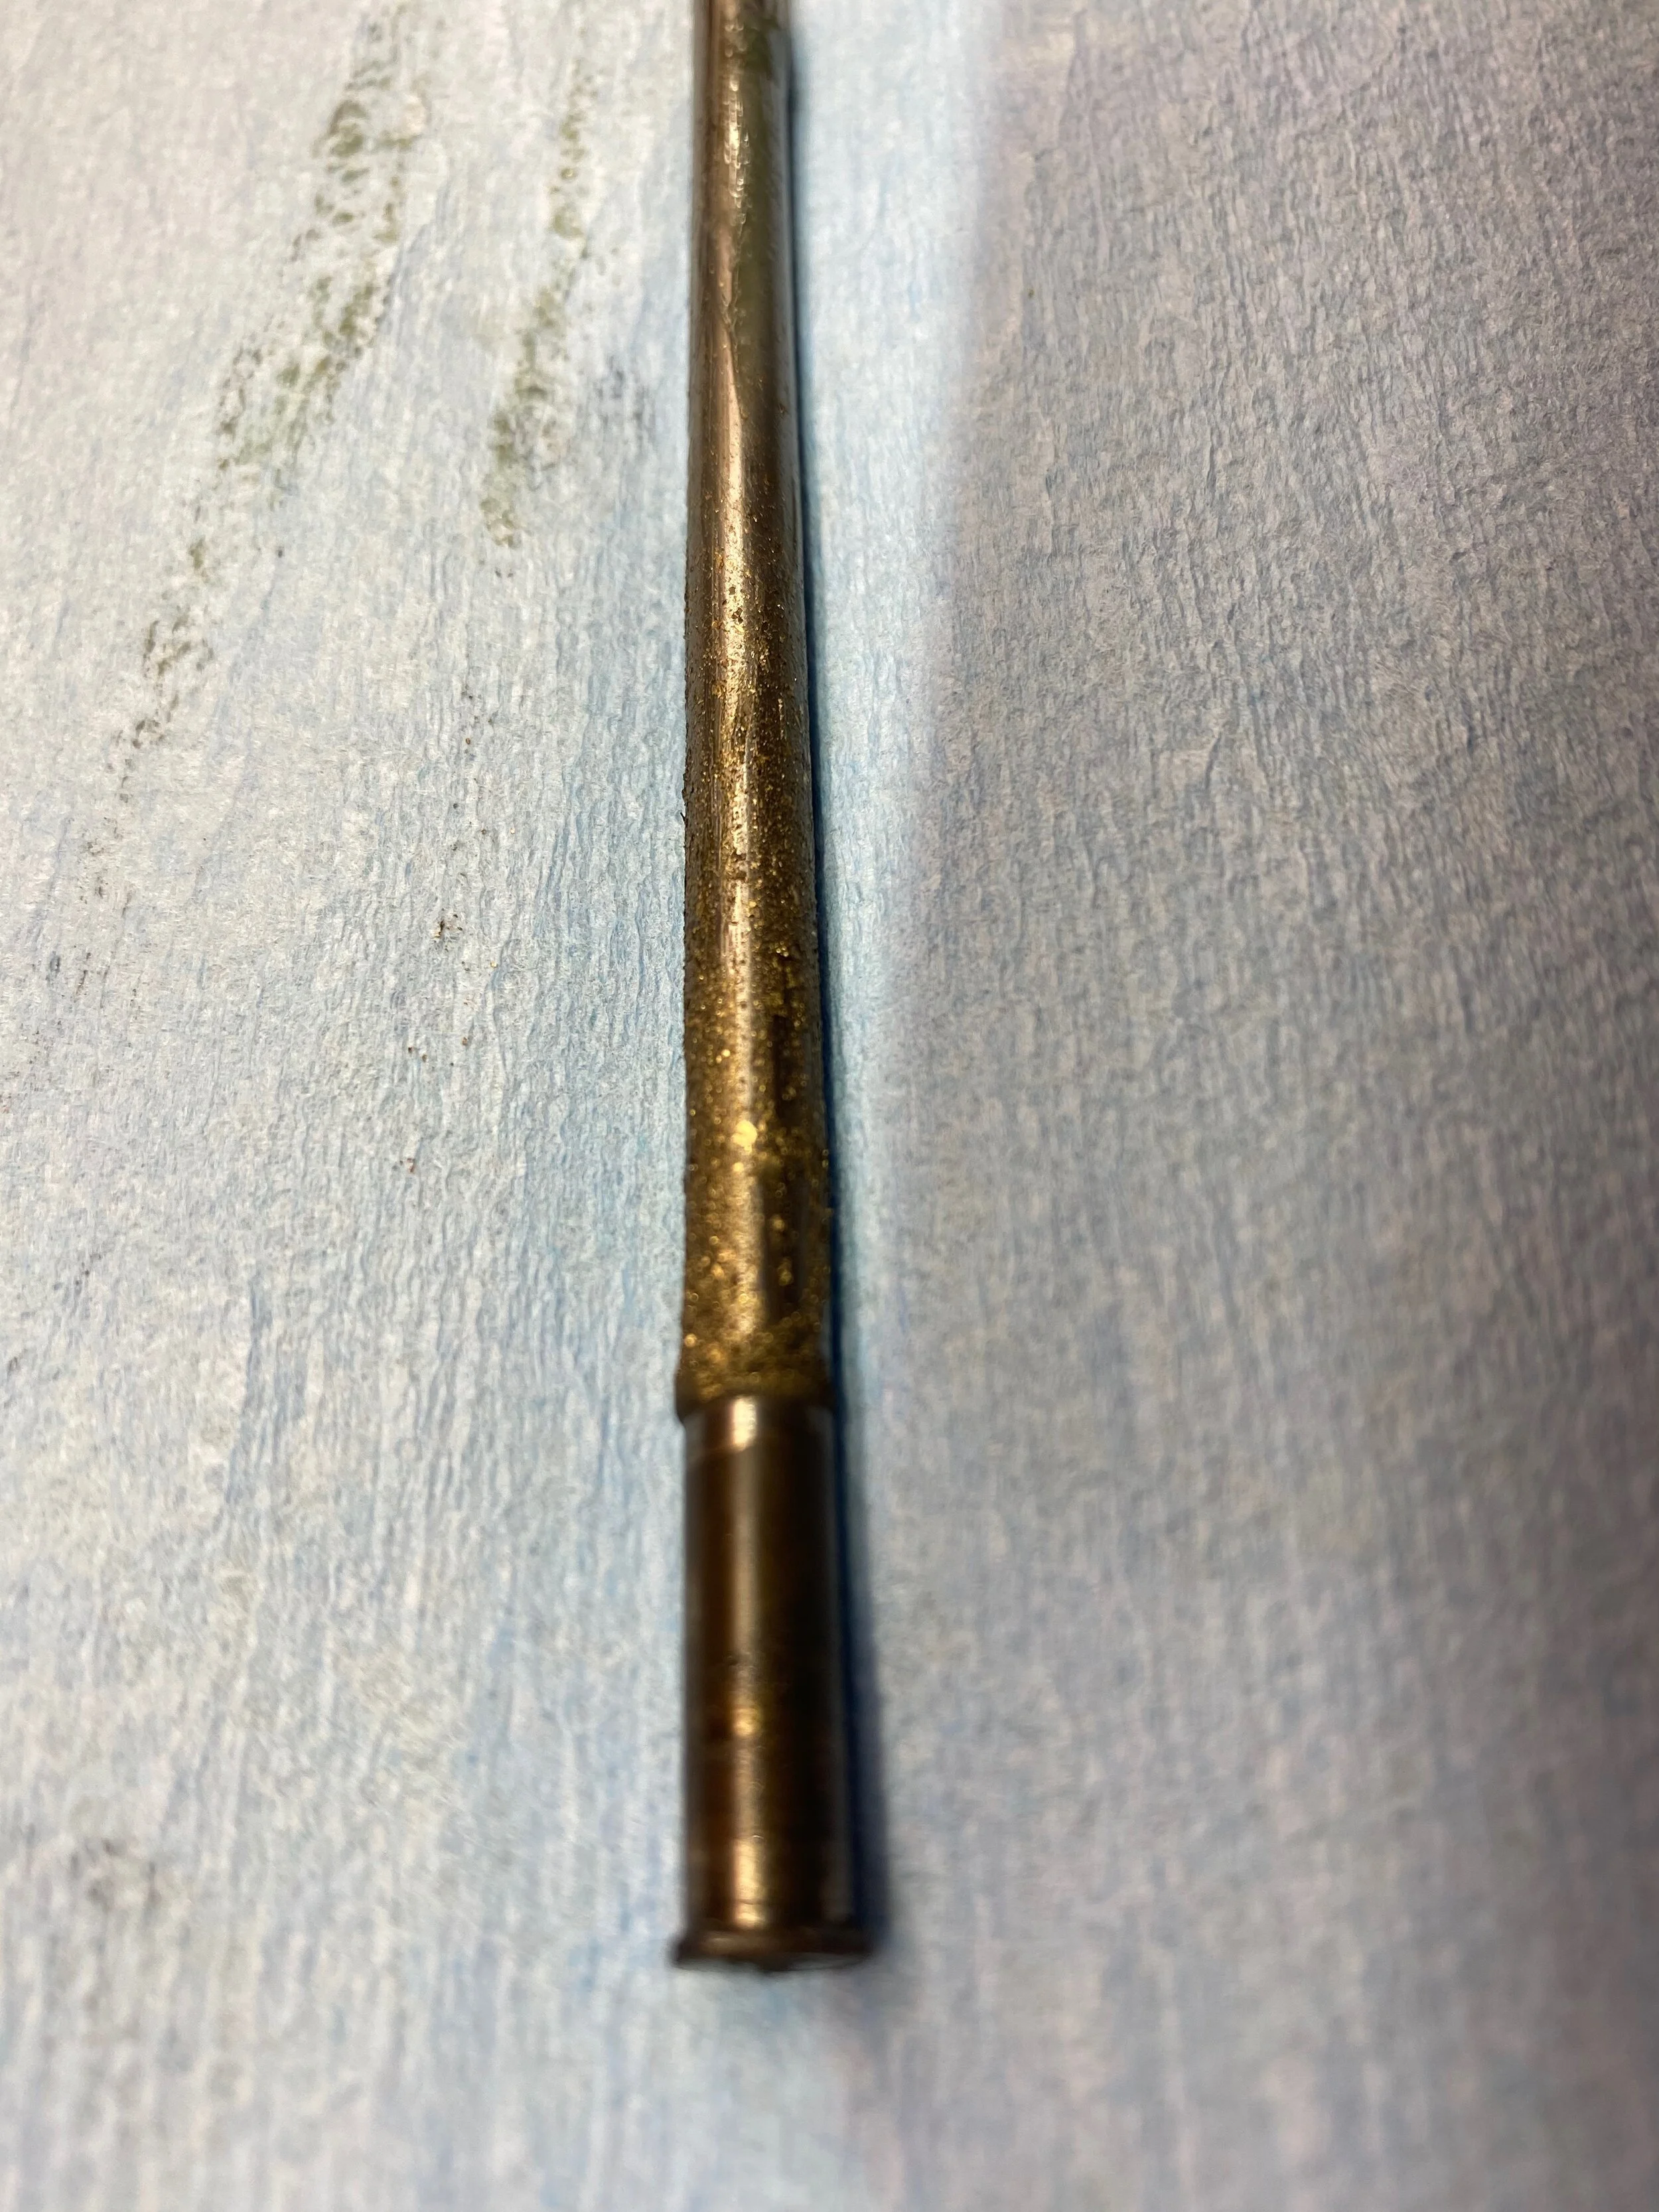
also on the end of the pushrod

which I have to confess is mushroomed...a sign of misadjustment.
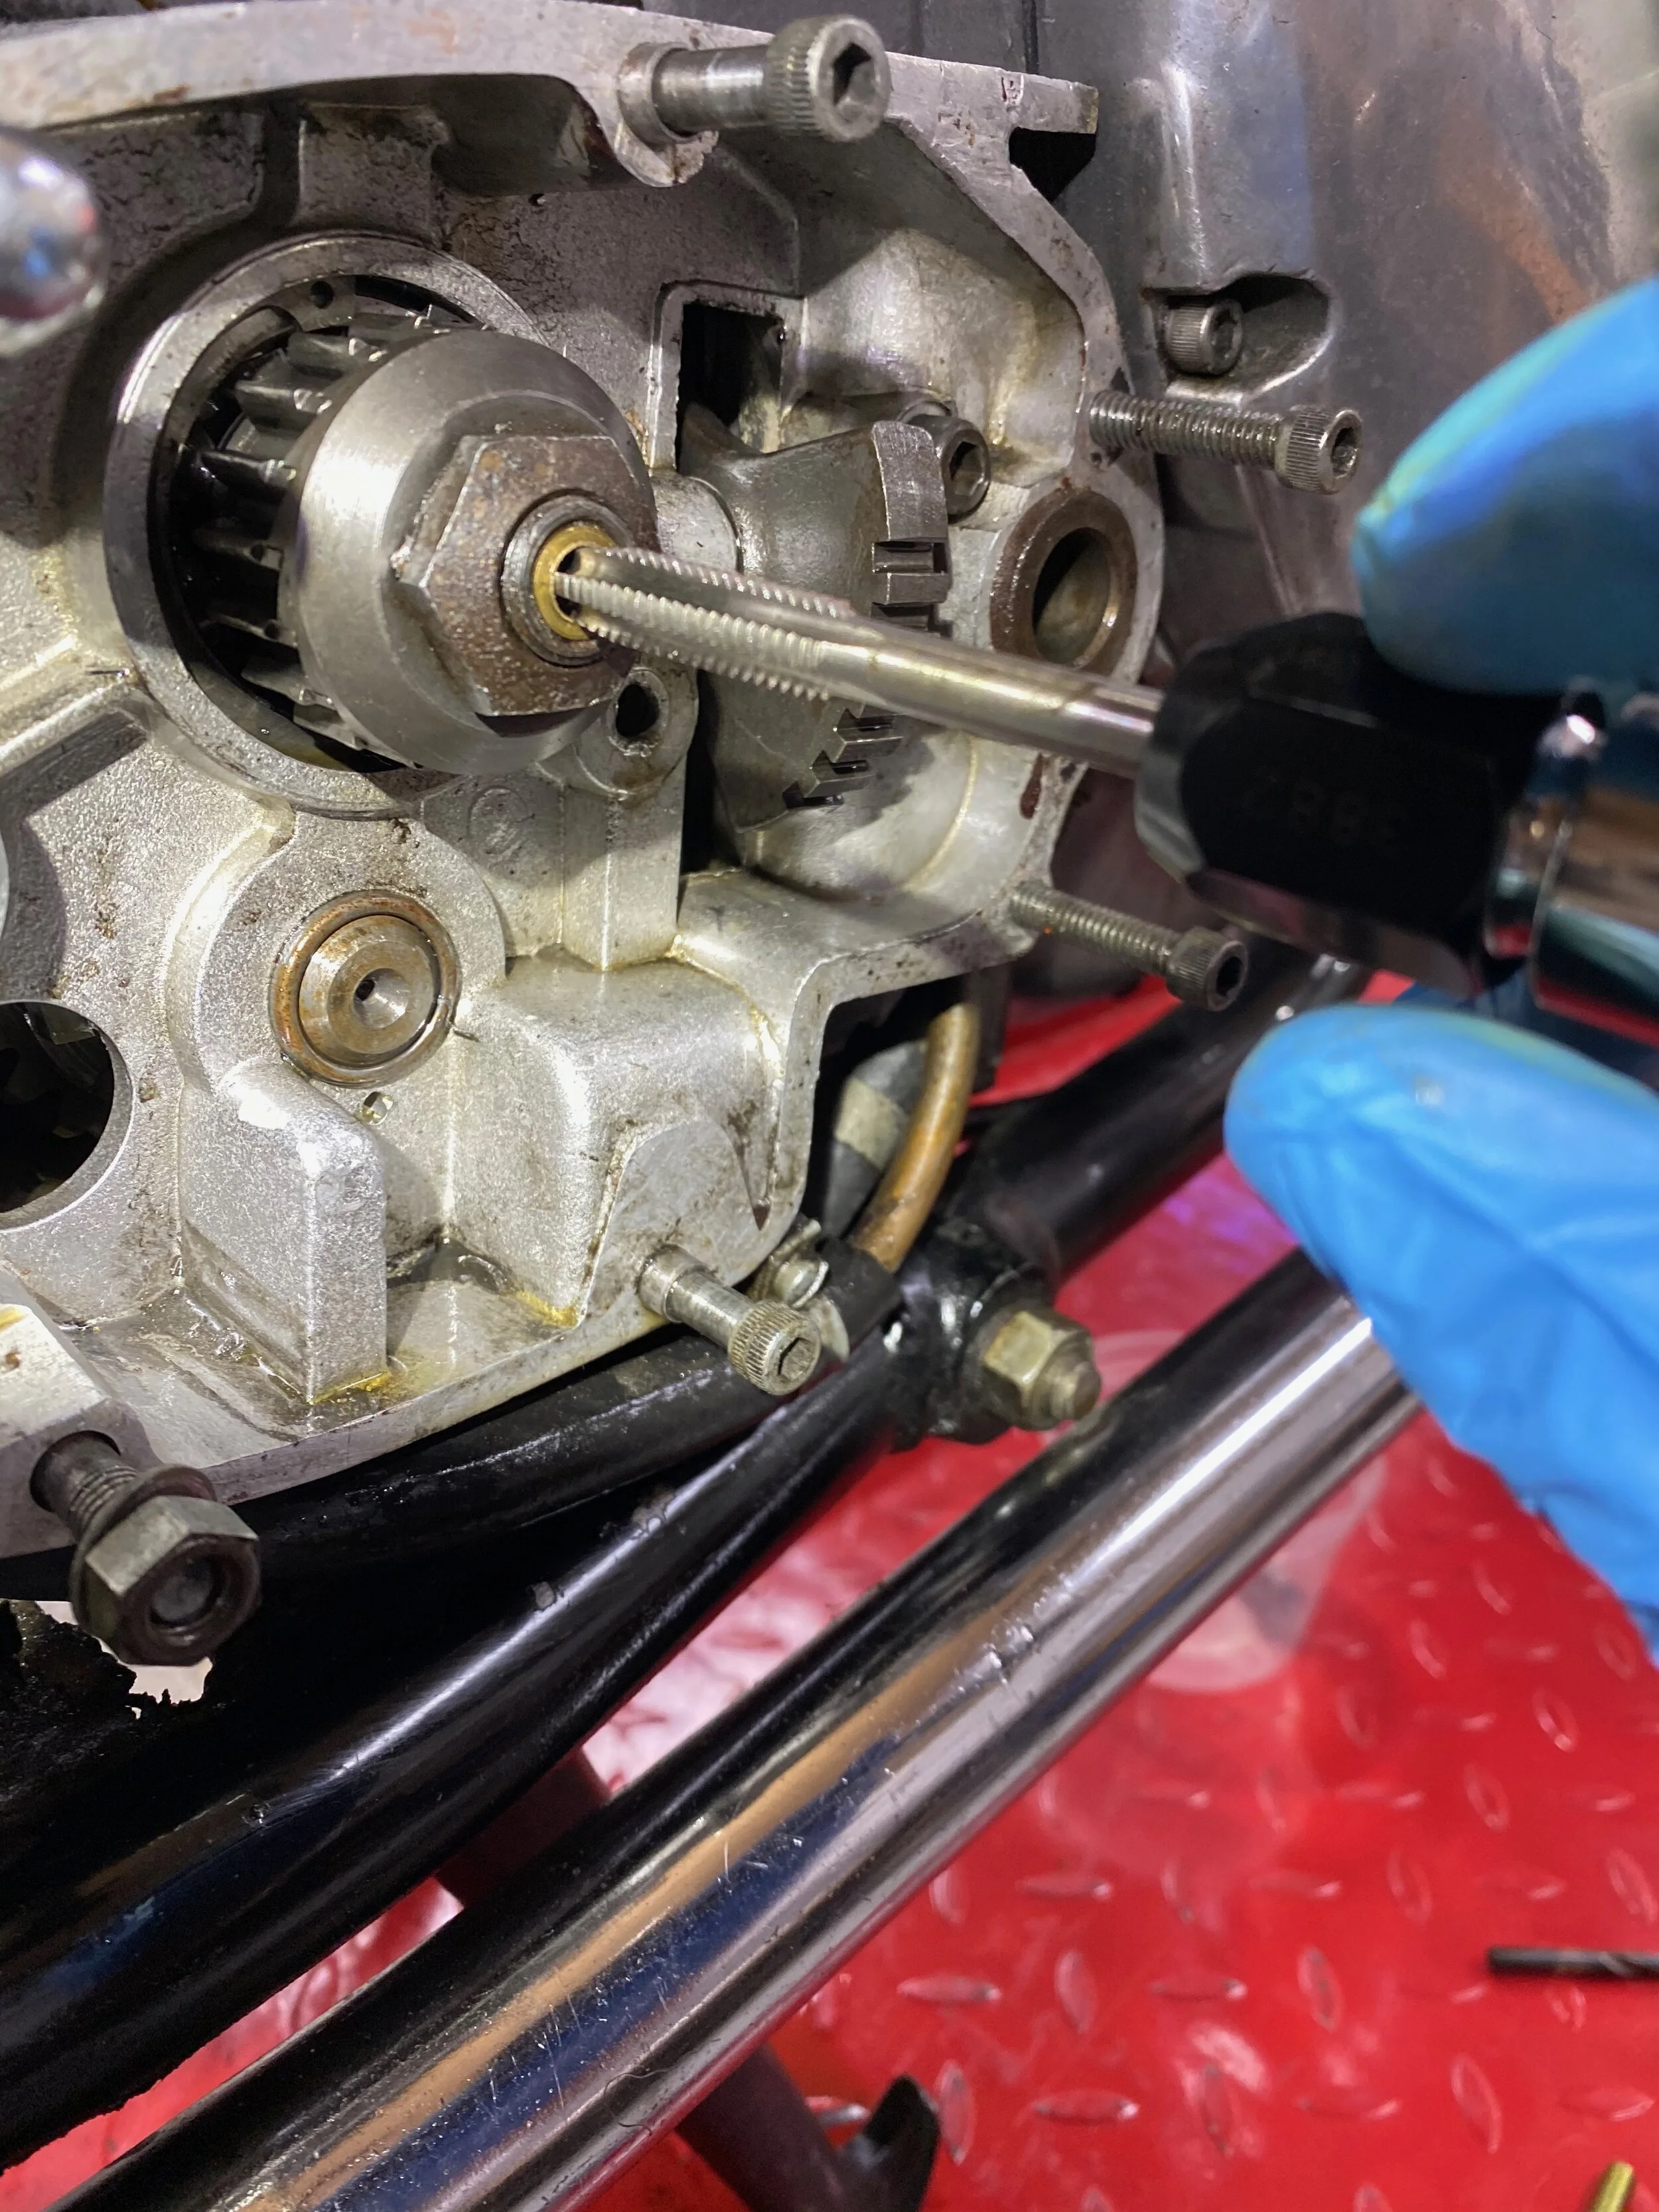
There are 2 places the brass could be coming from....the bushing that holds the rod in place....and/or the thrust washer. Would be best to replace both. First job, thread the push rod bushing......

and pull it out by screwing a bolt into it within a sleeve.
old bush out....
new bushing installed...
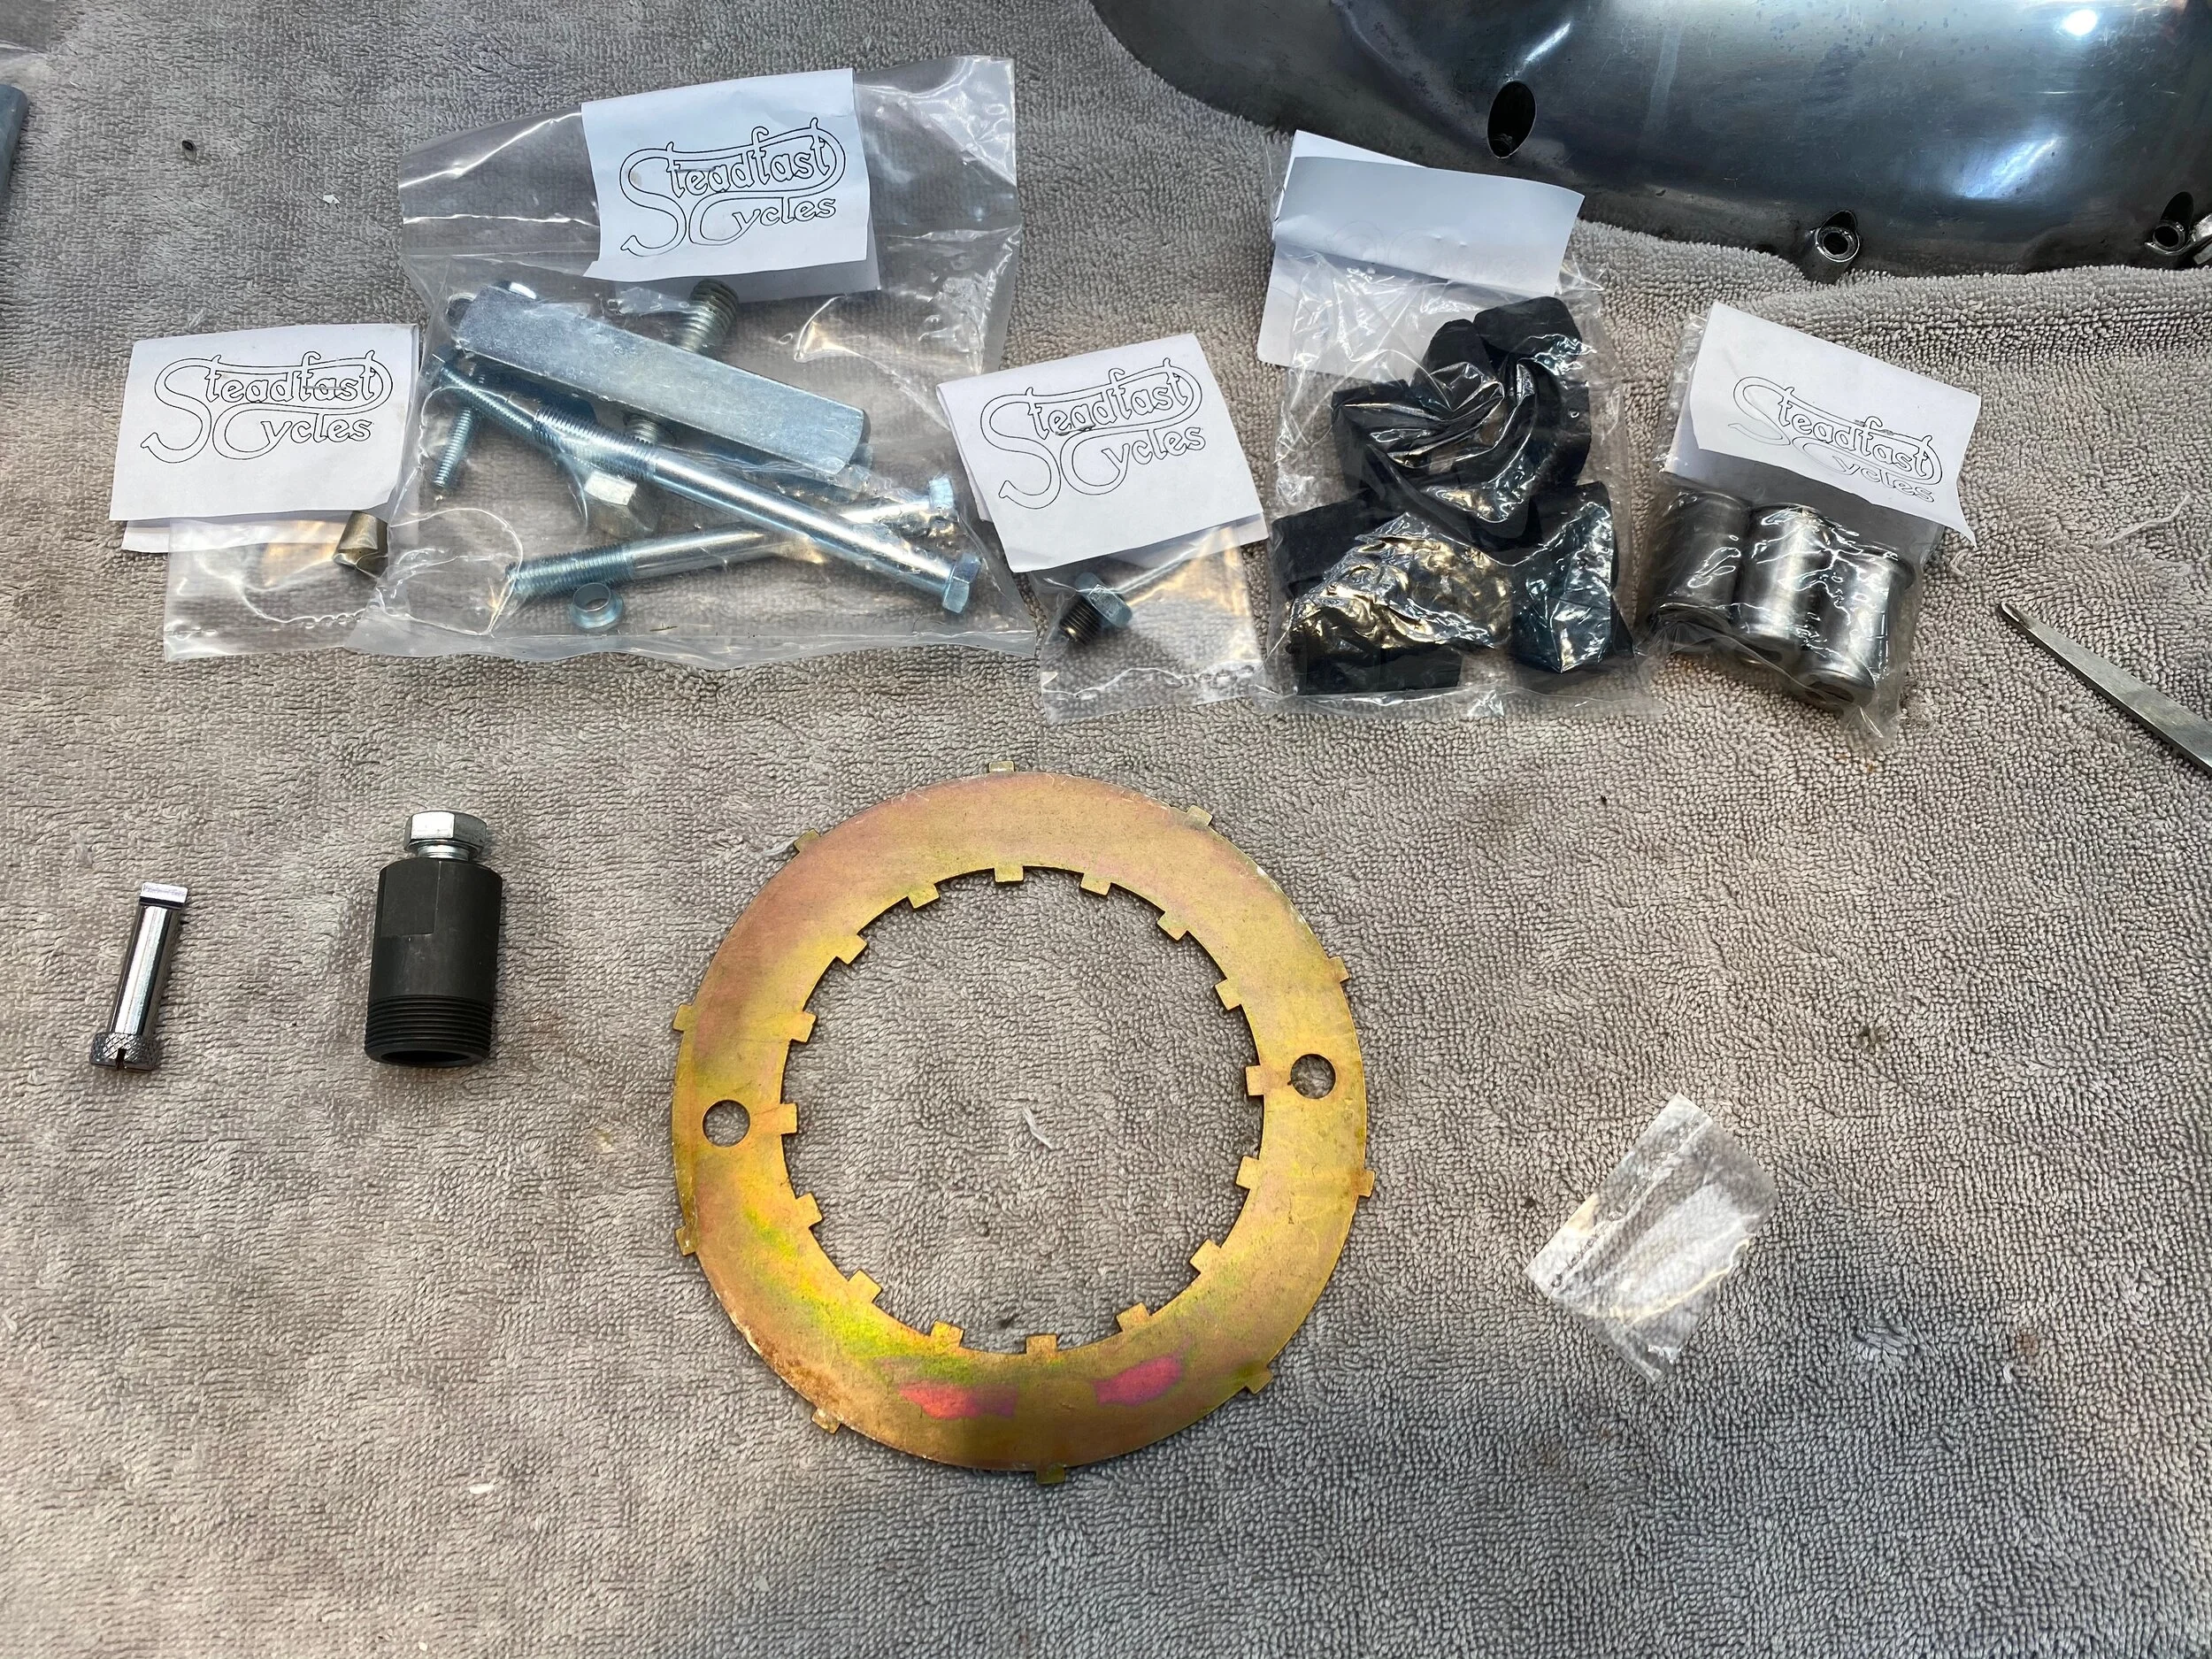
ordered these tools because I need to get the engine sprocket and clutch hub off on order to get at the thrust washer. also new clutch springs and spring cups because.....
....something so drastic had happened to this one that I couldn't get the spring out. I am only realizing now why it was in such poor shape. The rubbers which are within the hub act as a shock absorber. They must have been so far gone that the 'spider' with no rubber in between was free to attack the spring cup.


It's evident that the rubbers contained inside the hub are deteriorating and will need to be replaced.
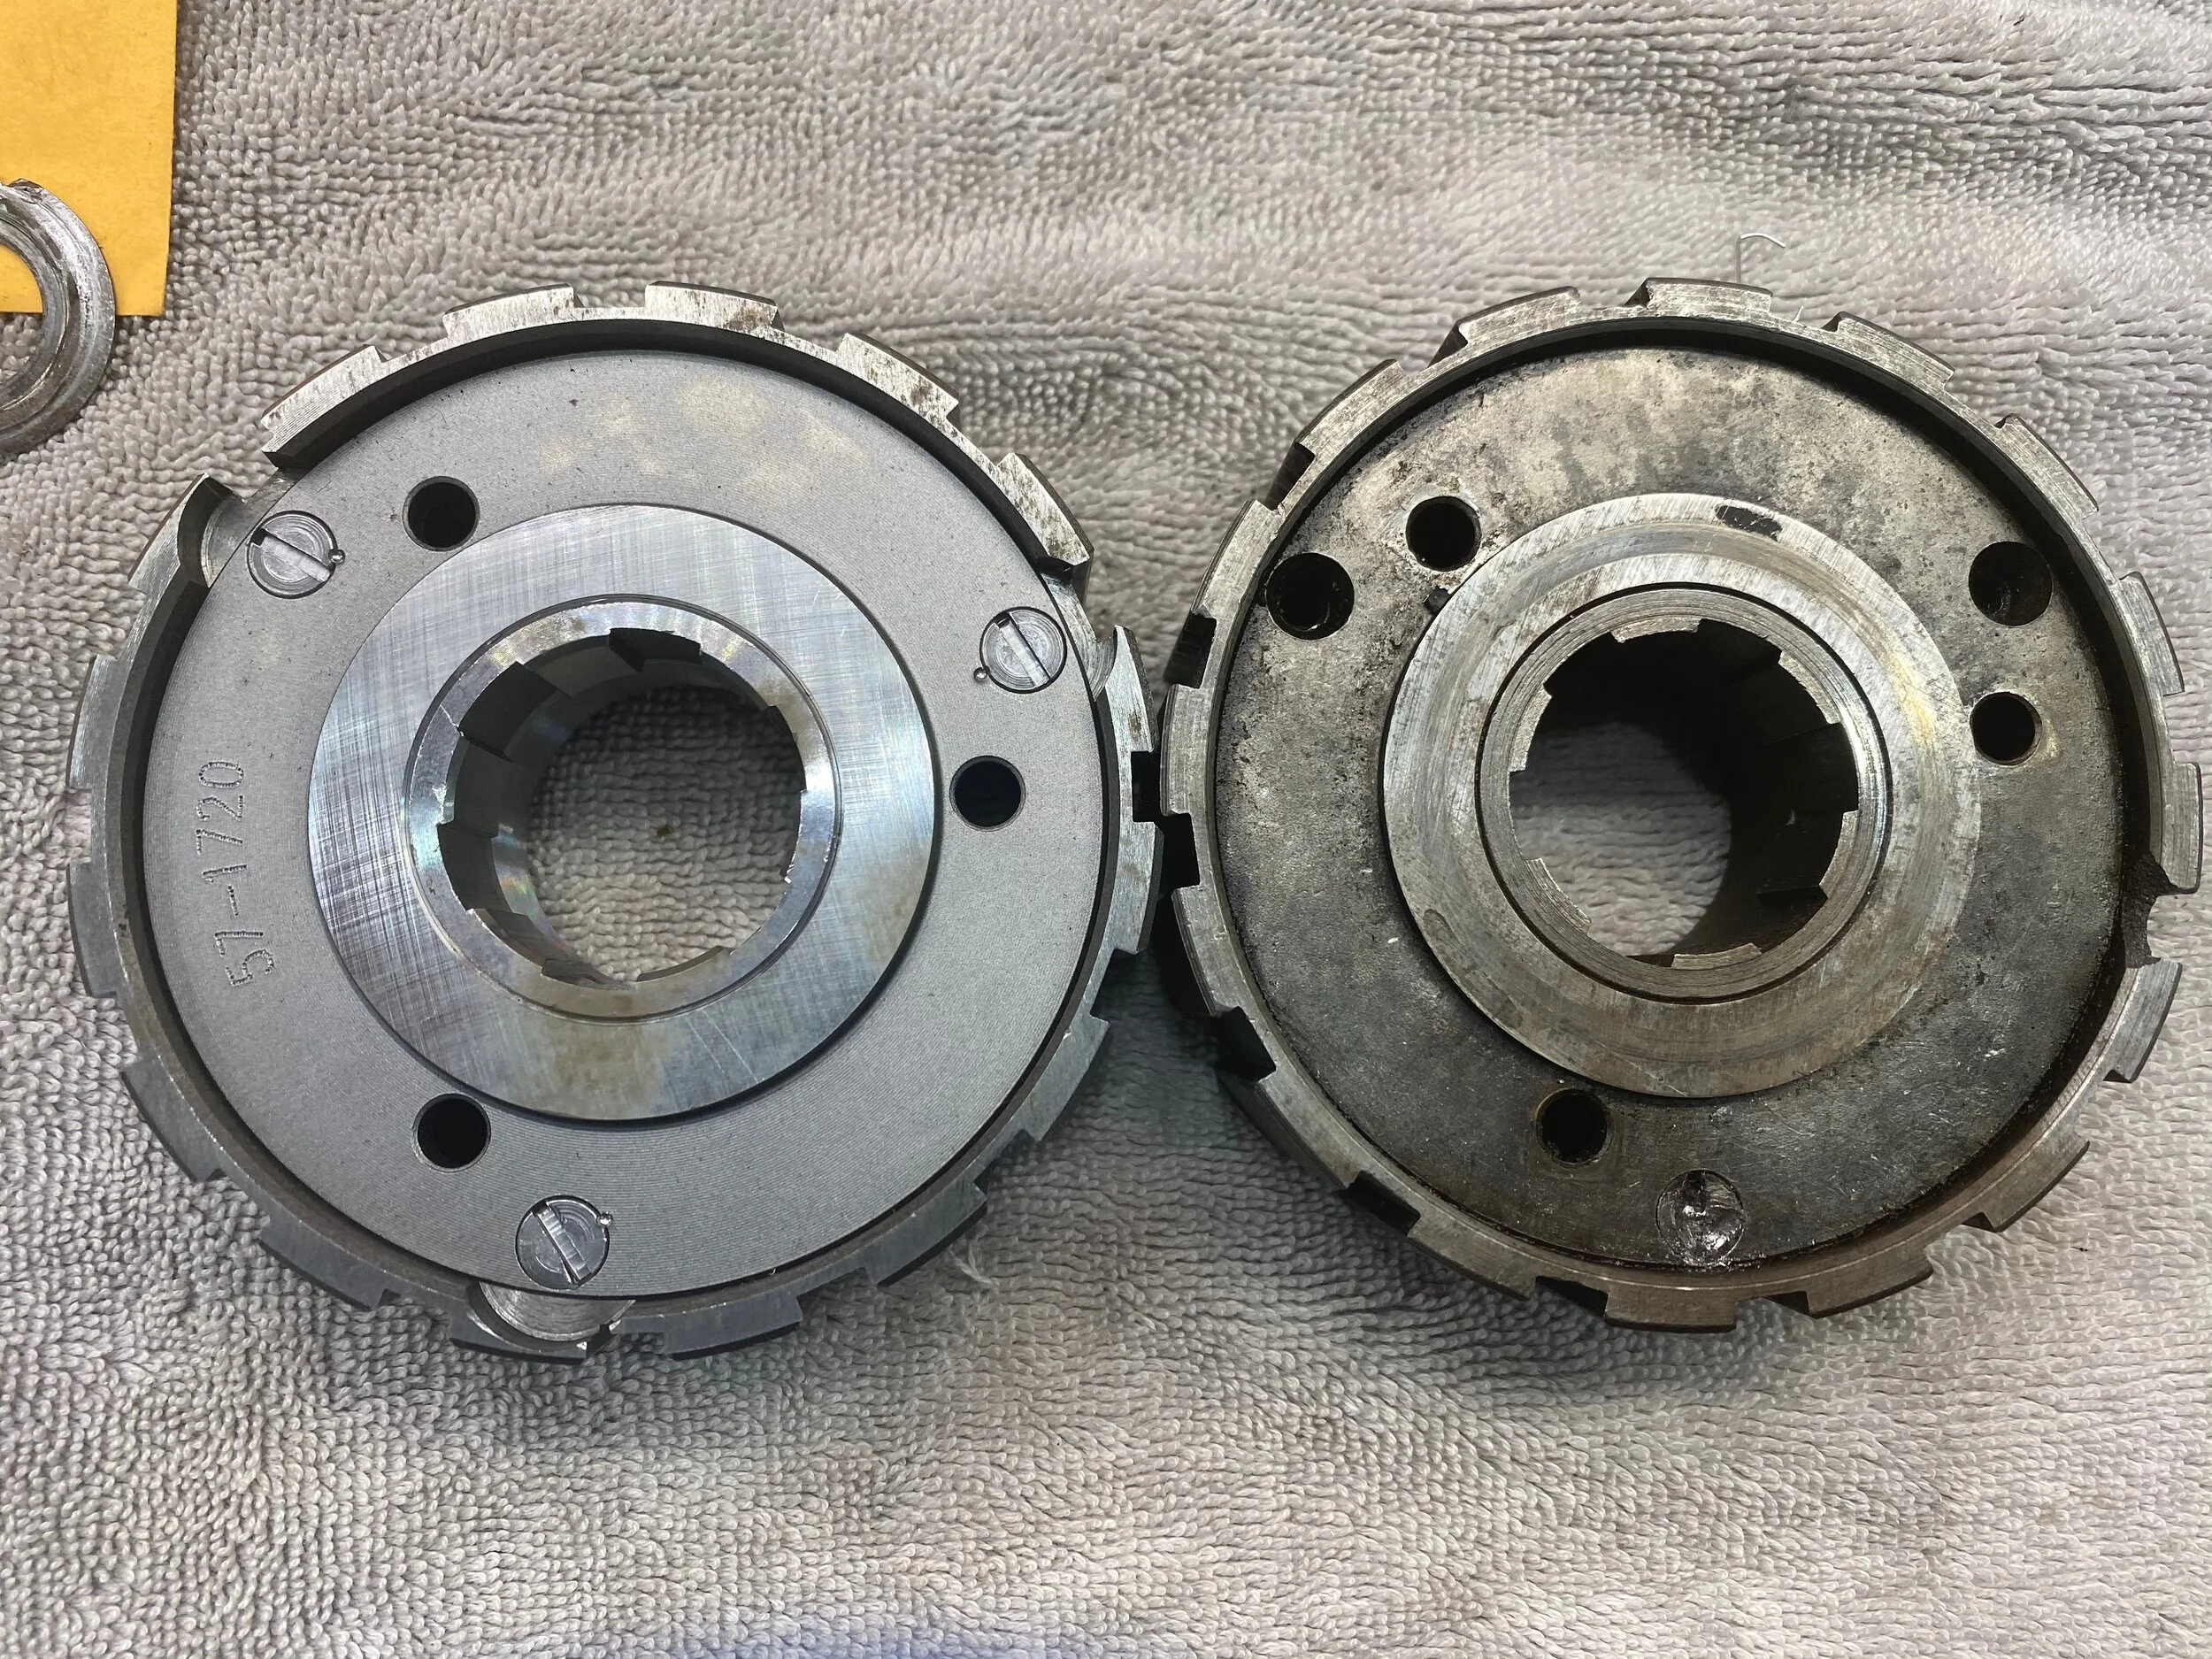
Also had to throw down for a new clutch hub containing new rubbers....long story short ruined a large number if impact bits trying to get the plate off the old one.

New springs, lock washers and push rod bushing from Baxter Cycle. I was surprised to find they were used parts but nonetheless happy to have them.

I consulted the Triumph afficianado's over on the BritBike forum. (https://www.britbike.com/forums) One of the most knowledgable and patient members who goes by TR7RVMan. He suggested that the push rod or the adjuster may have snapped or broken. He called it. It was the adjuster.

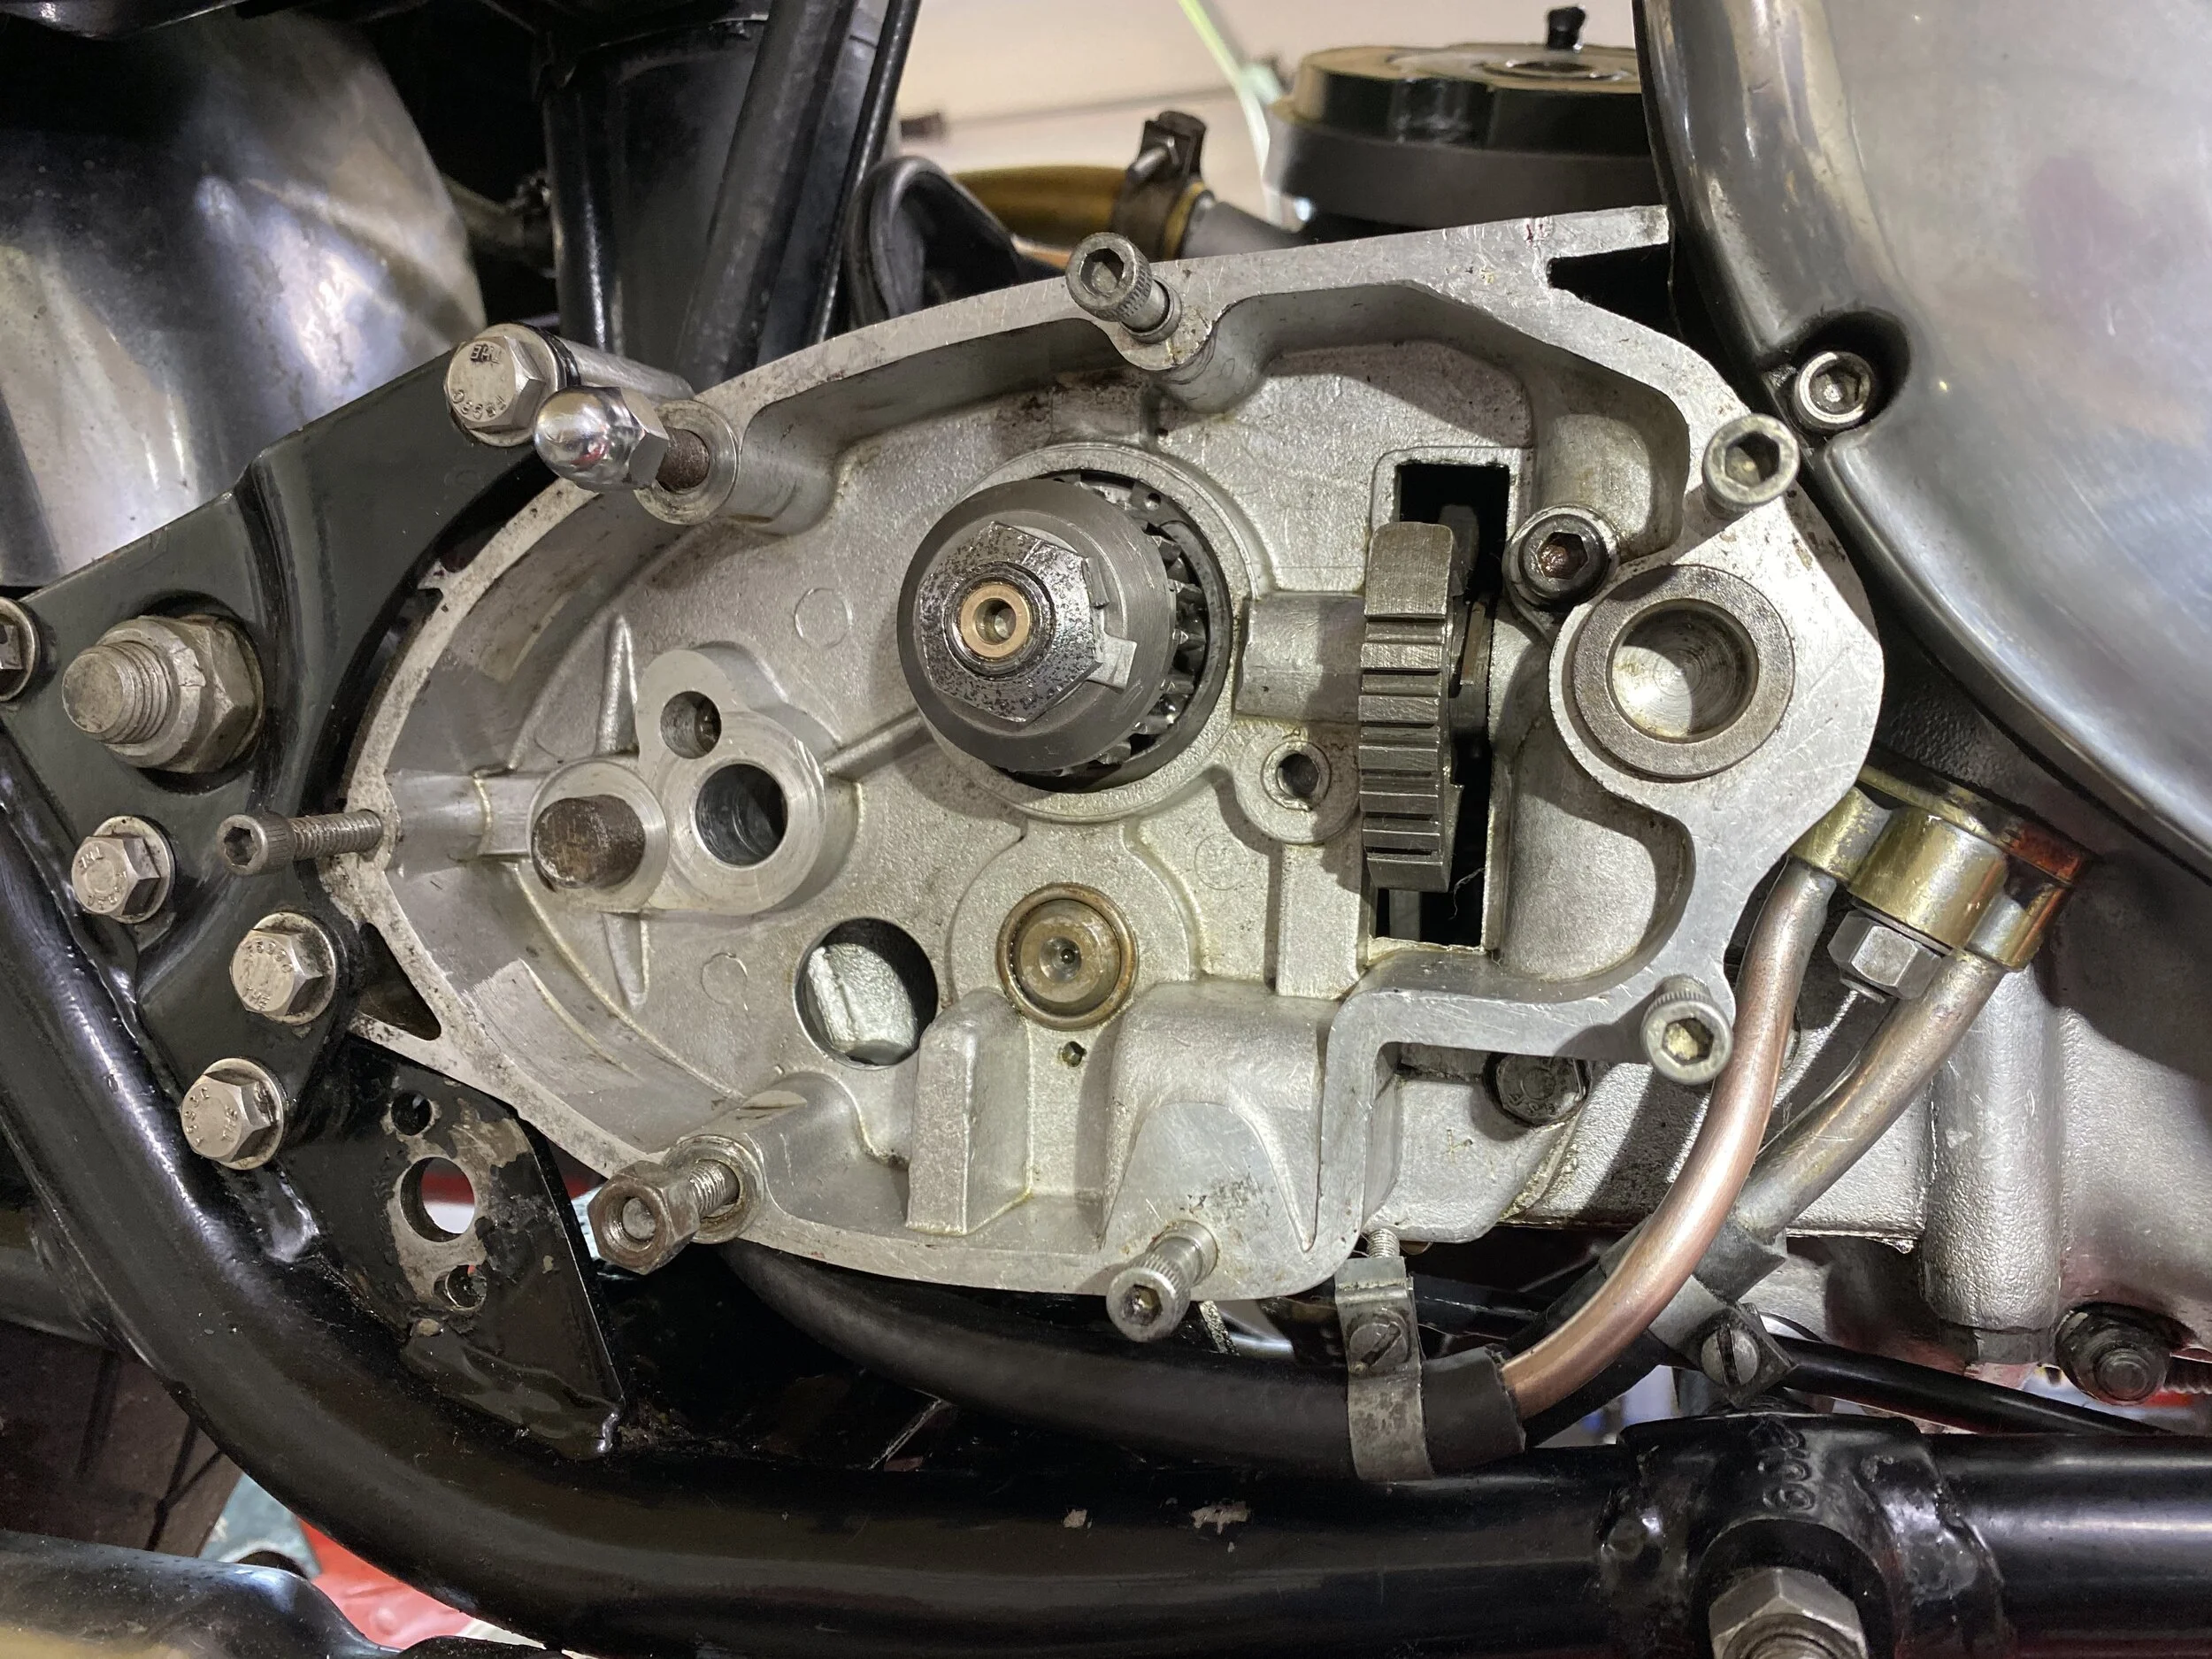
Primary chain tensioner and adjuster bolt/screw

plenty of evidence of wear from a loose chain.....
chain tensioner in place.....
Installed a new scavenger pipe....
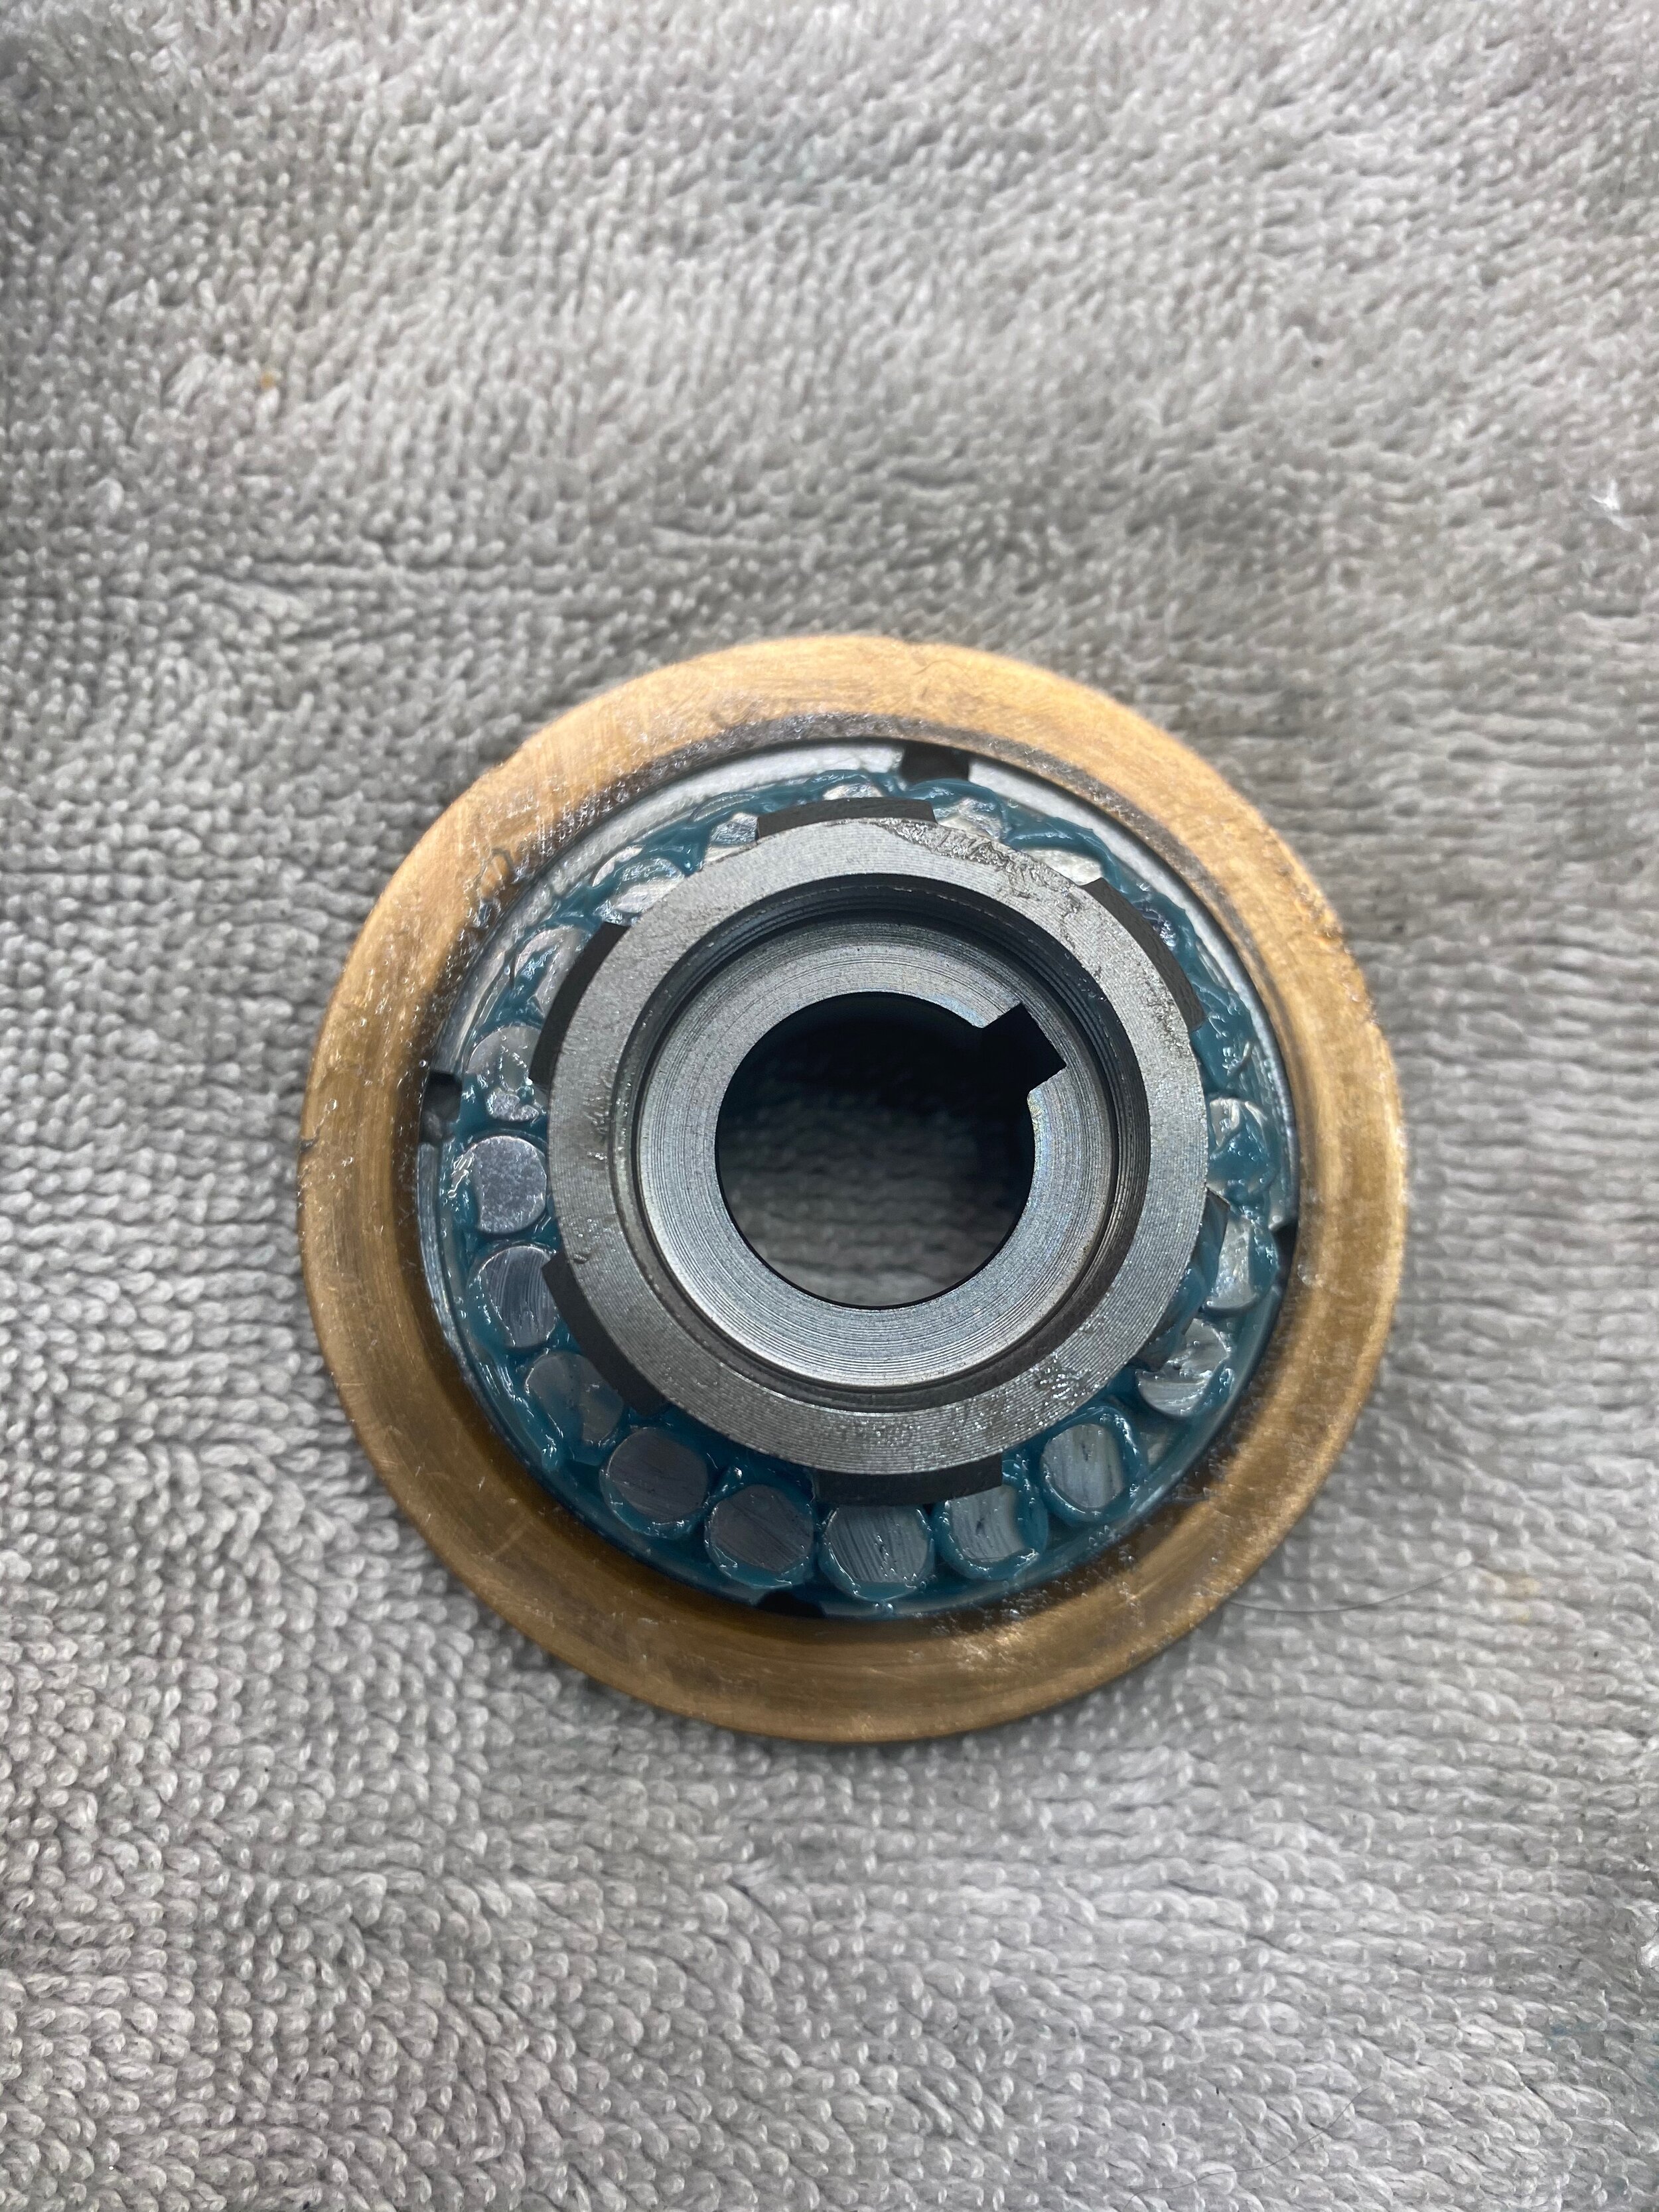
old thrust washer...the inner circumference is clearly worn away...
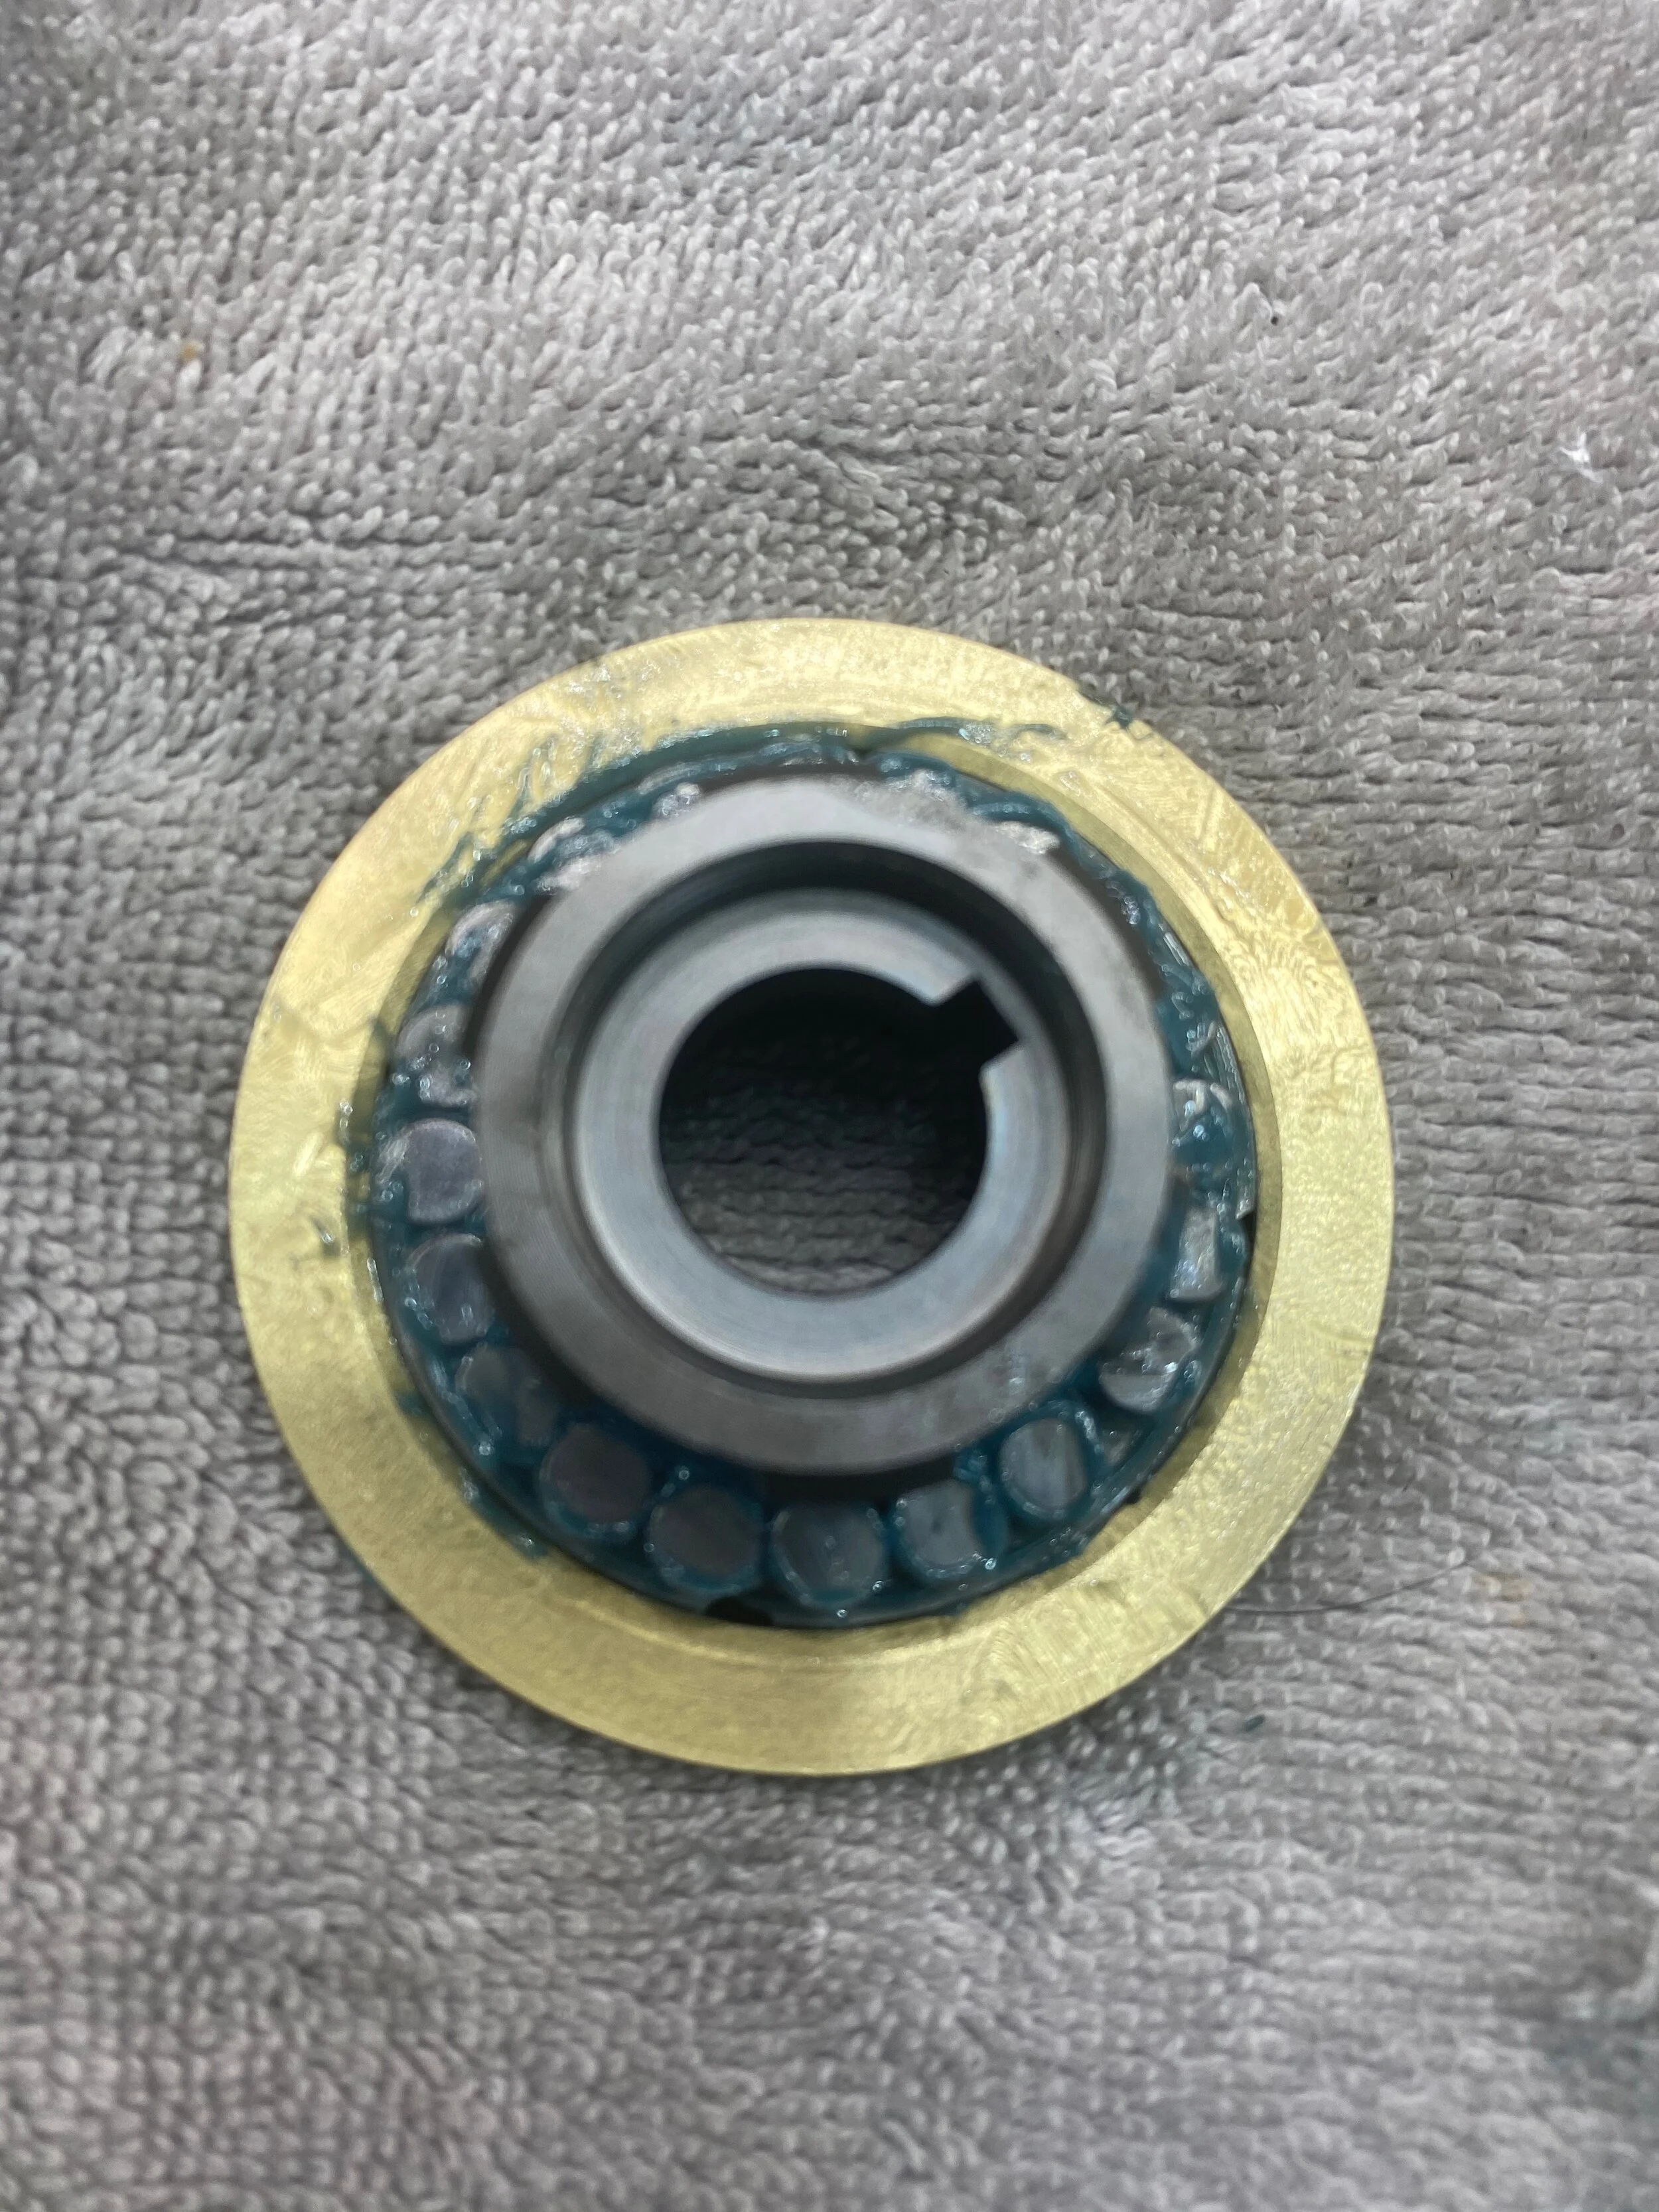
new thrust washer, tight fit...
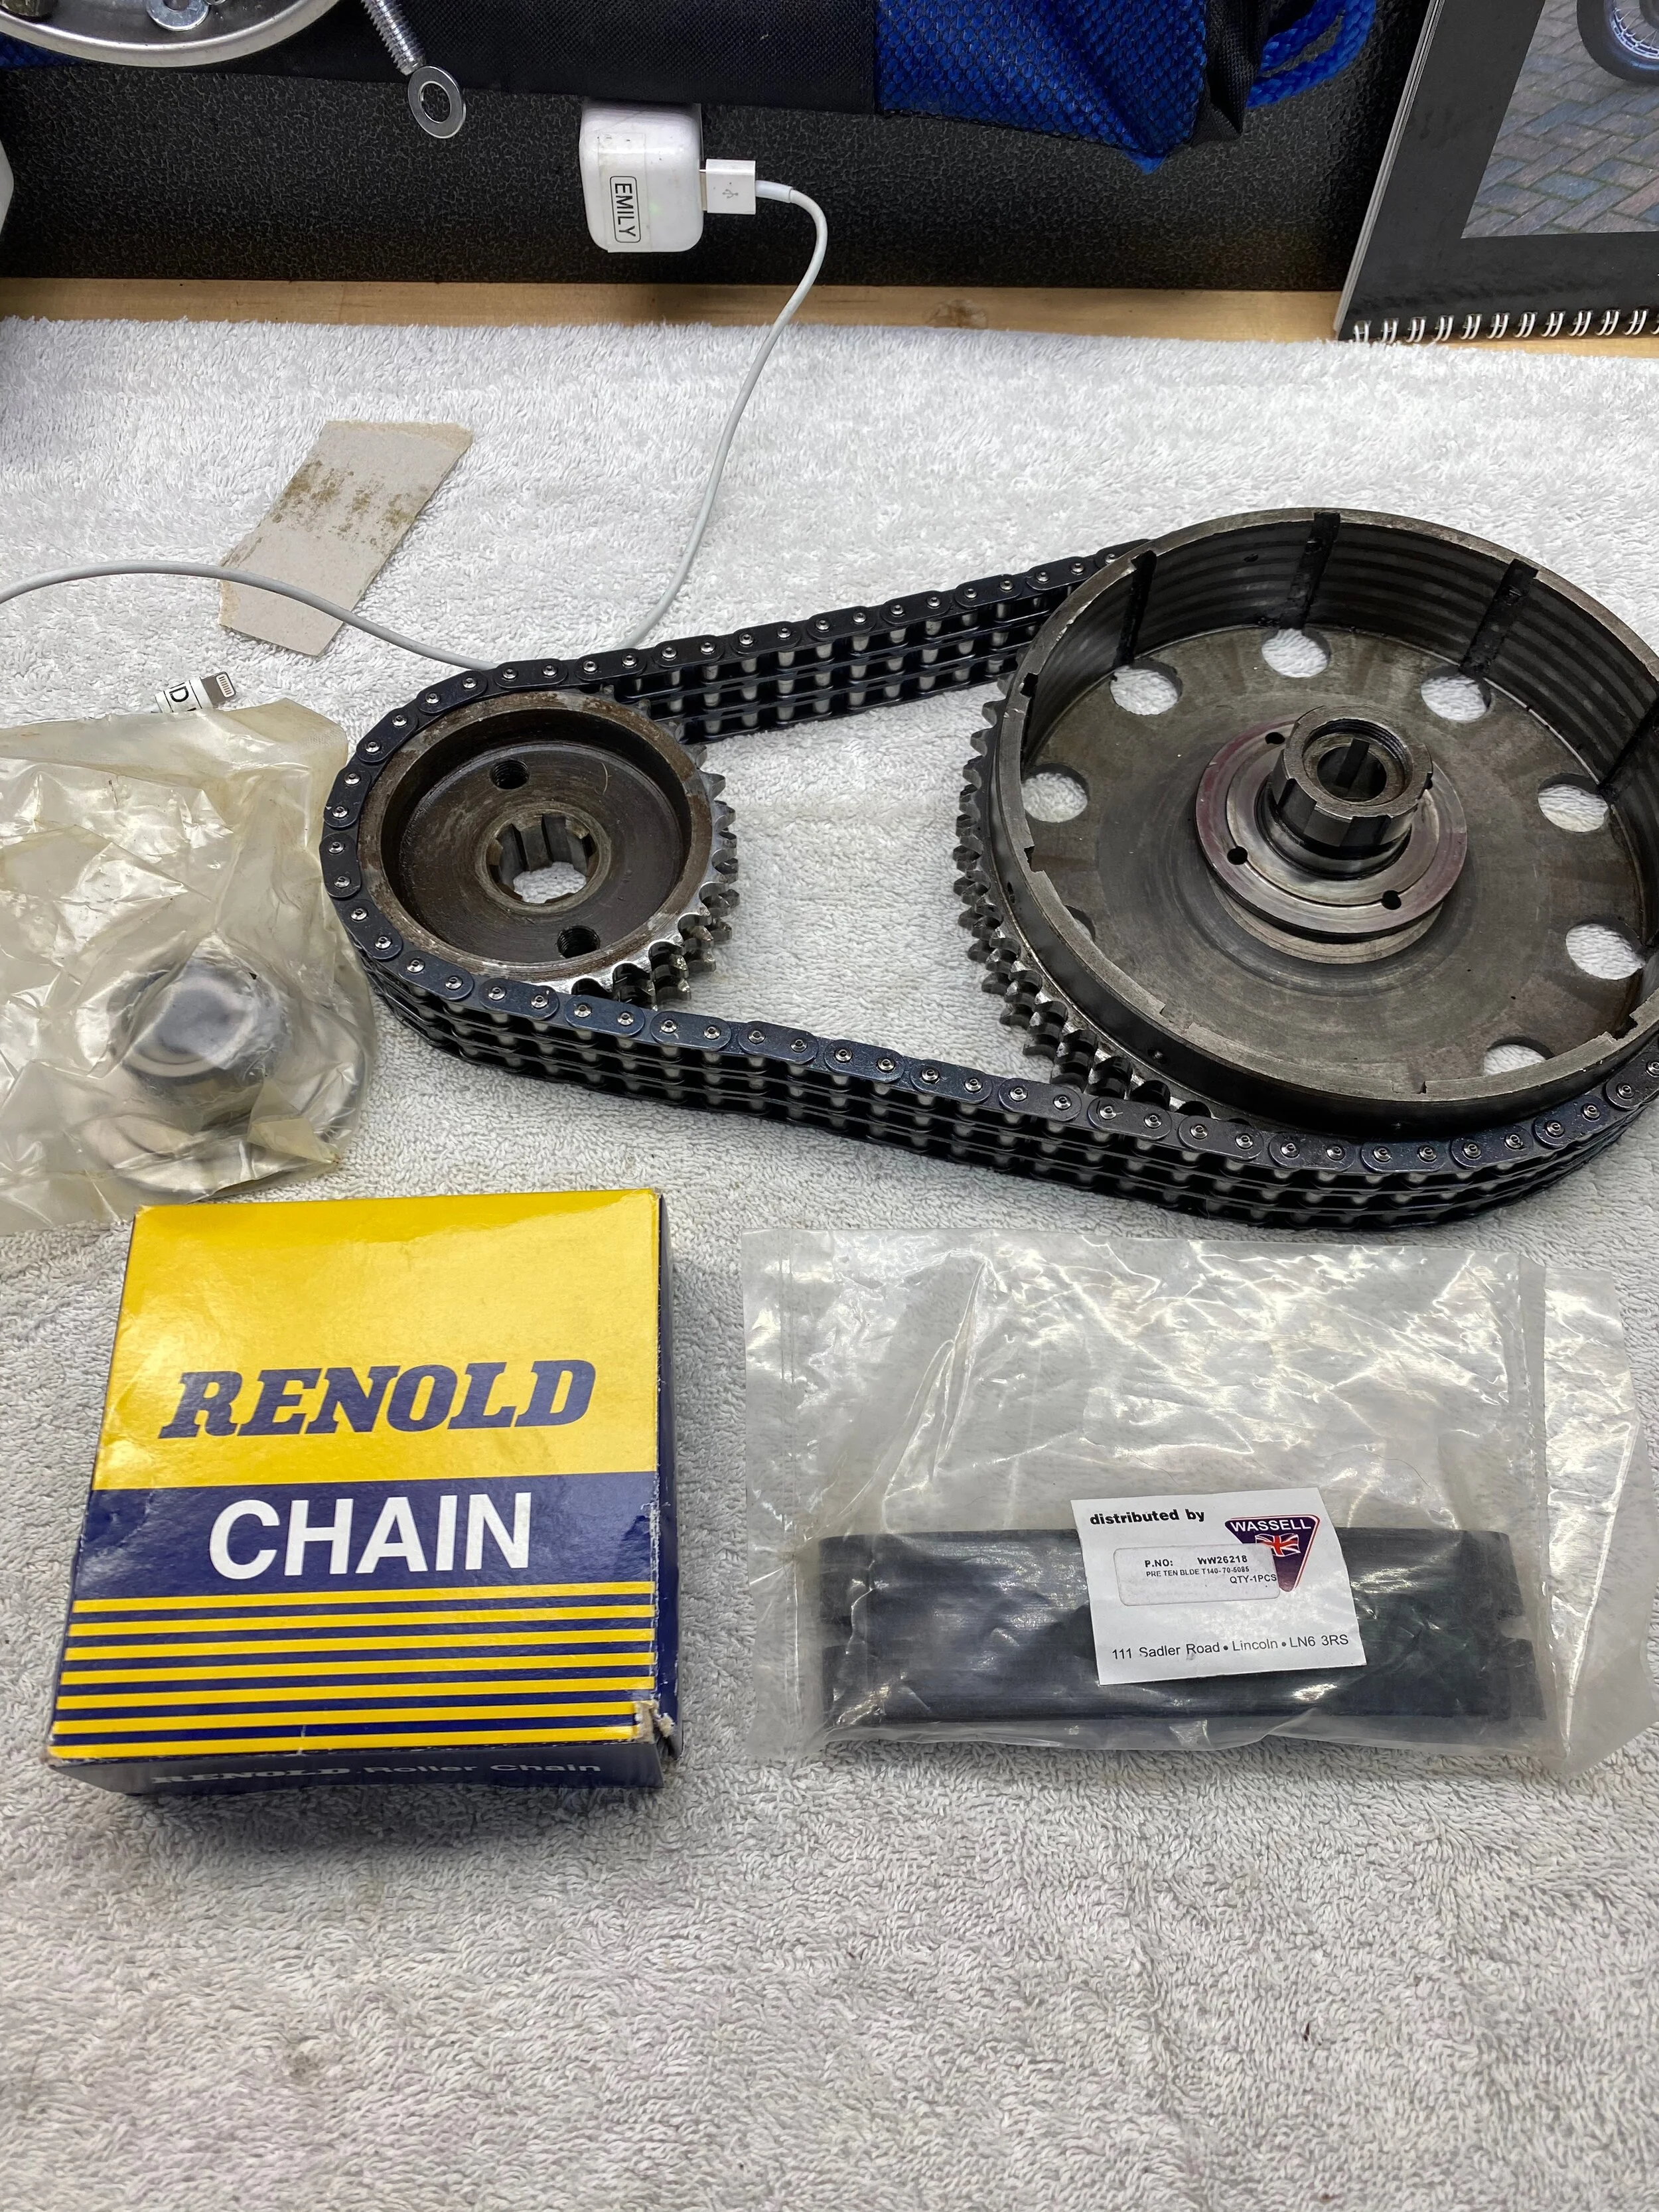
also decided that...while I was at it to get a new primary chain....

LowBrow Customs 'Barbie Stairs' clutch holder tool allows you to tighten everyhing up to torque

new adjuster...the darn thing that started it all....

Tighten the three clutch nuts so they are flush with the TOP of the nuts (not the screwdriver slot)....then you have to get on the bike and kick it over looking down at the pressure plate and adjust the three screws until it runs true...the most important adjustment however is to ensure that the clutch pushrod does not 'ride' on the end of the adjuster when disengaged. There needs to be some free play in the lever to ensure that while you're riding, the push rod and the adjuster end shall never meet....or there's more of a chance of shearing the adjuster bolt (again) or worse...welding them together.
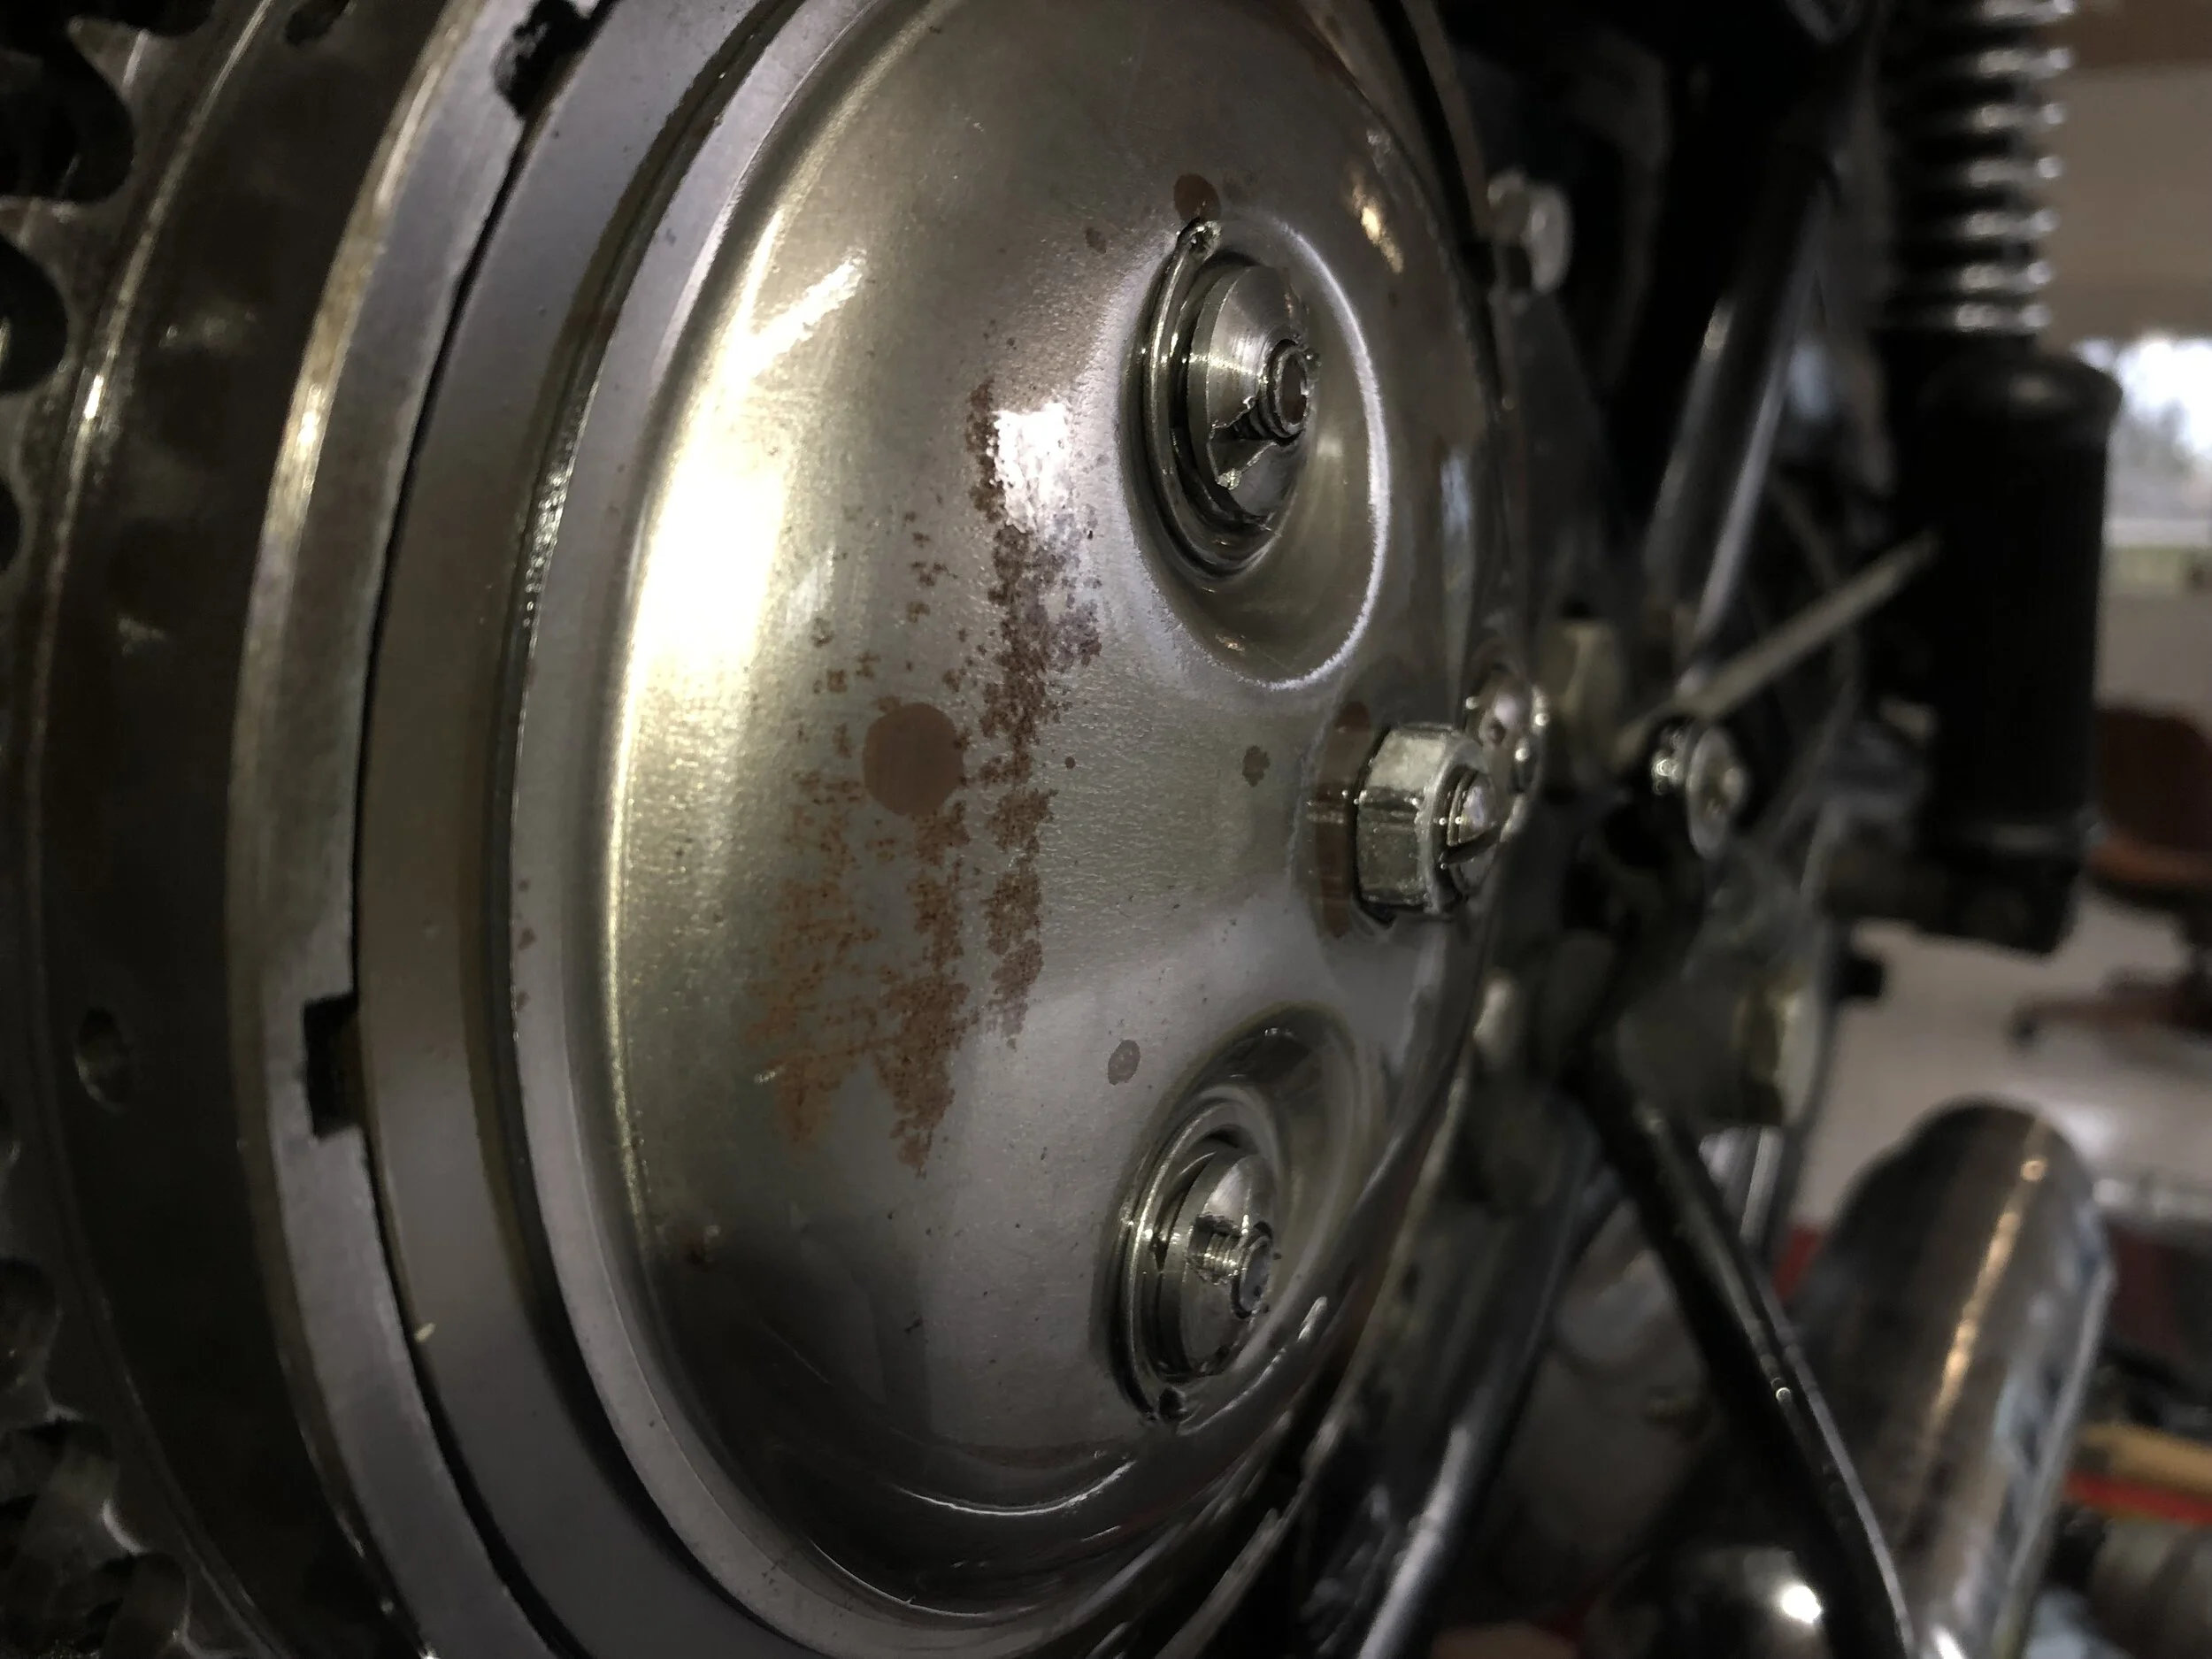
this flush...
Working on the Clutch. Part 3.
Then in July….I checked the oil only to see tell-tale brass sparkles. Gutted, I knew I was going to have to replace the clutch thrust washer again….this time I did some more research…..

1- the orginal thrust washer was a bi-metal steel/bronze item that is very hard to find. Located one in England from an interesting company called Feked.

2-Then here's the thing: TR7RVman suggested that the edges on the half-moon cut outs in the hubcenter were whats wearing the inner part of the washer so I filed these down.....
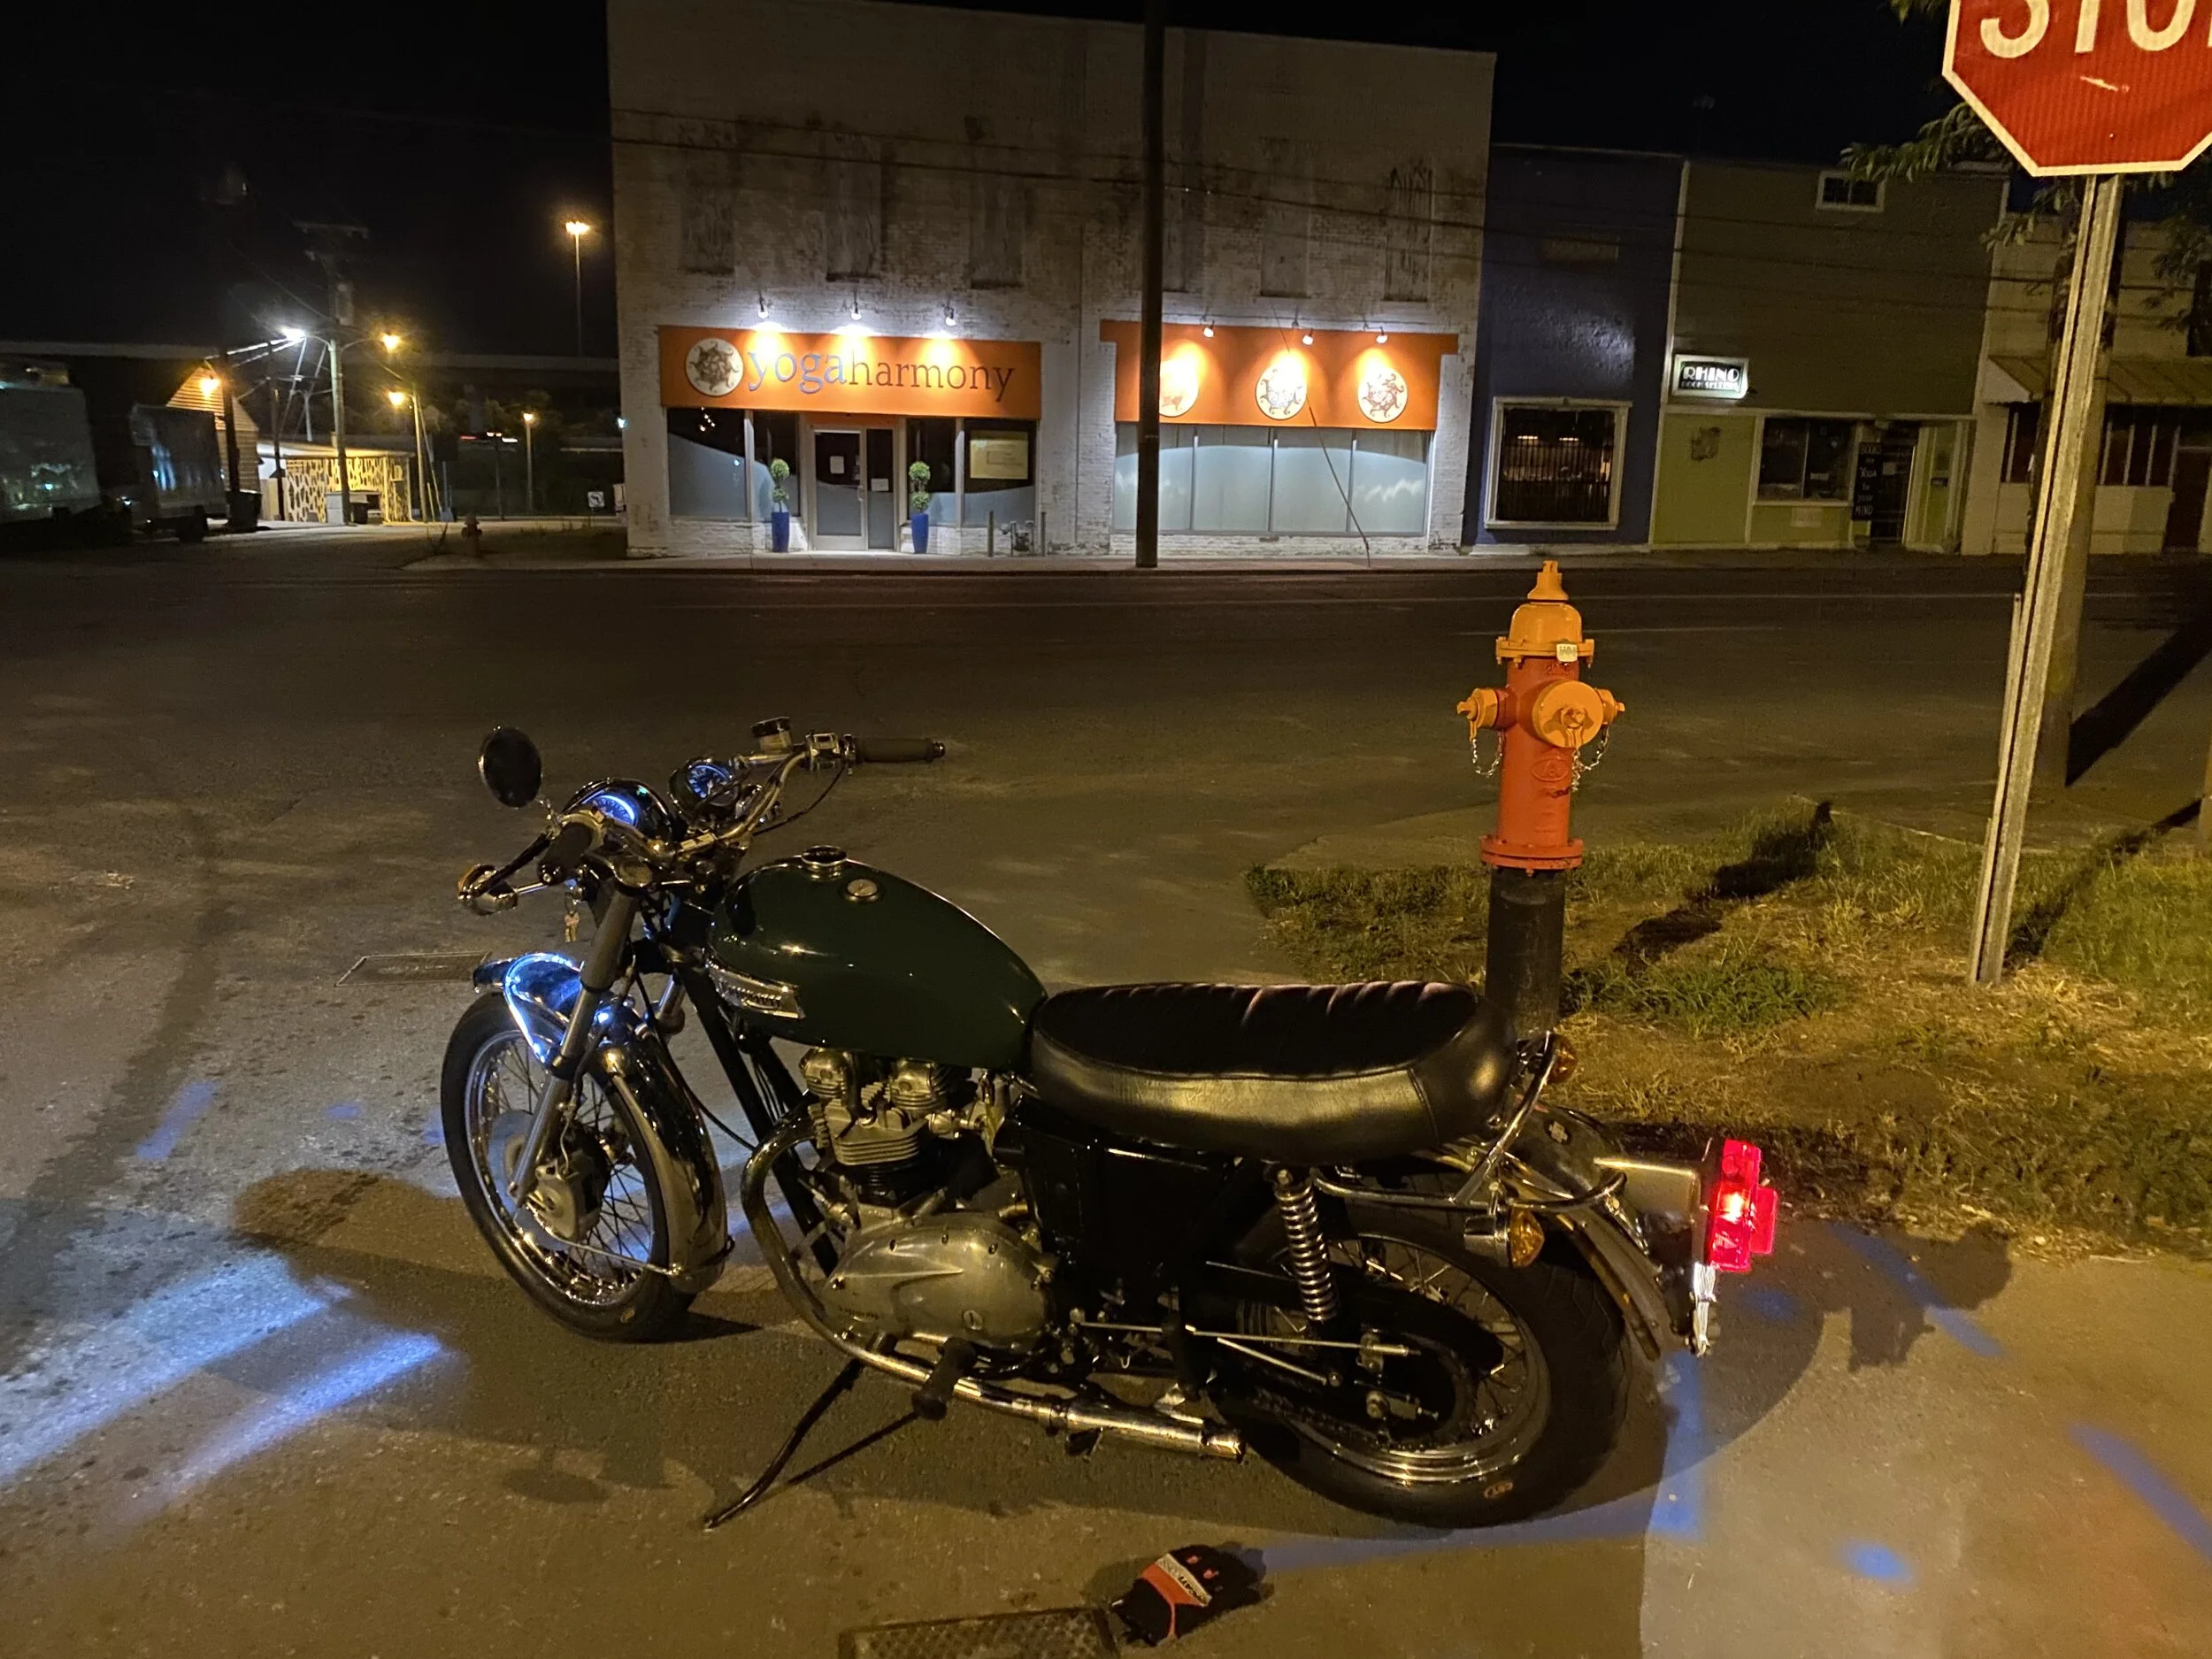
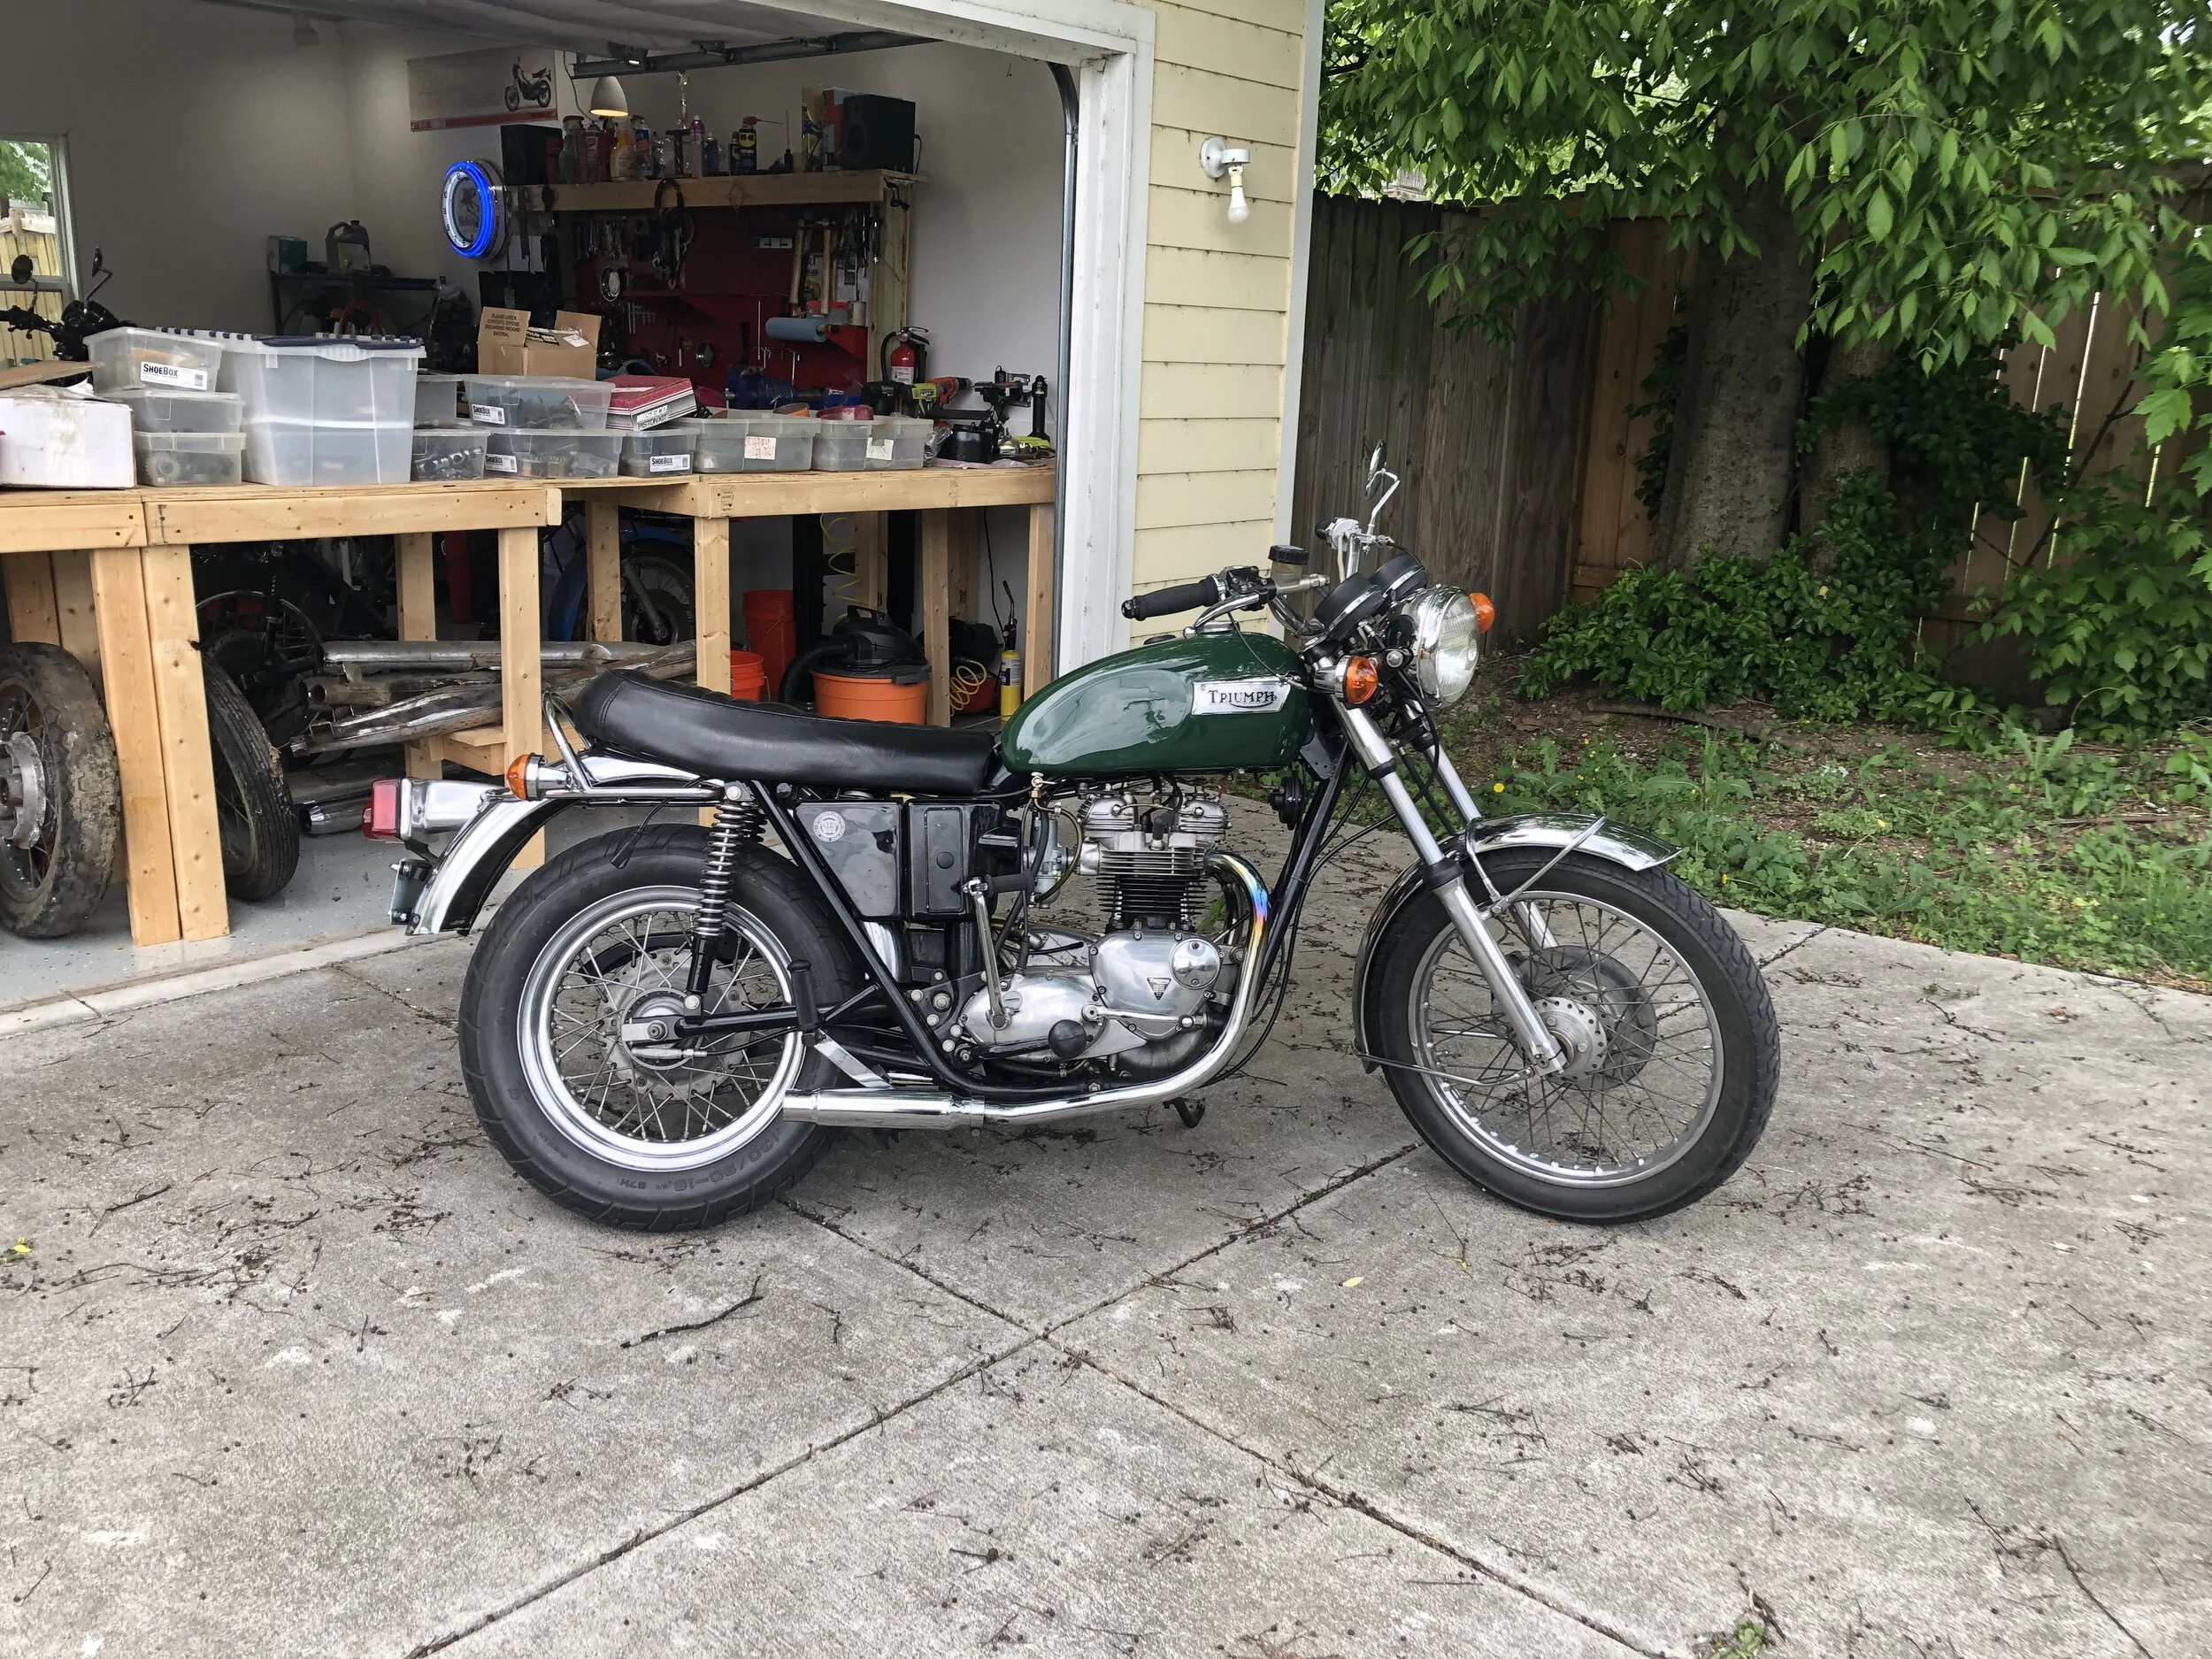
Put it all back together for the third time in four months. It started first kick so took it for a late night run thru the streets of Nashville....returning on the sweeping curves of the freeway at a steady 70mph. Nothing like a successful summer nights test run..nothing.....and the oil has been clear of sparkles ever since.