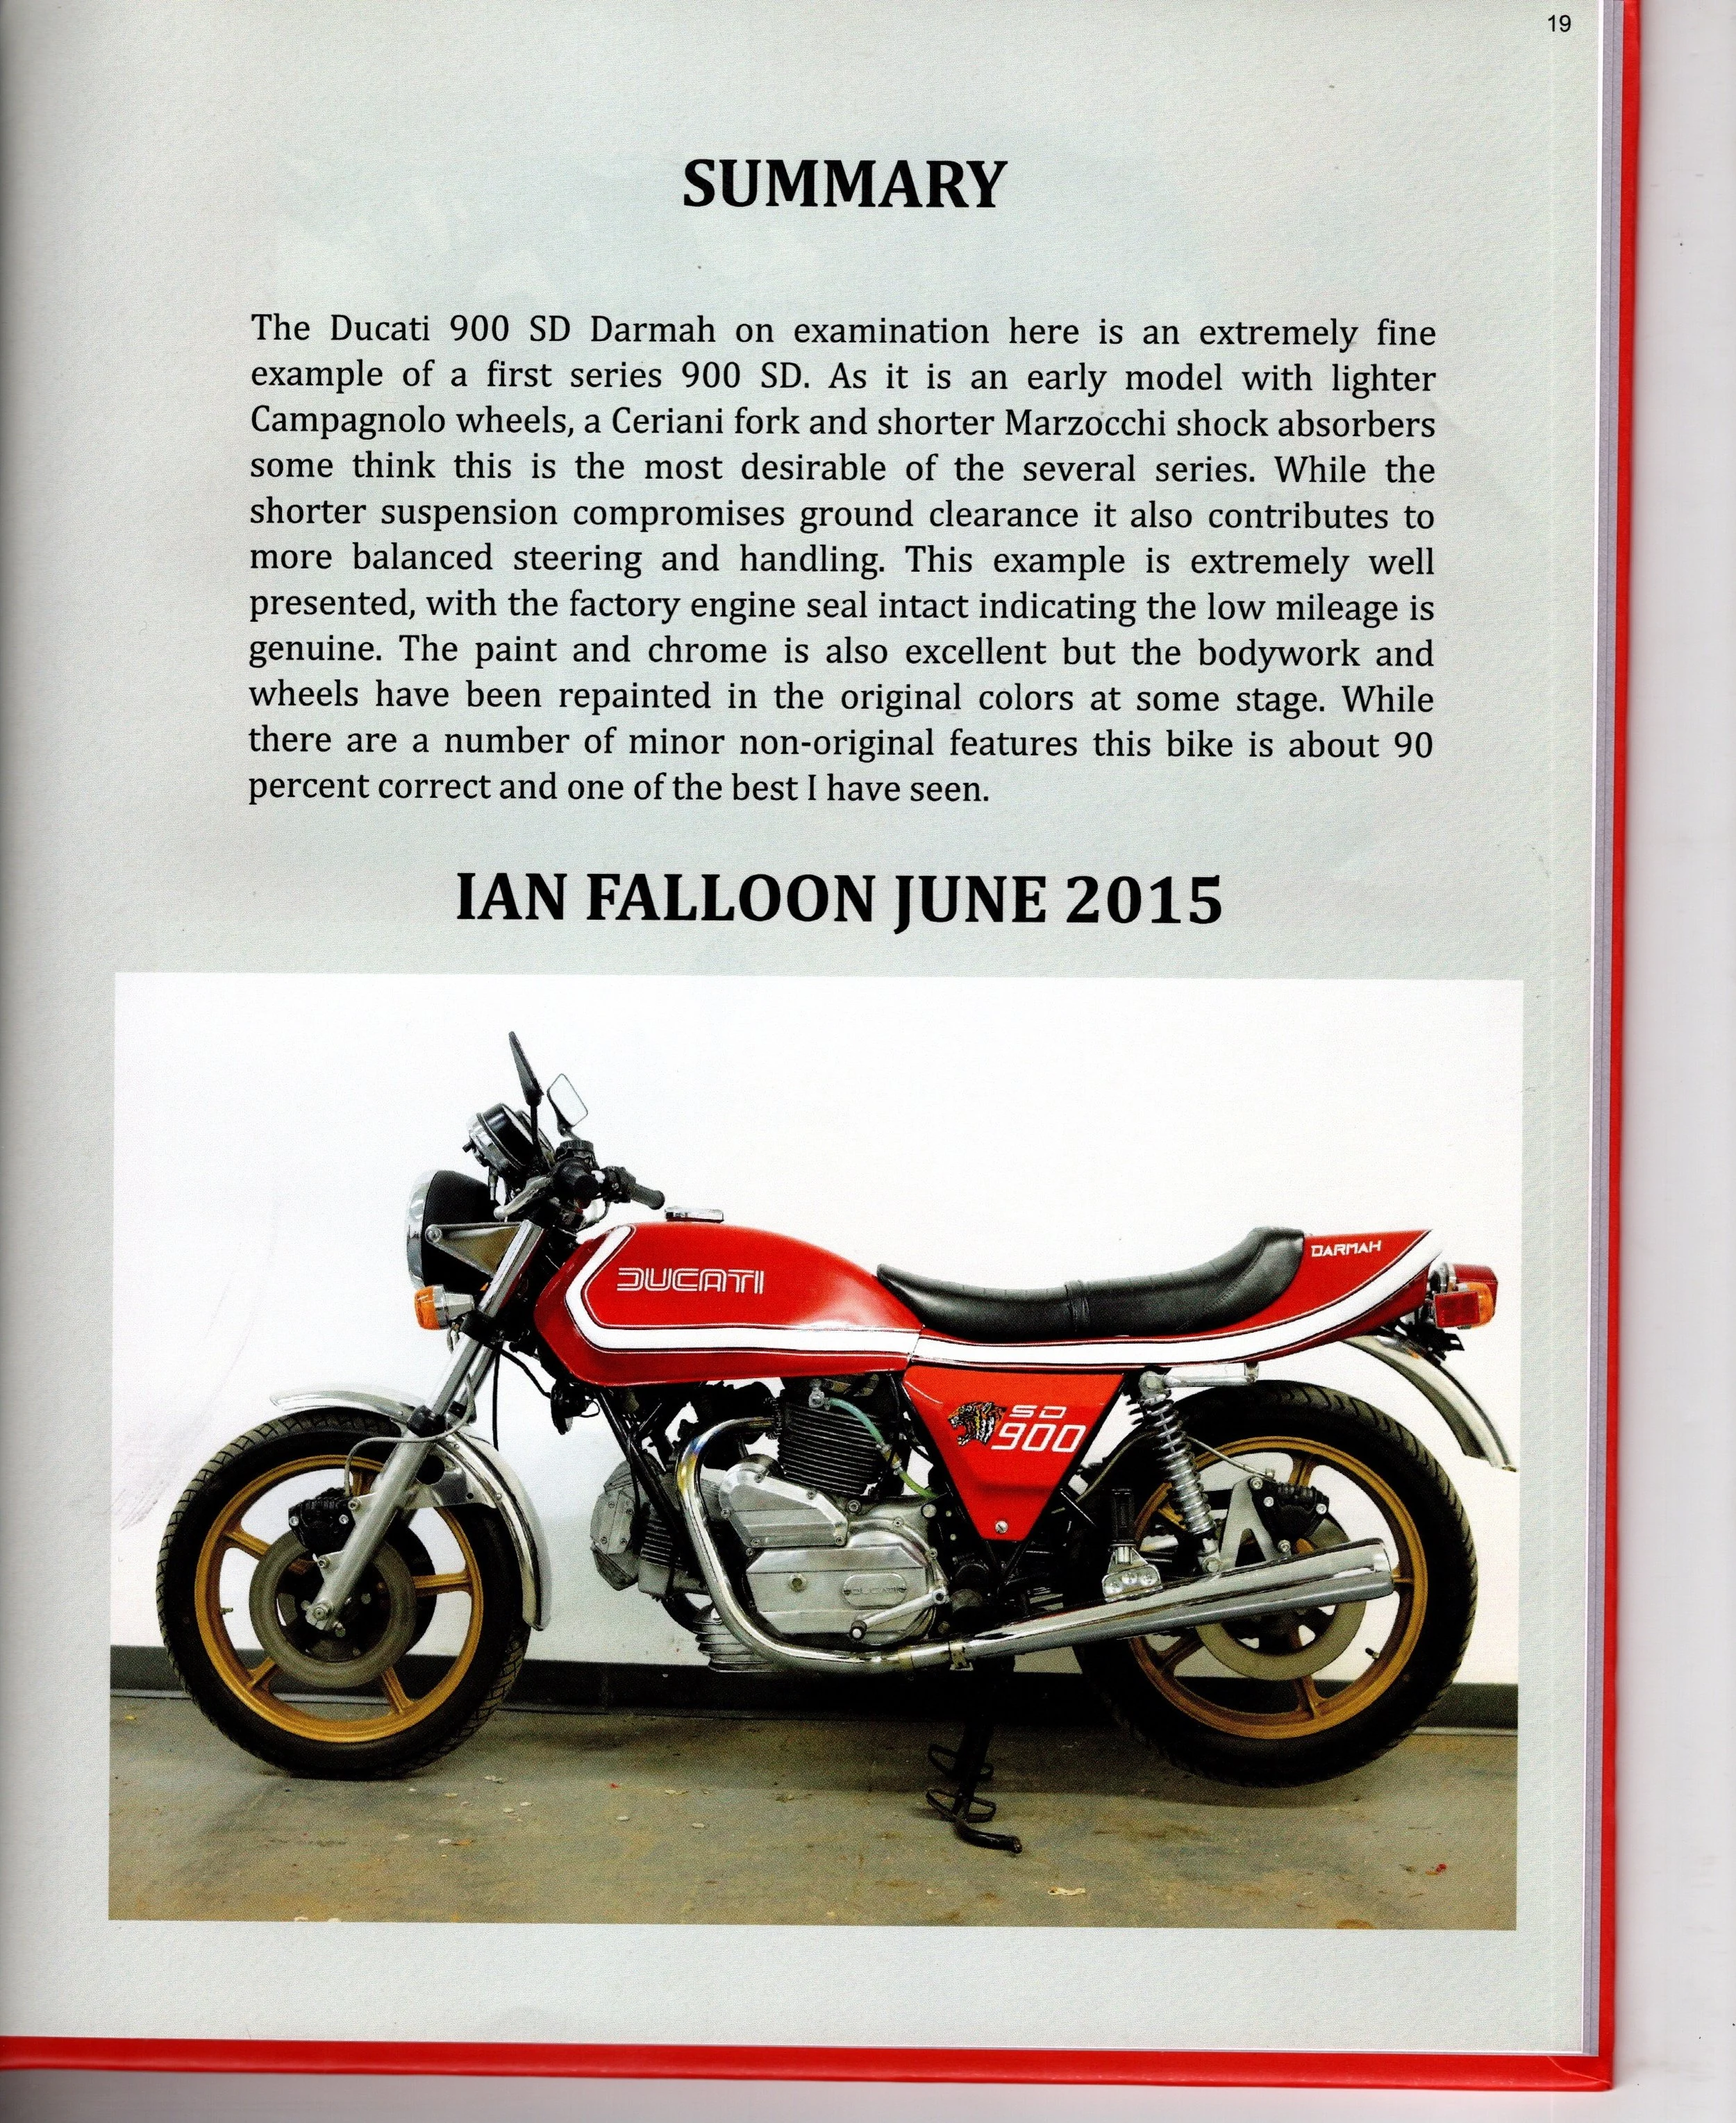
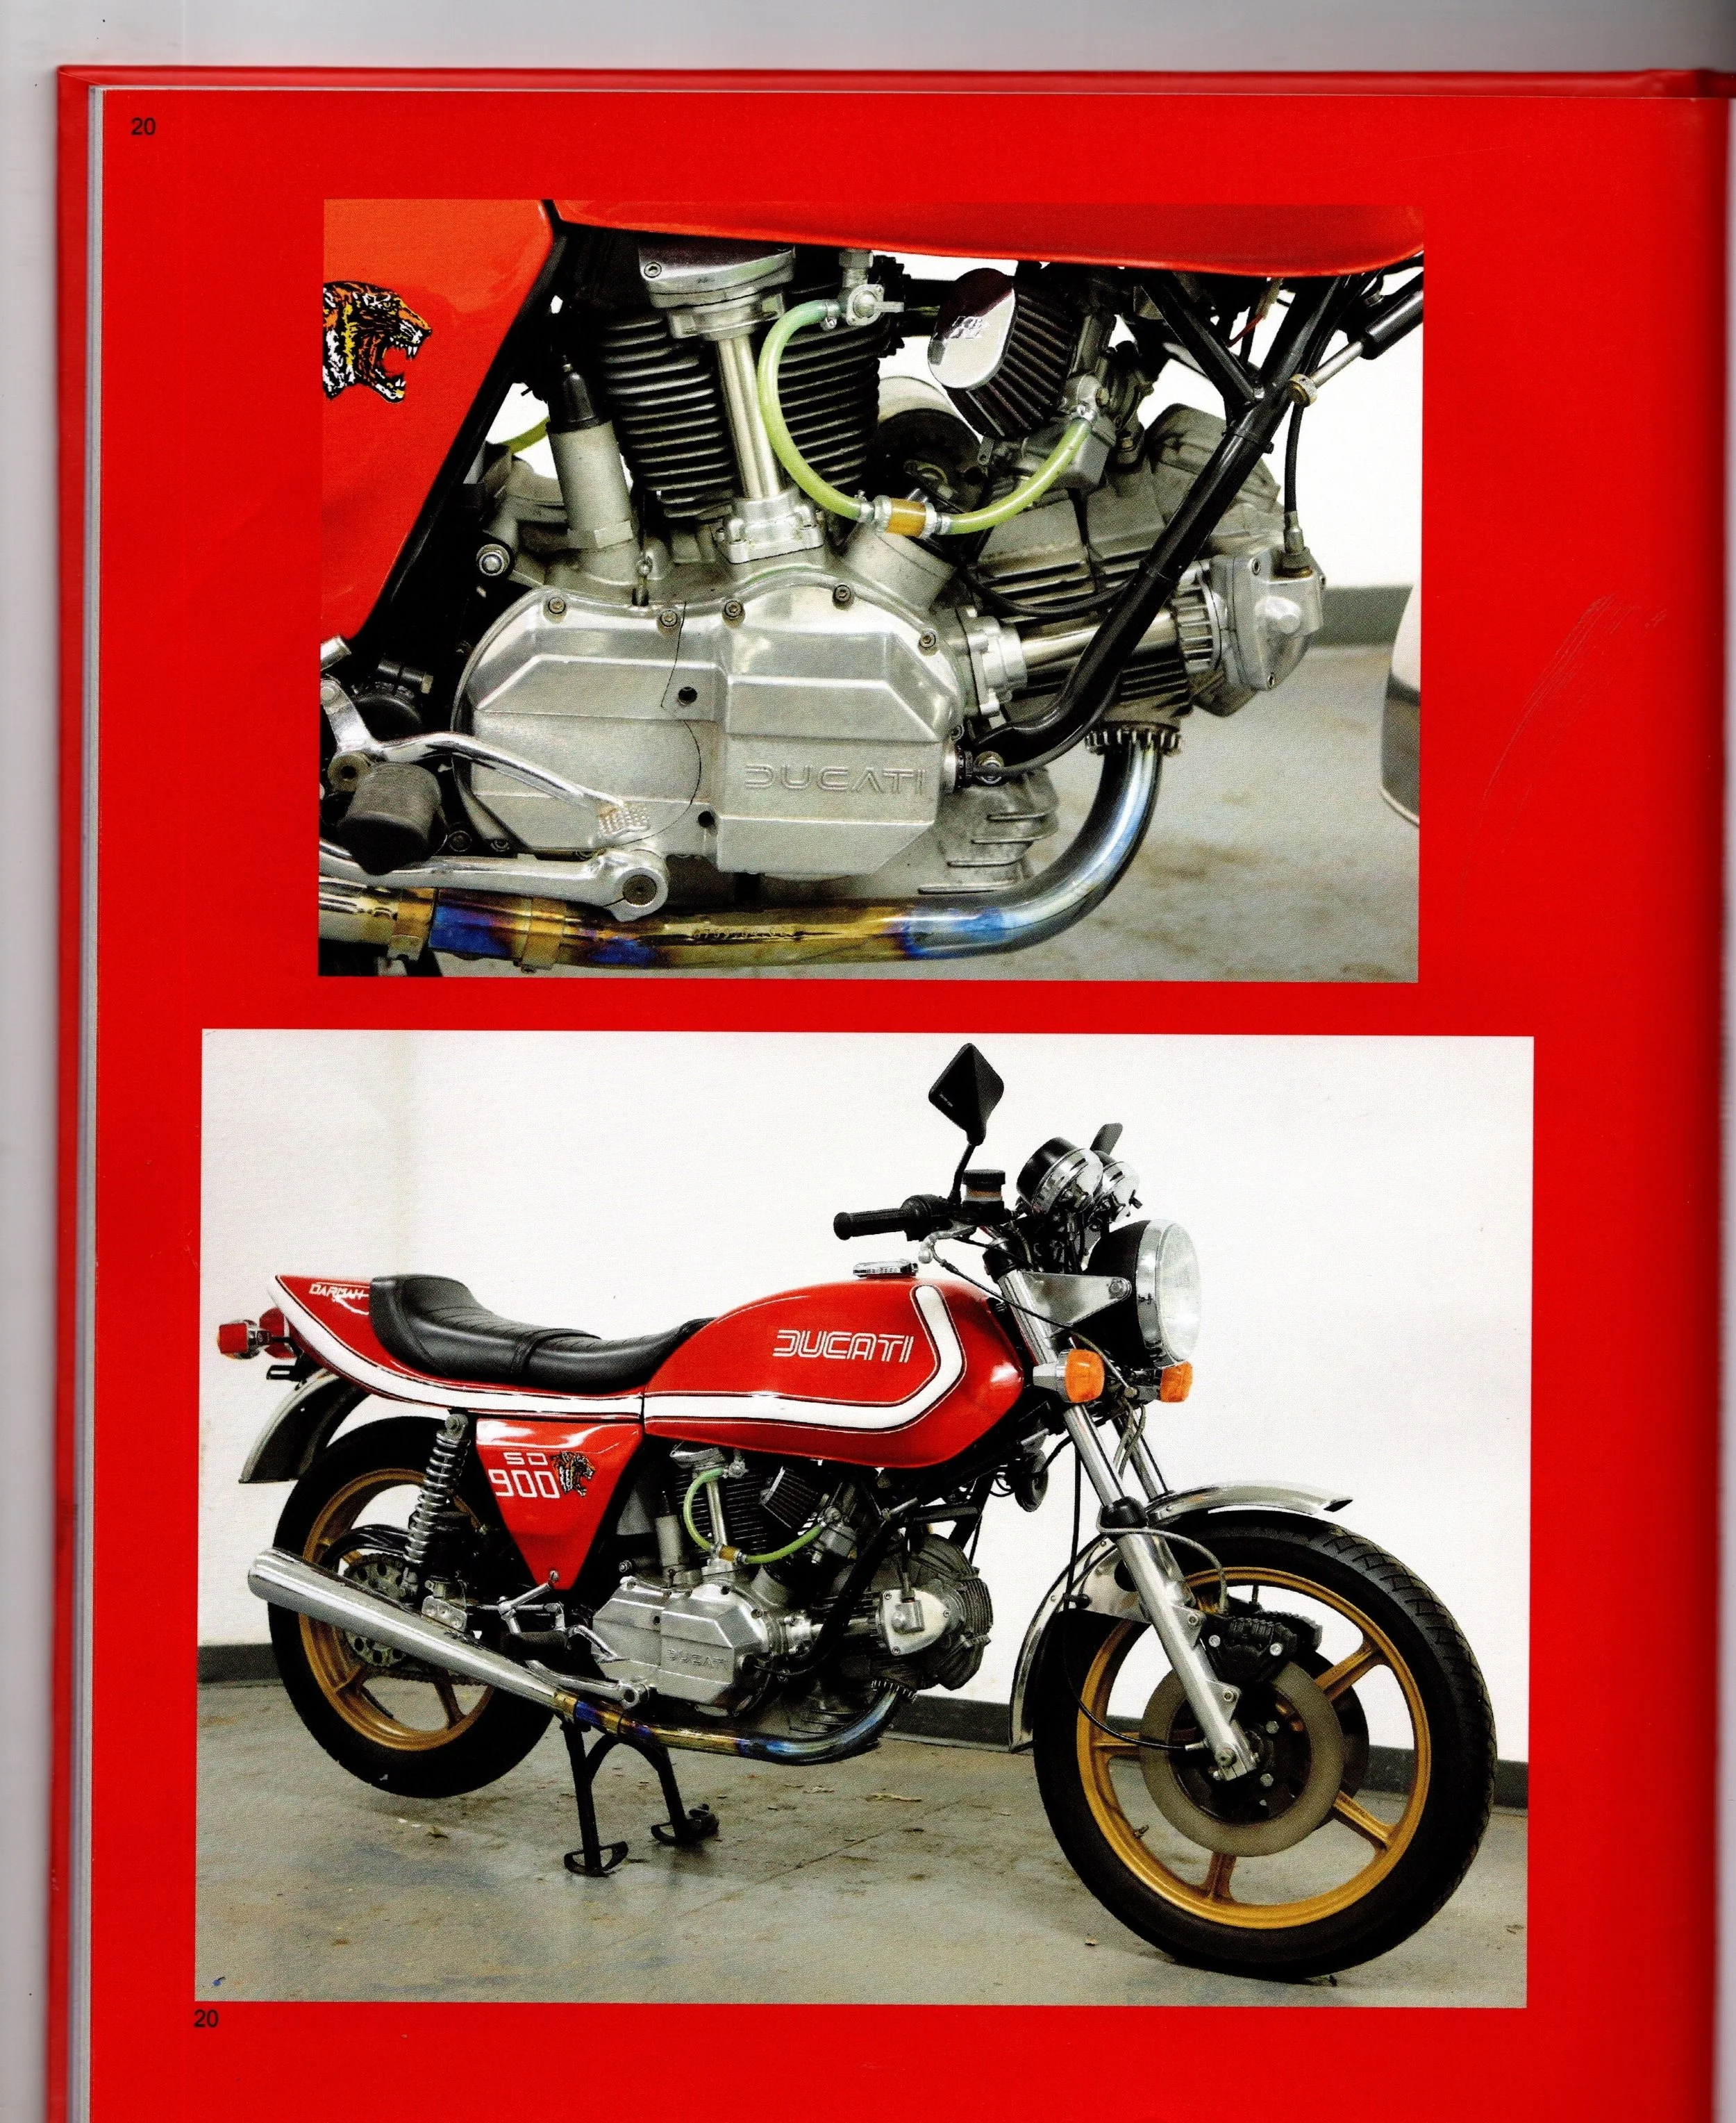
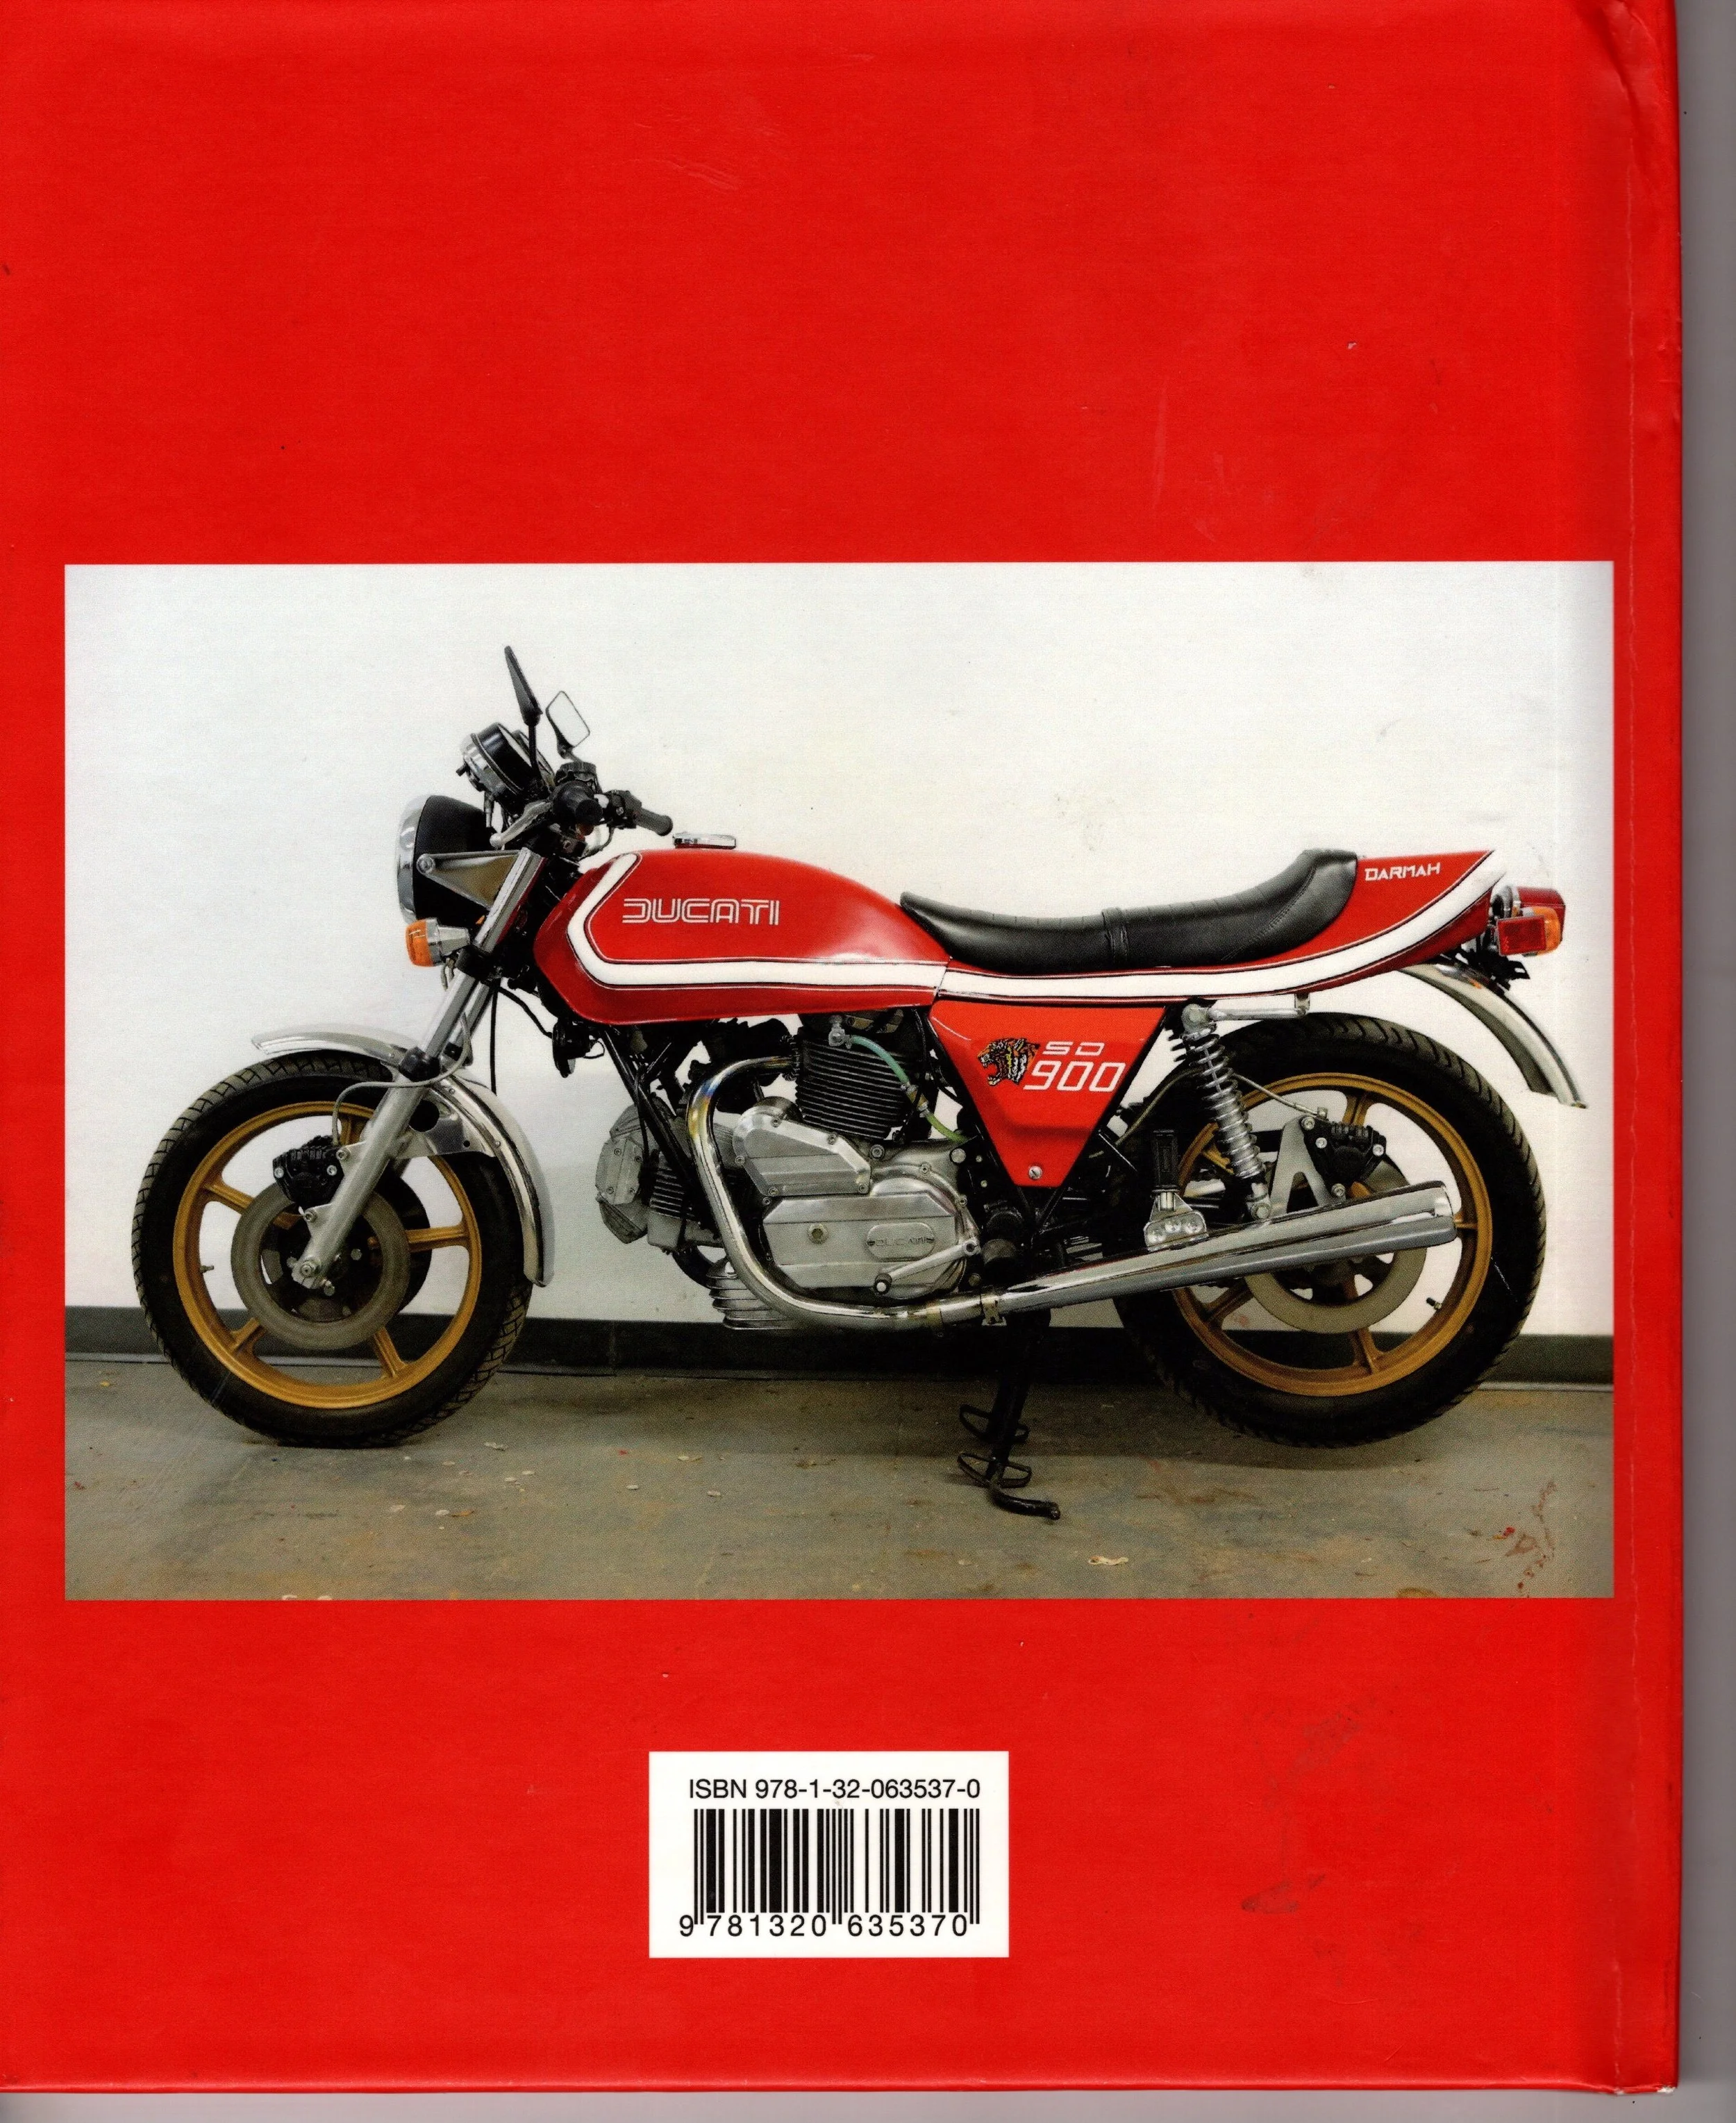
1977 Ducati Darmah 900SD
Bought on Ebay from the Stuart Parr Collecton on Nov 20th 2019….arrived Dec 30th 2019

Original E-bay ad

U-ship. Still the better deal.

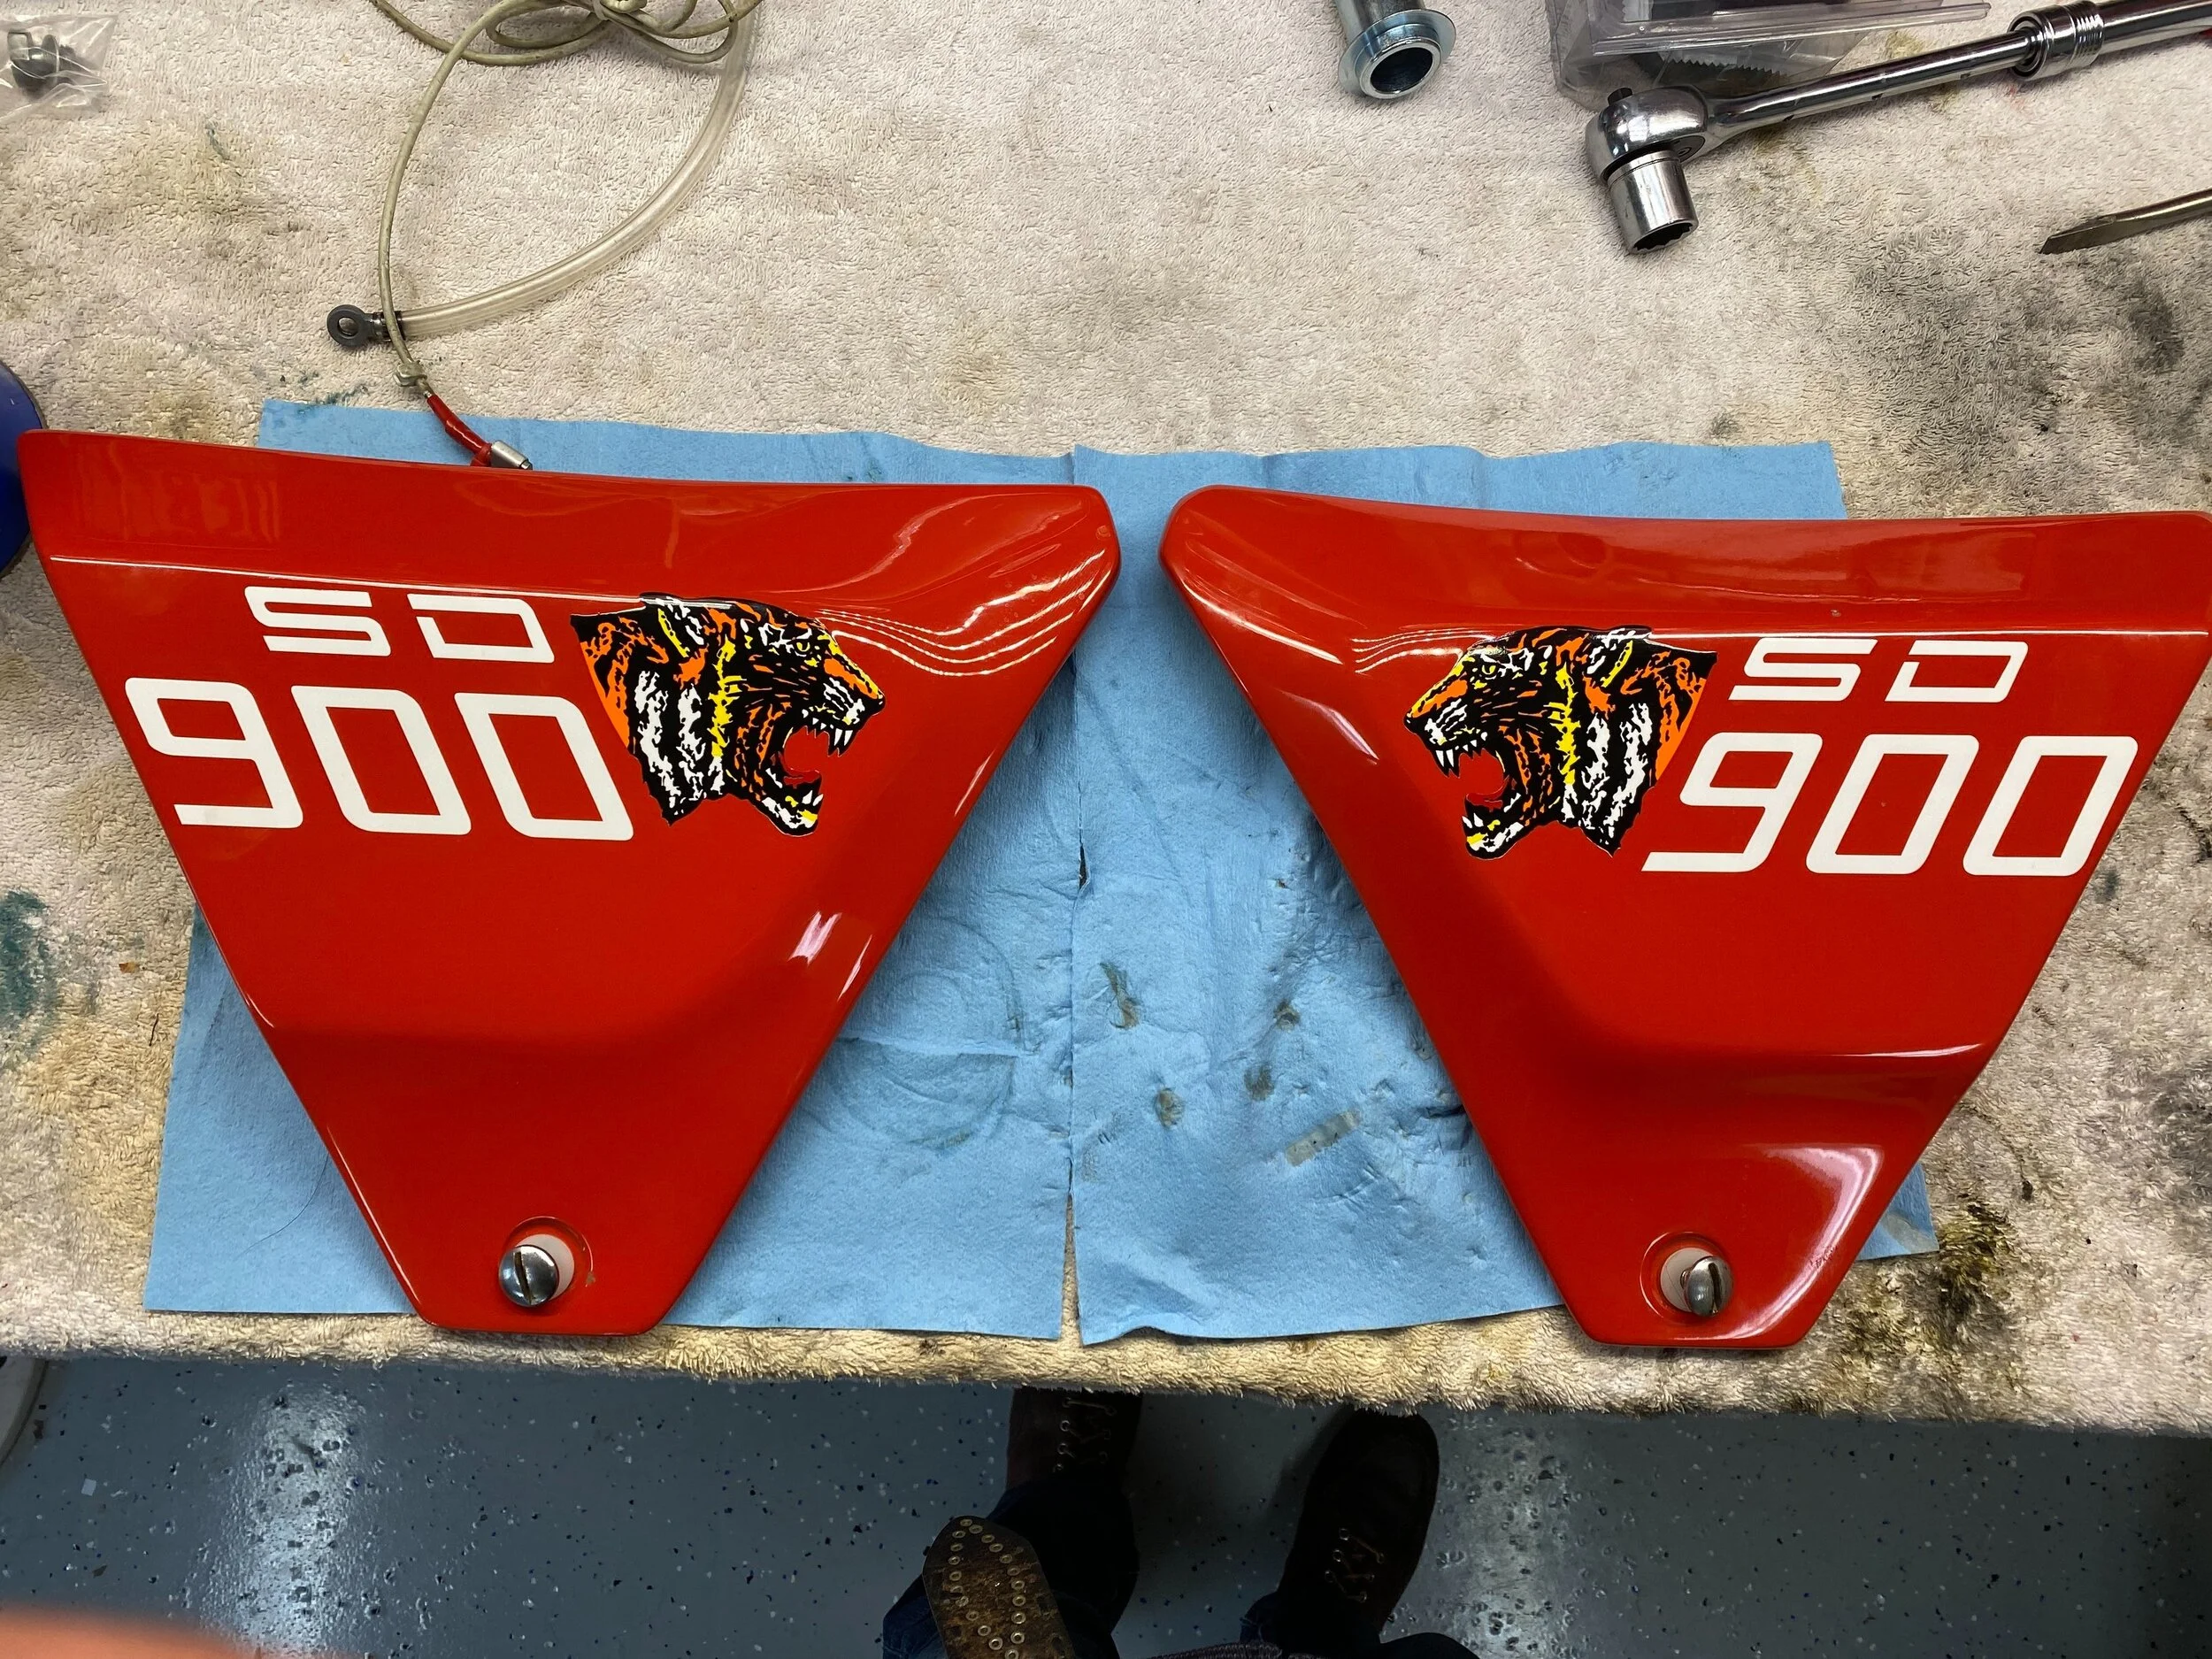
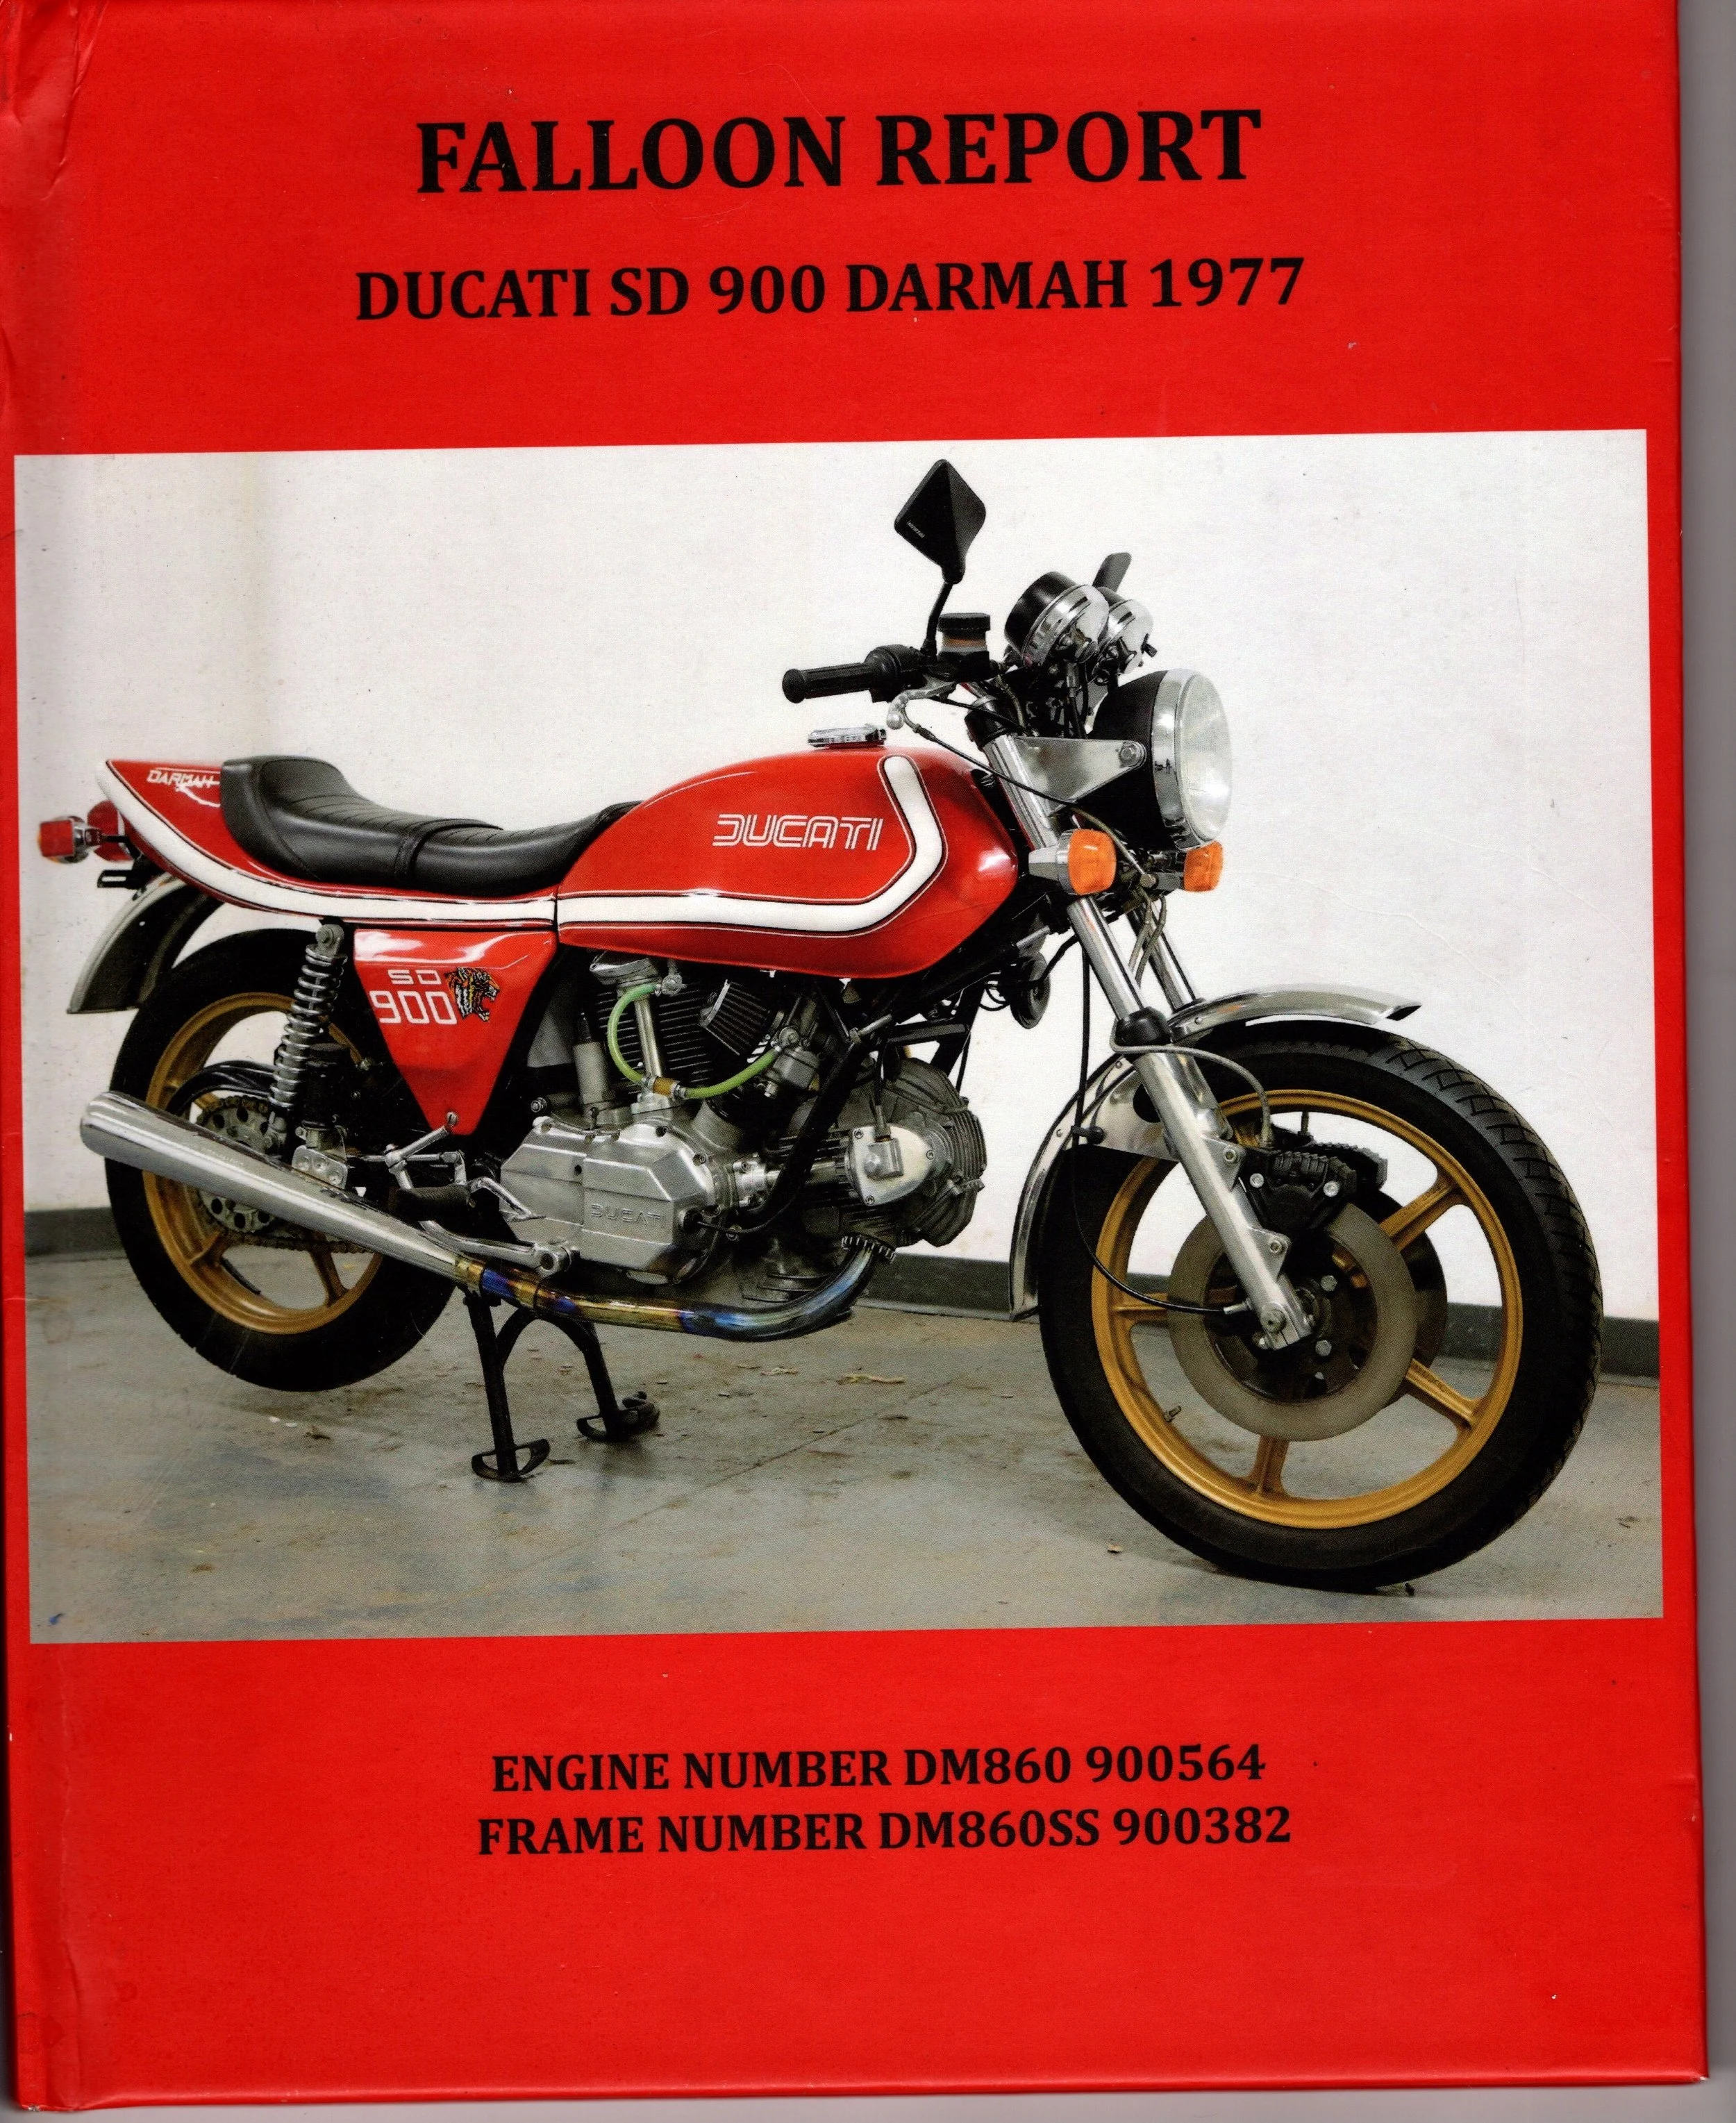
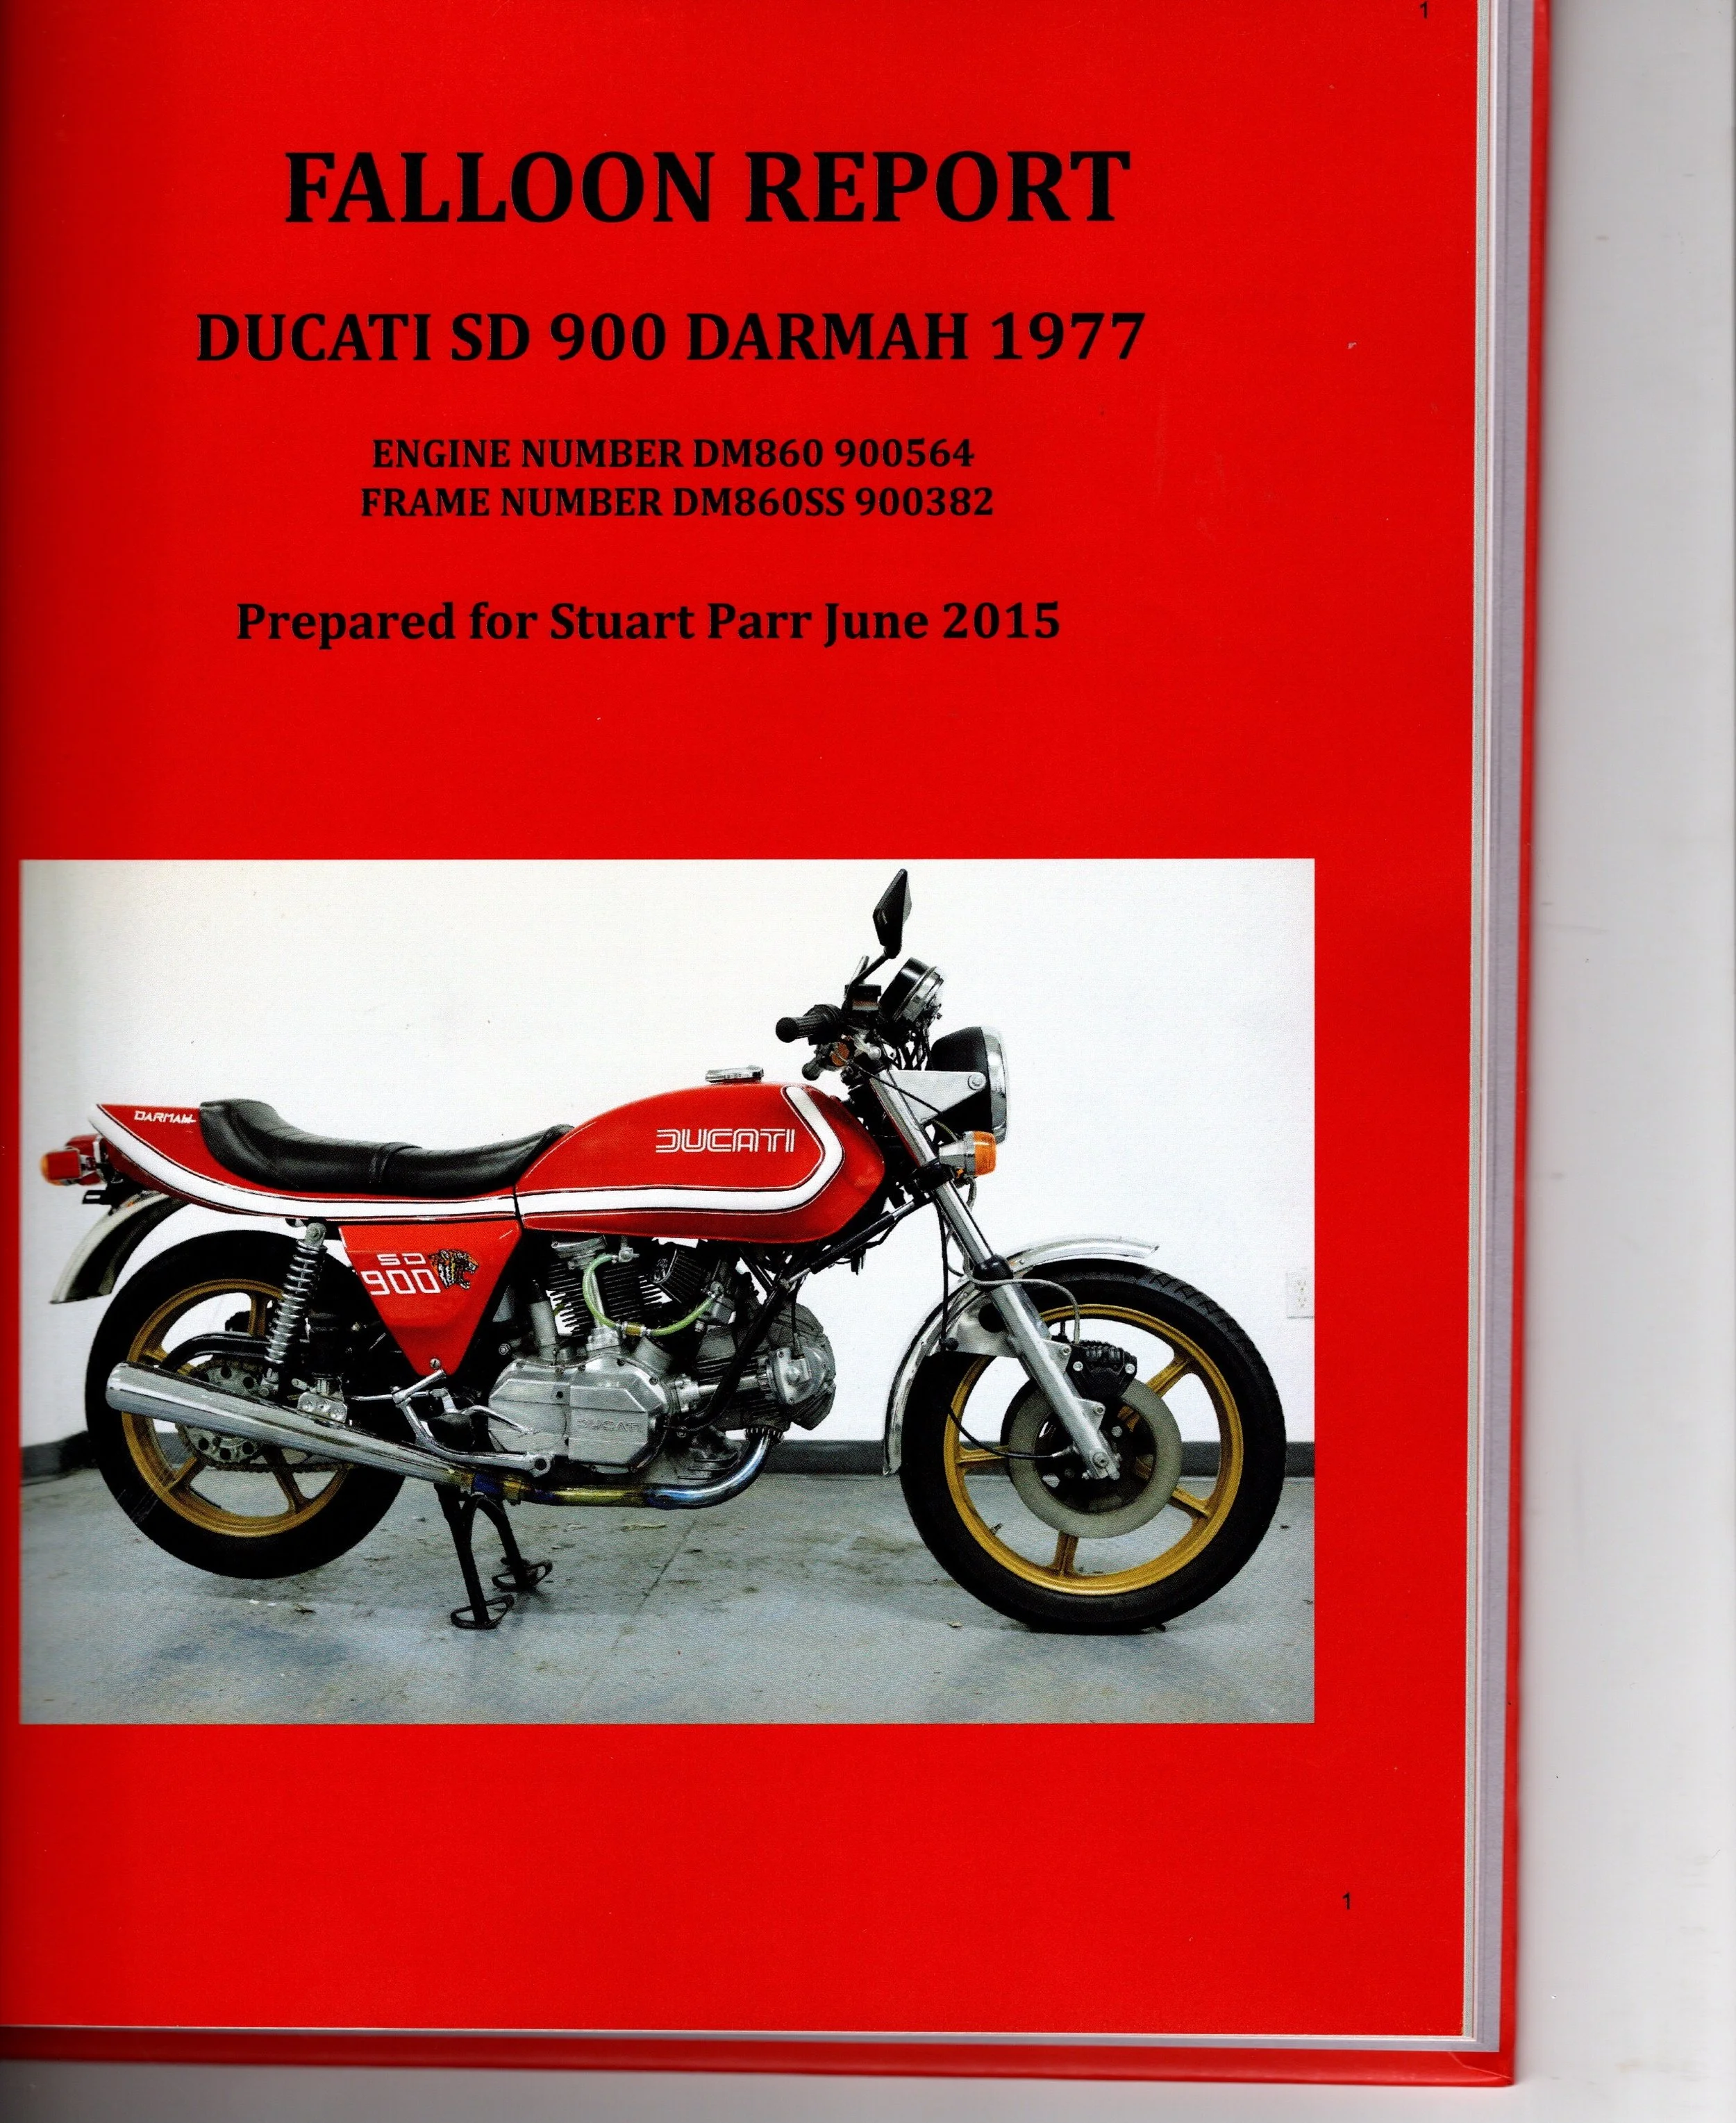
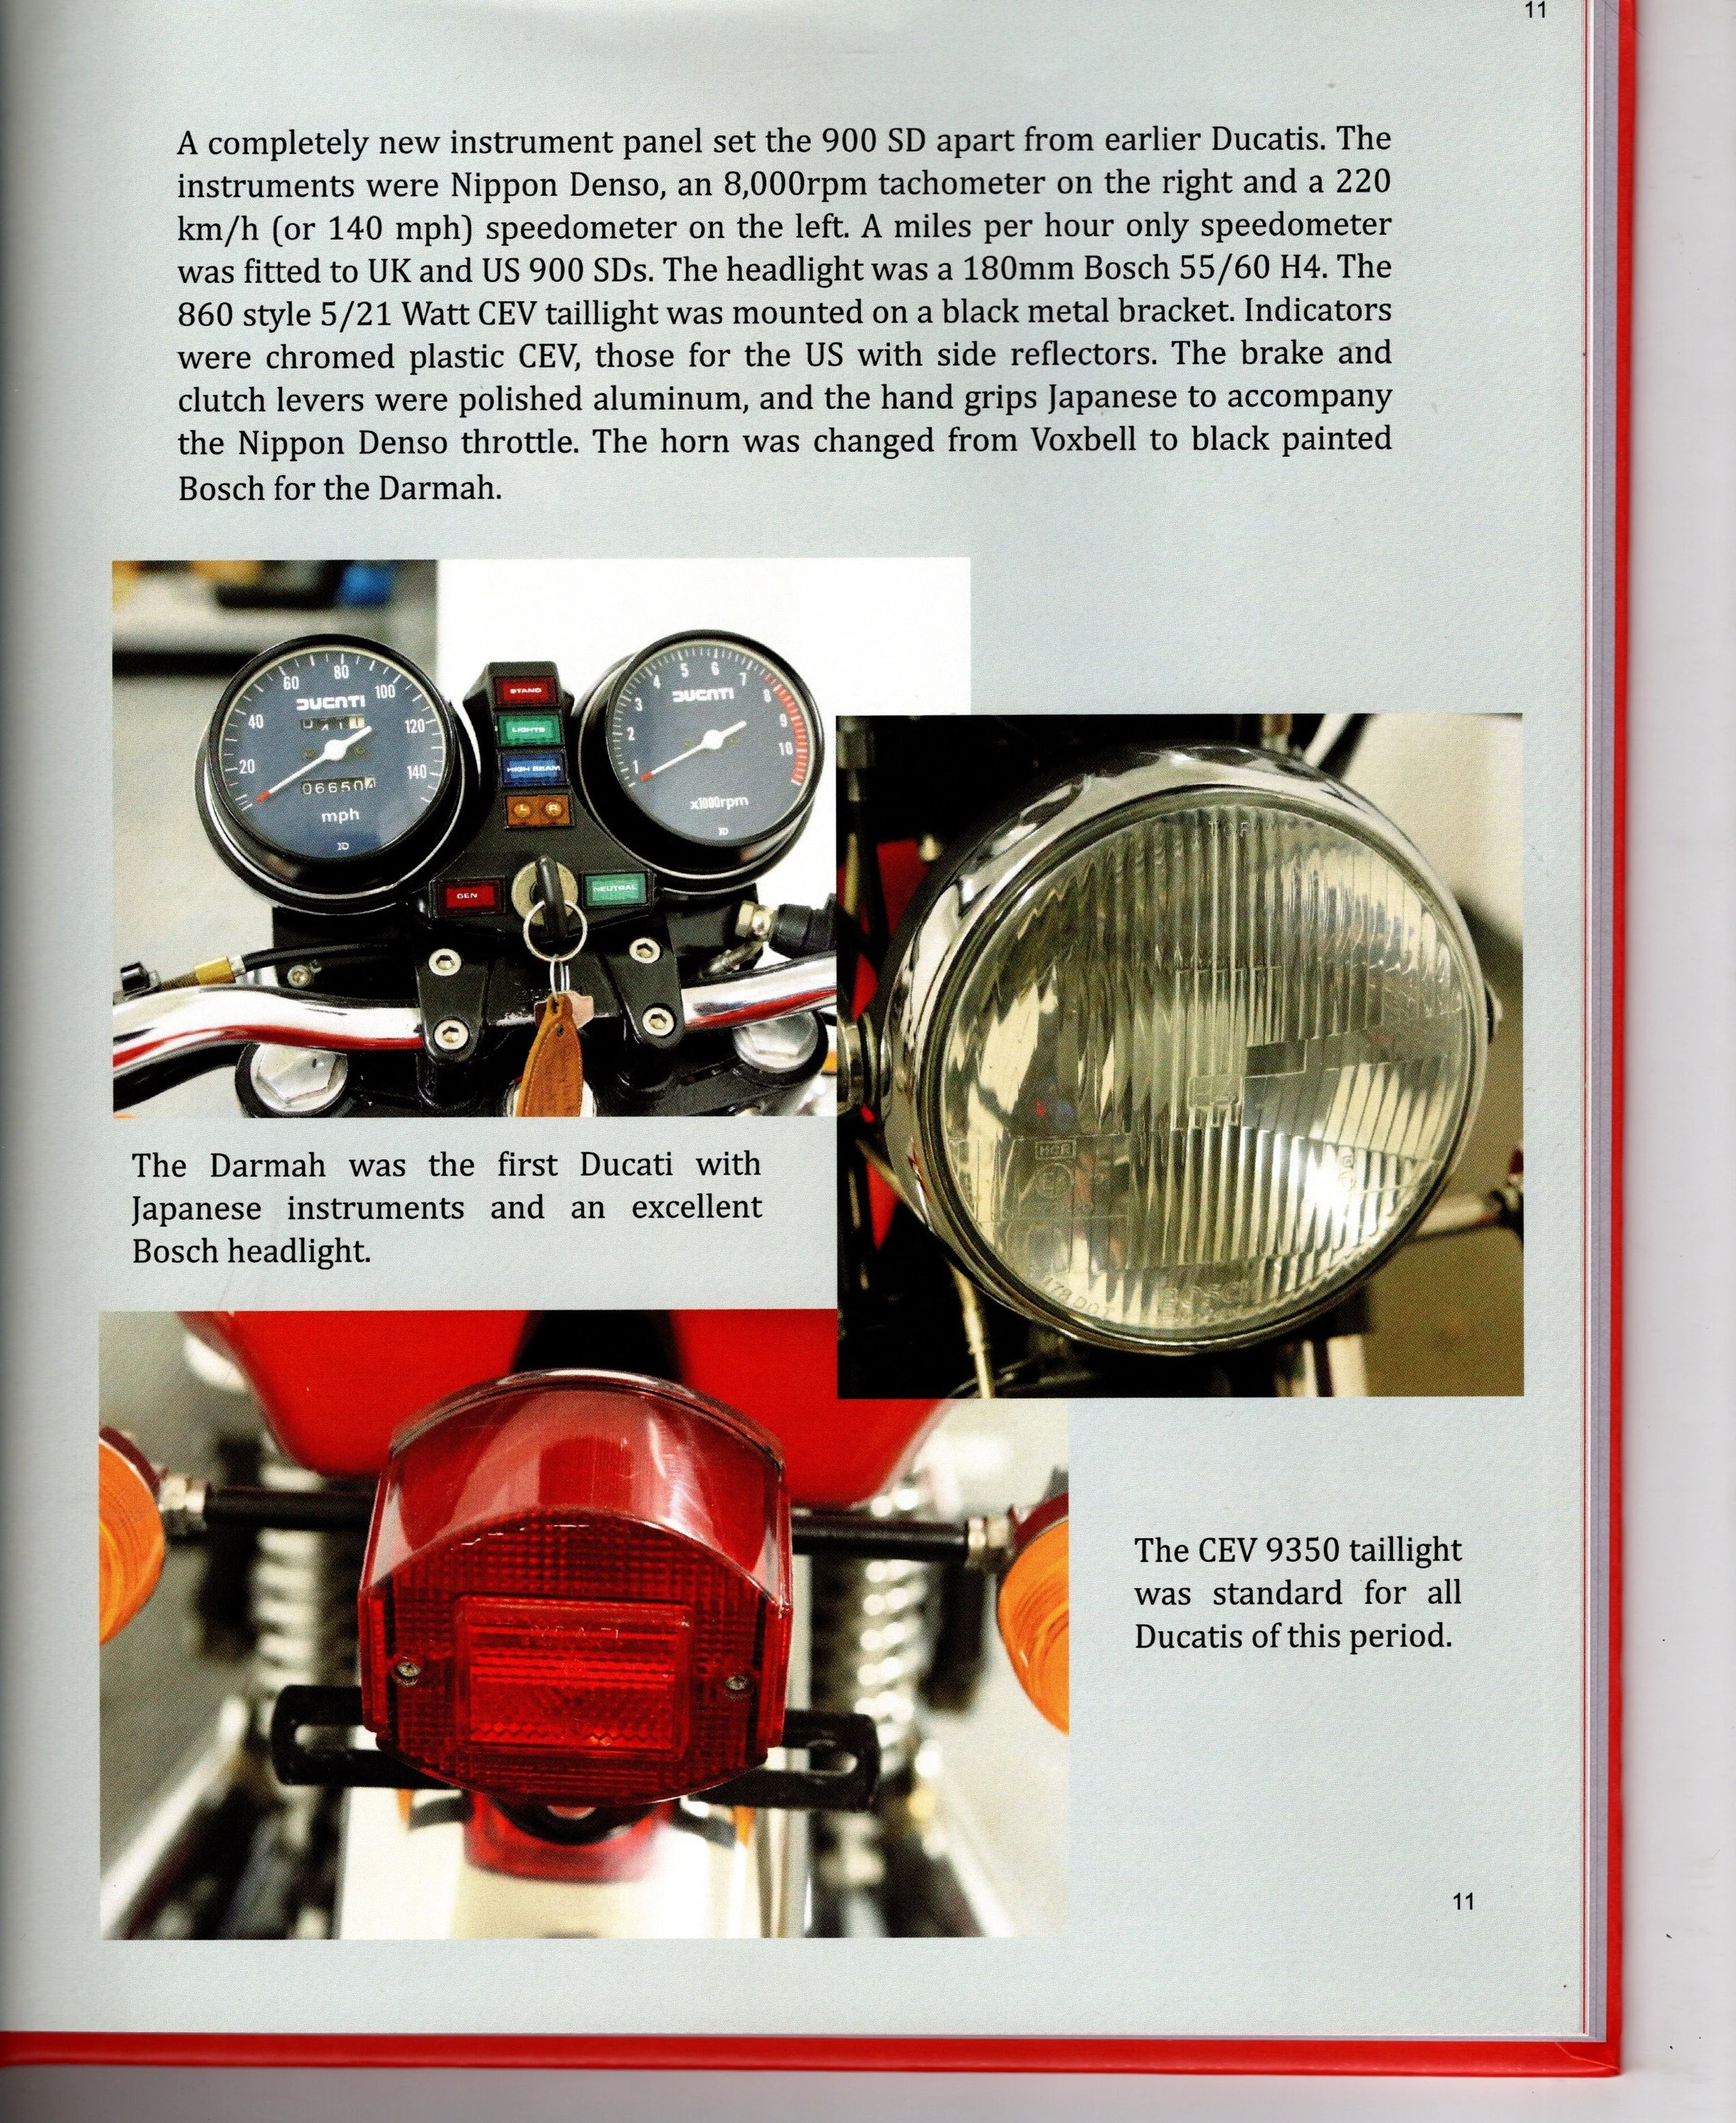
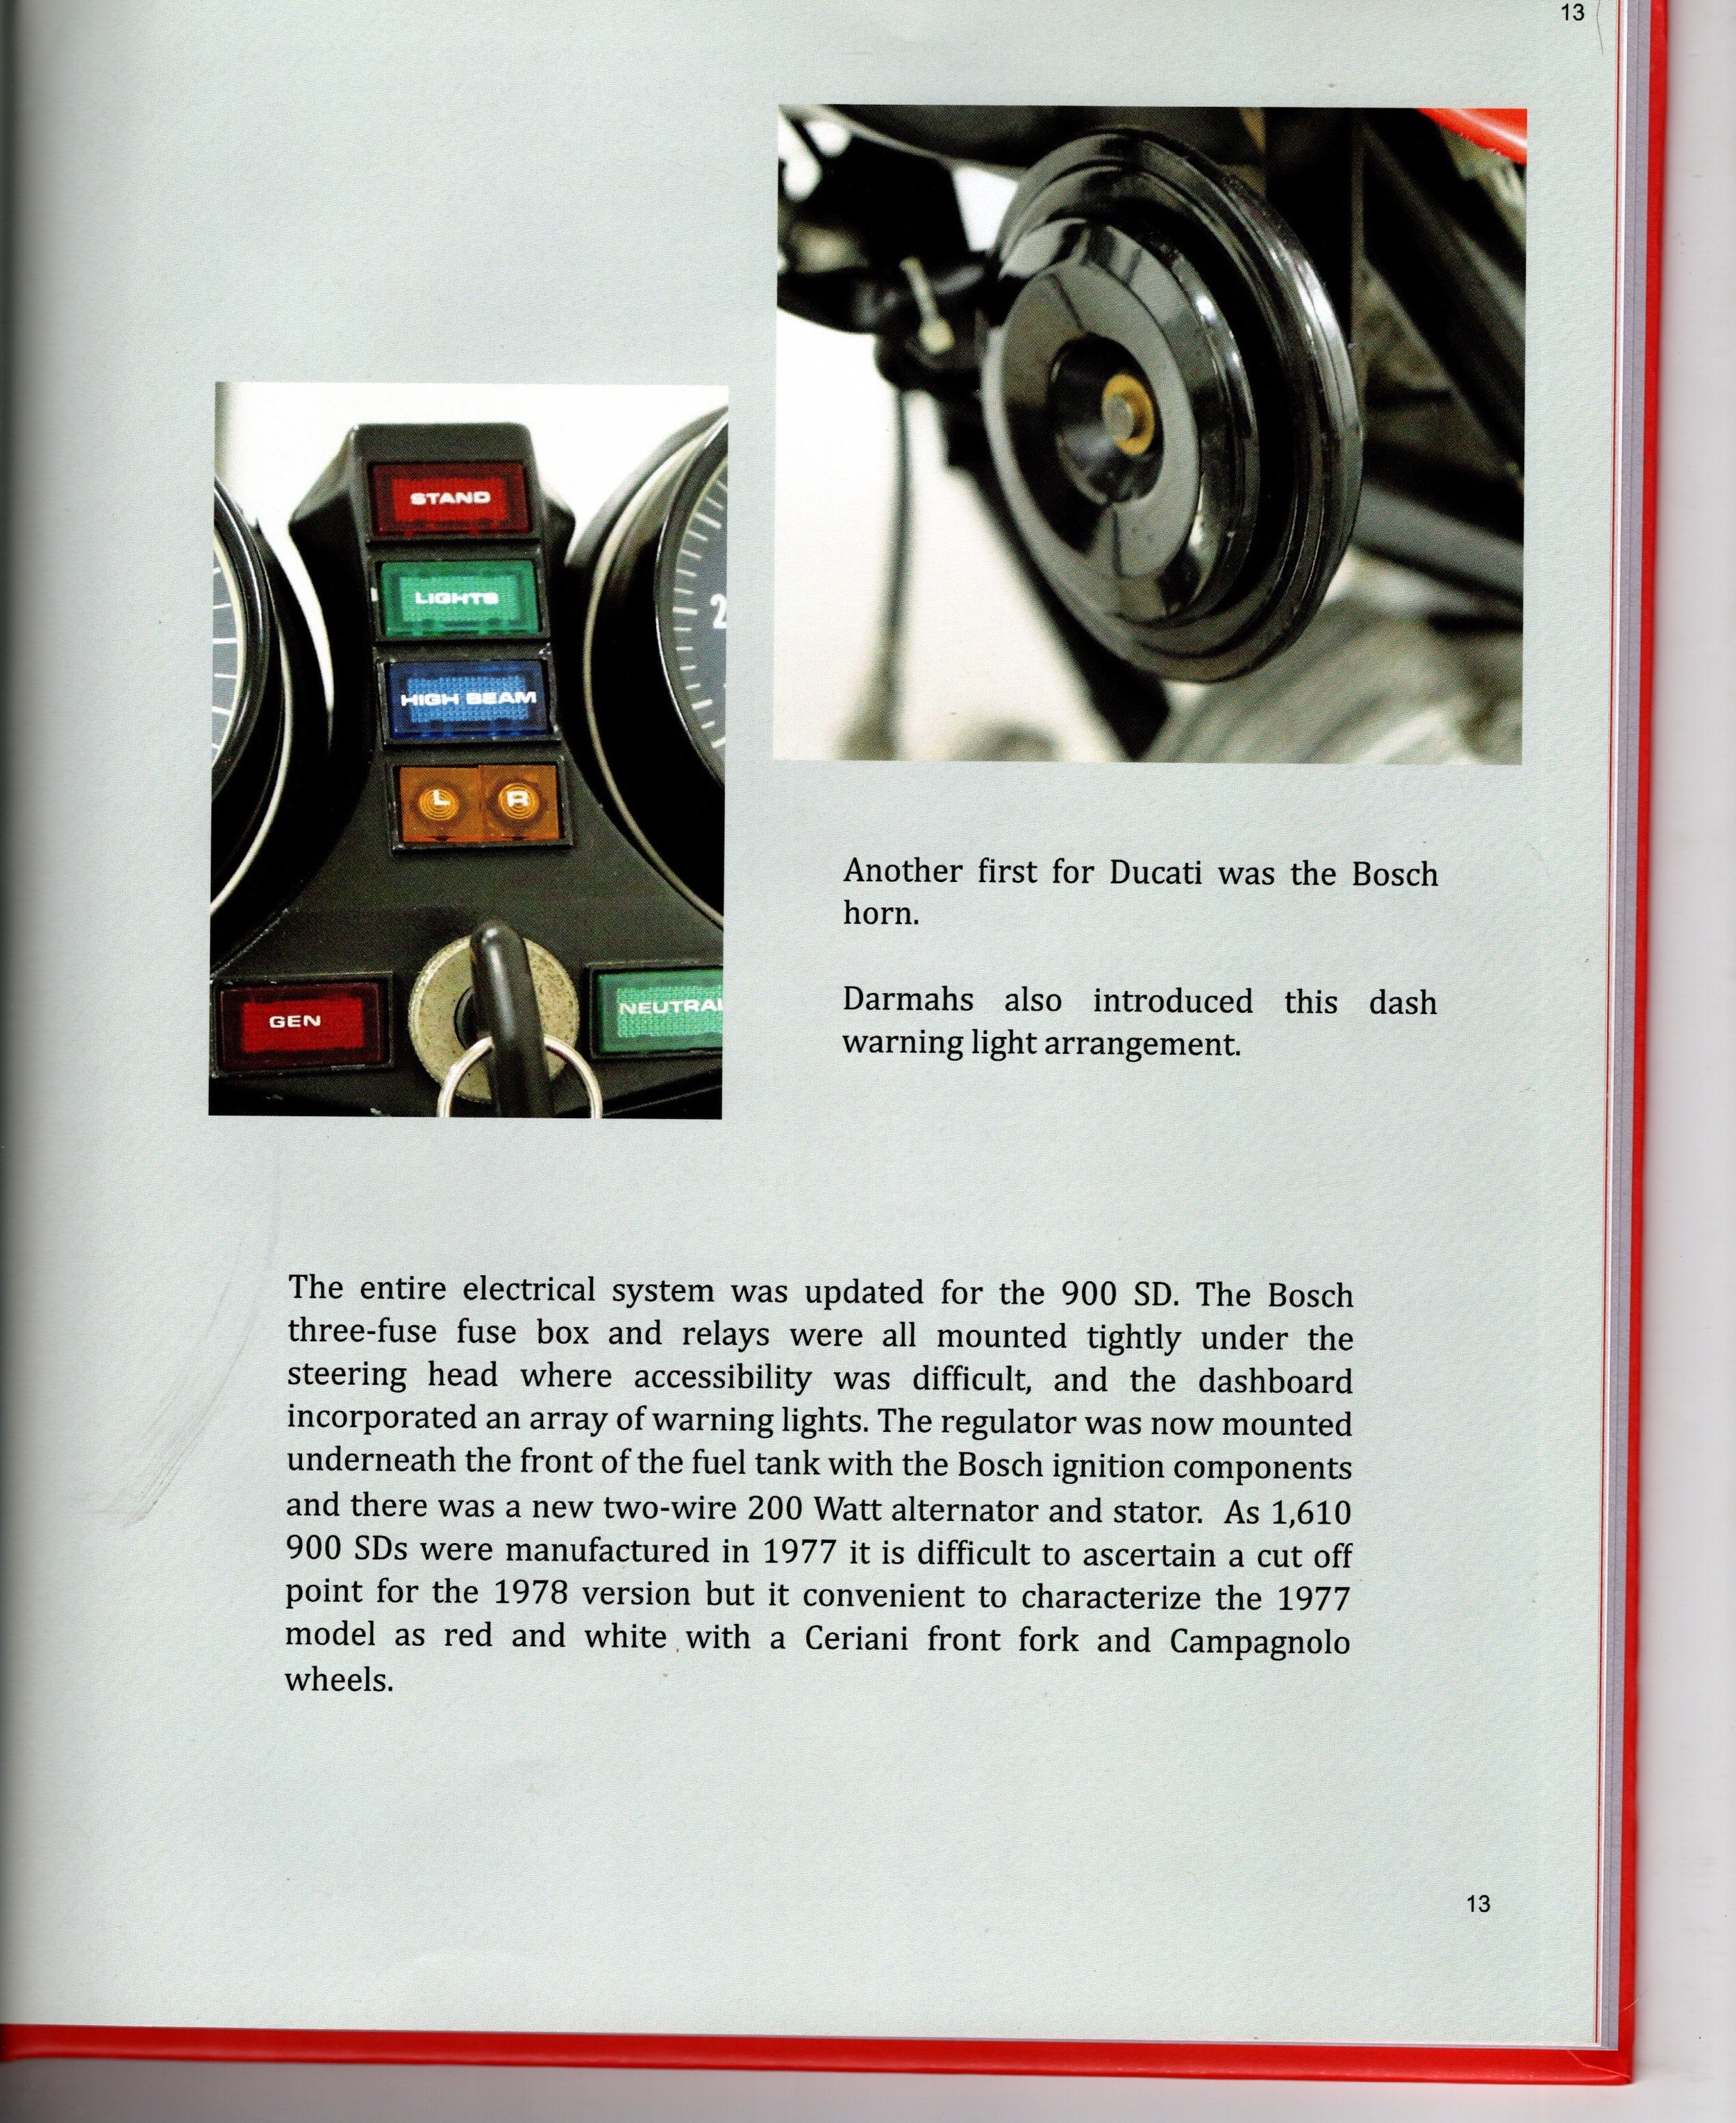
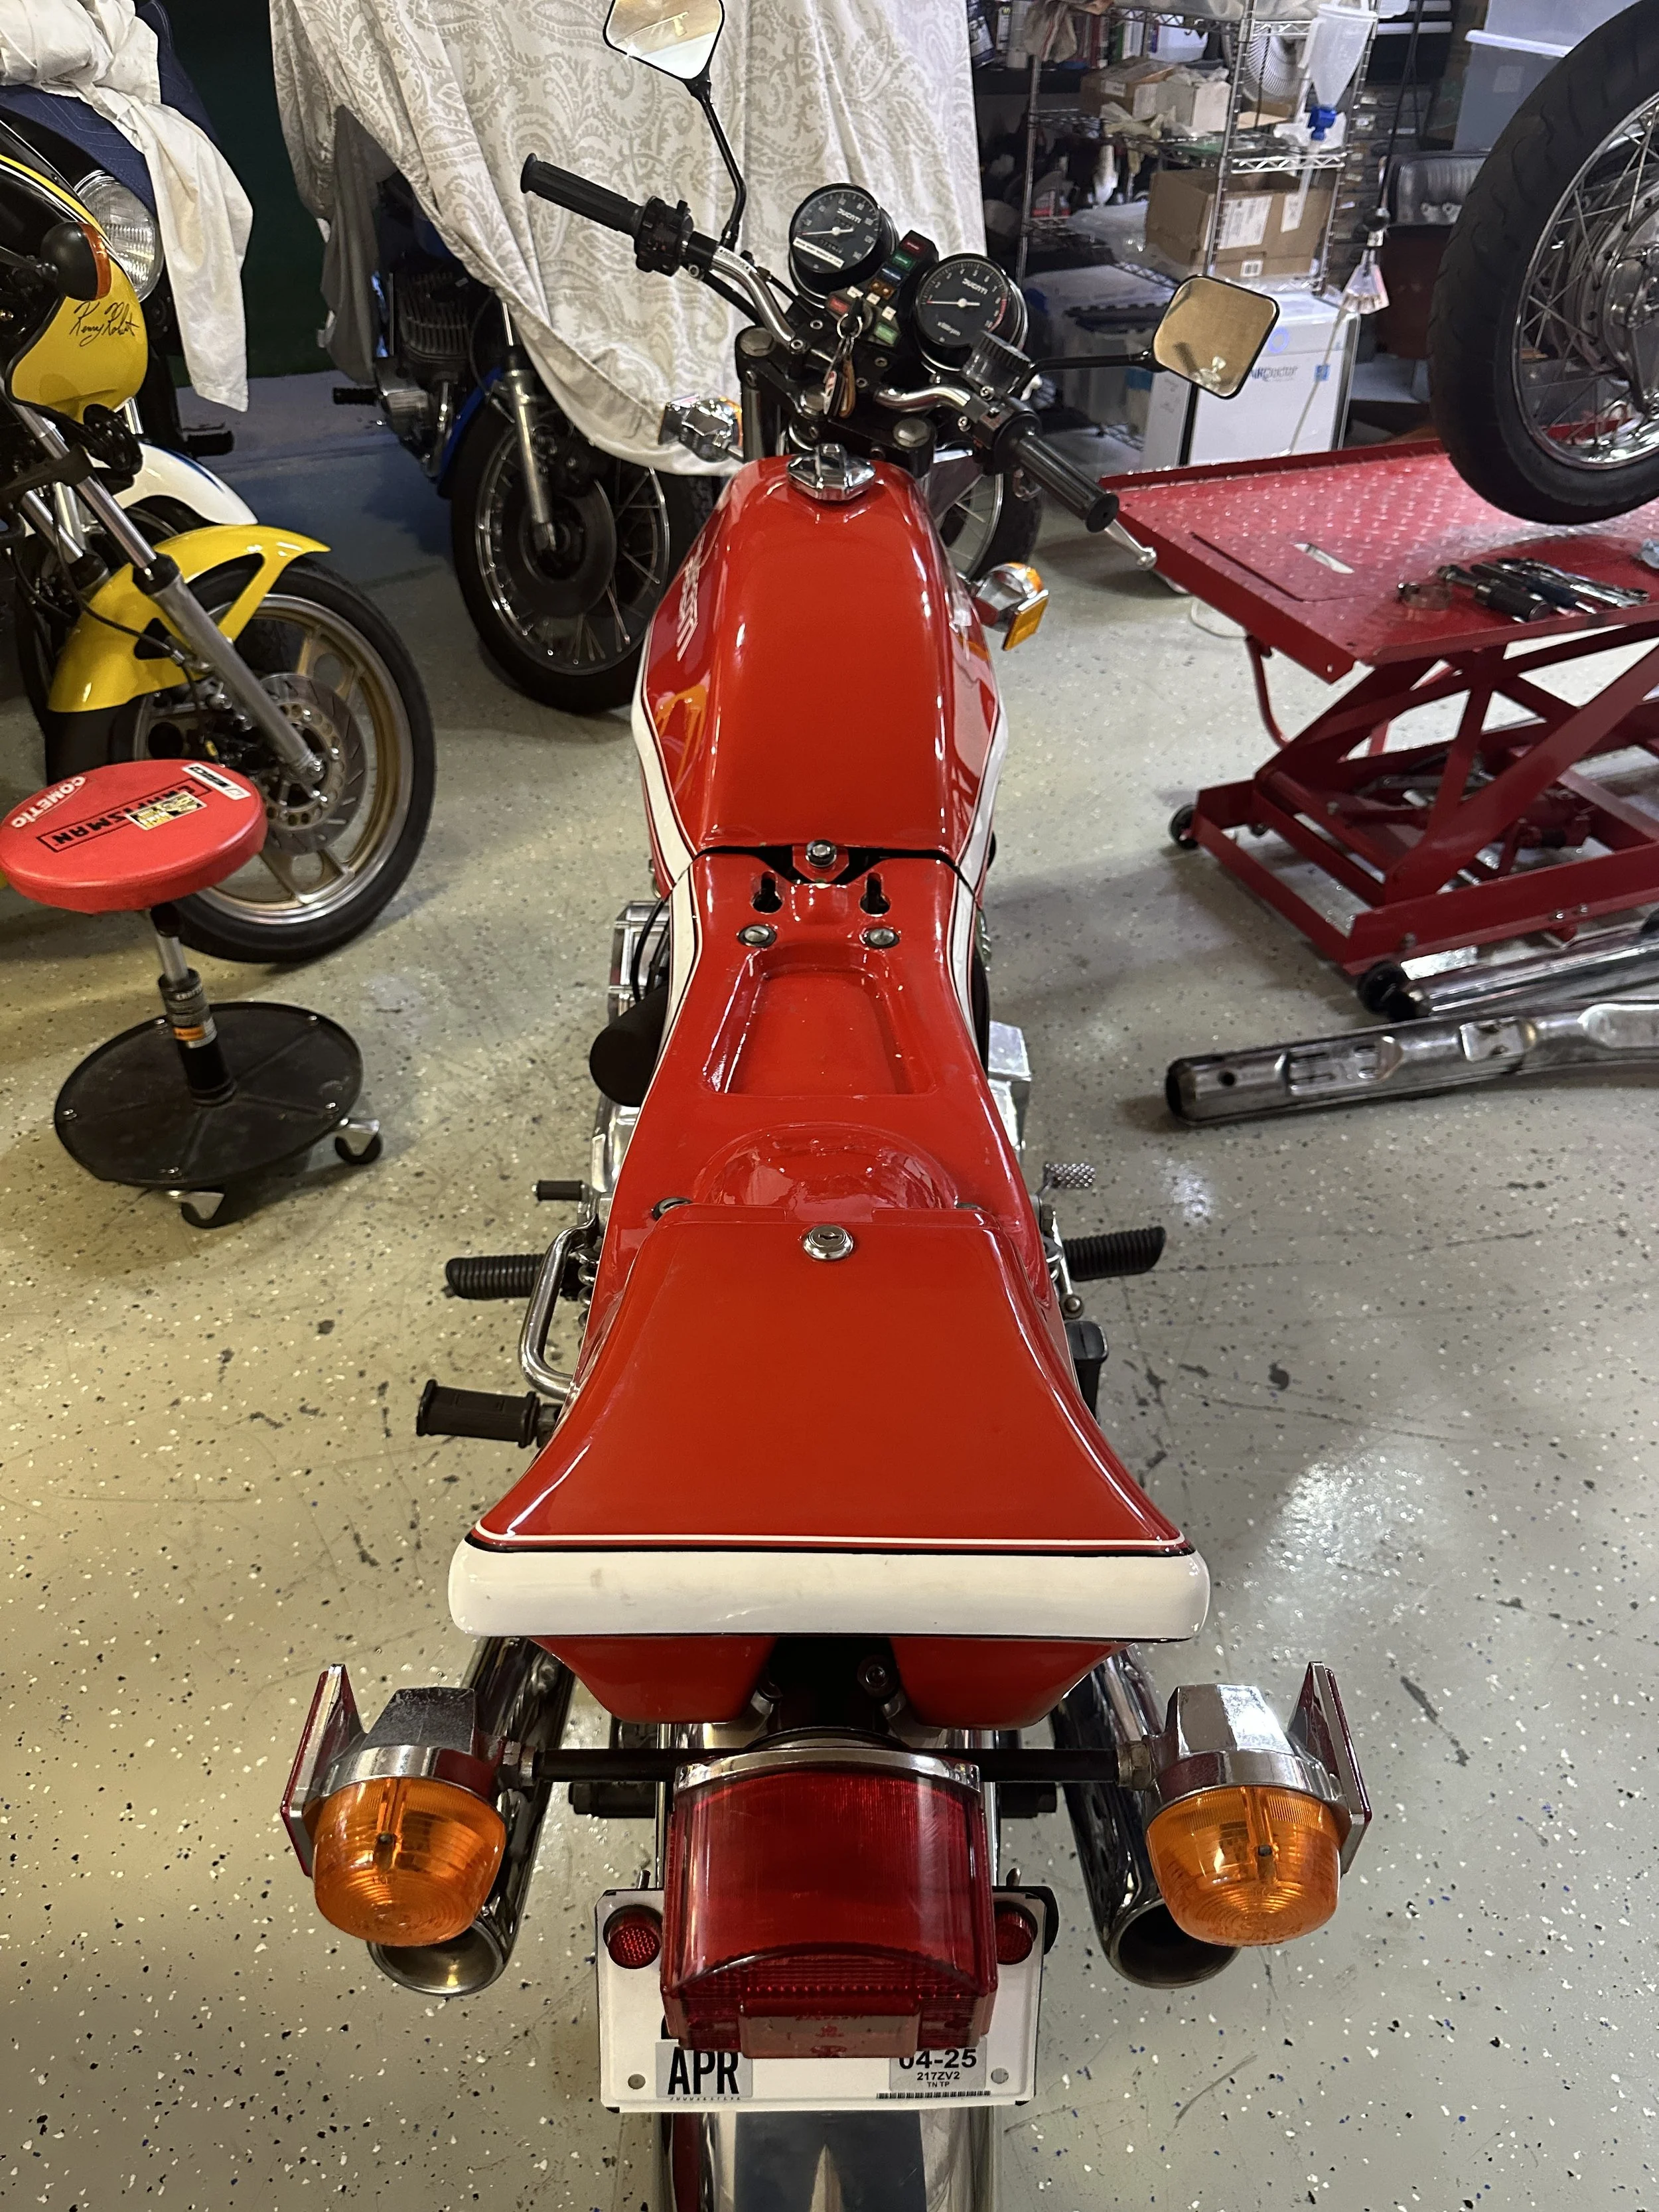
In the picture of the same instruments in a report/ book that Ian Falloon produced about on this bike in 2015.....

This model was the first Ducati to have Japanese instruments. I took this picture on the day it rolled off the truck.

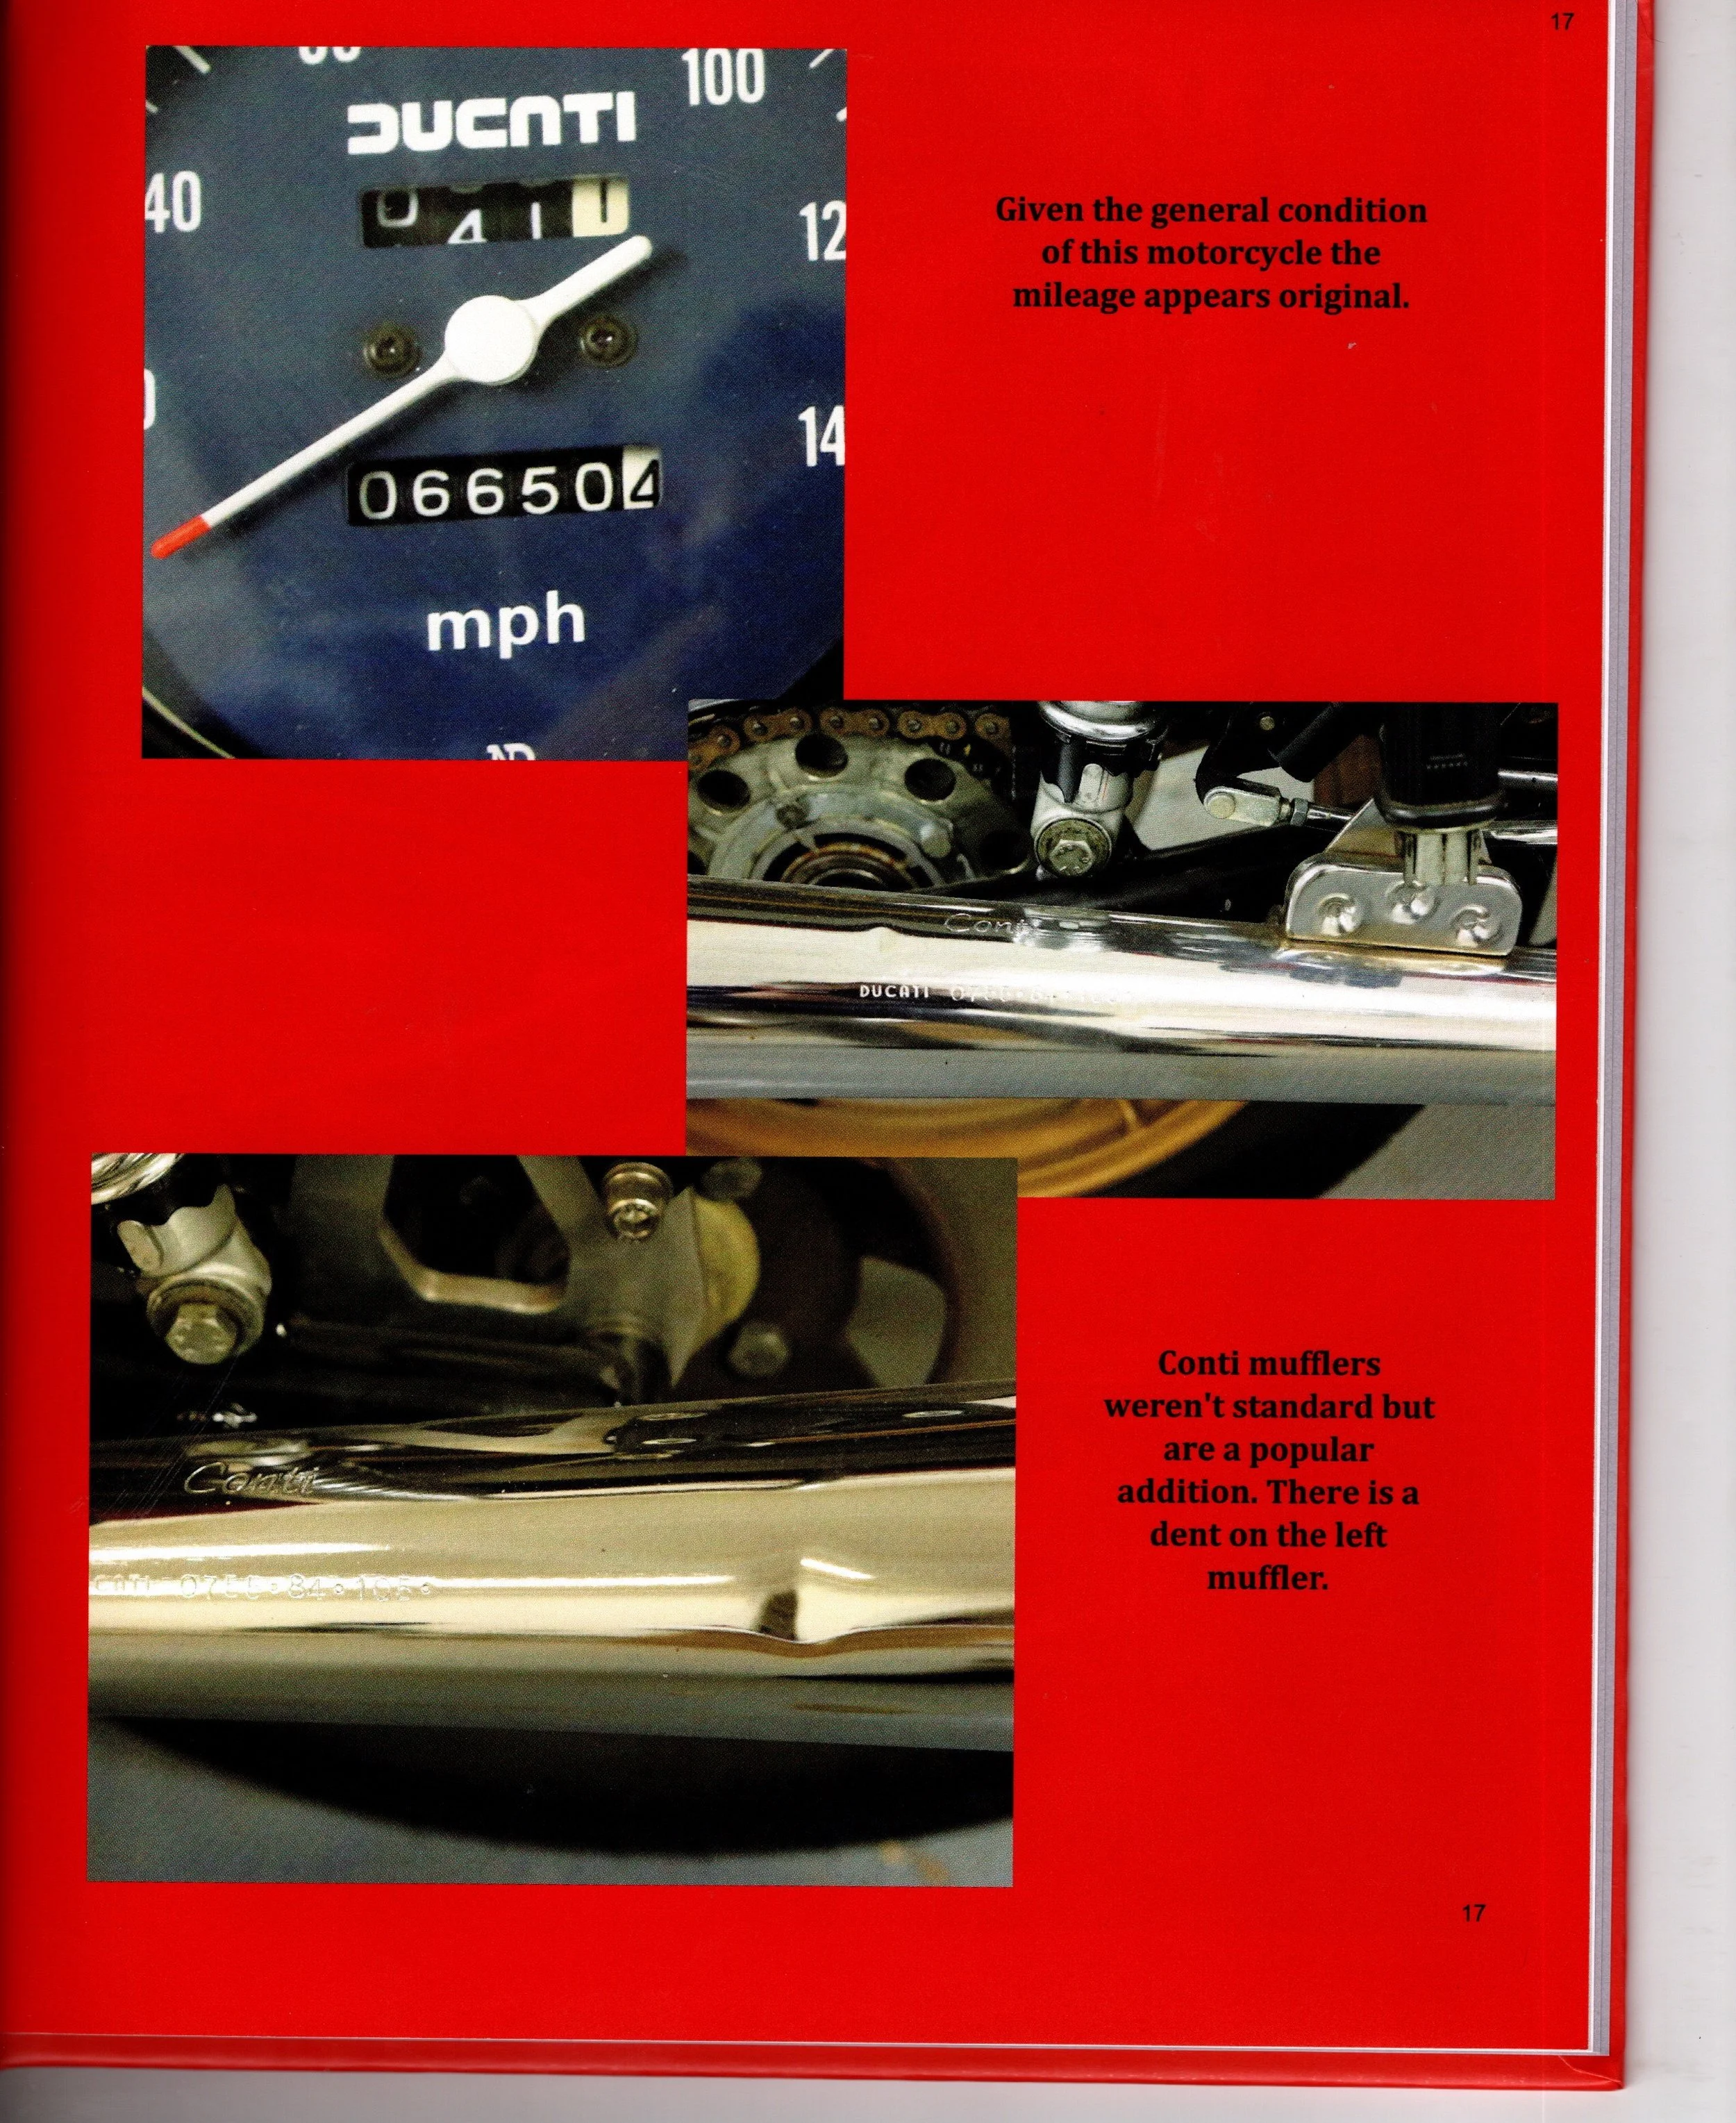
...the mileage is the same. The pictures were taken five years apart and proof that the bikes main achievement since 2015 was to simply sit and look gorgeous, something that most Italian machines do not find hard to do. That made me more mindful of the process of bringing it back to the fire breathing monster it was made to be- in other words I didn't immediately try and start it and roll off down the road, which is just as well because the brakes would have likely failed.


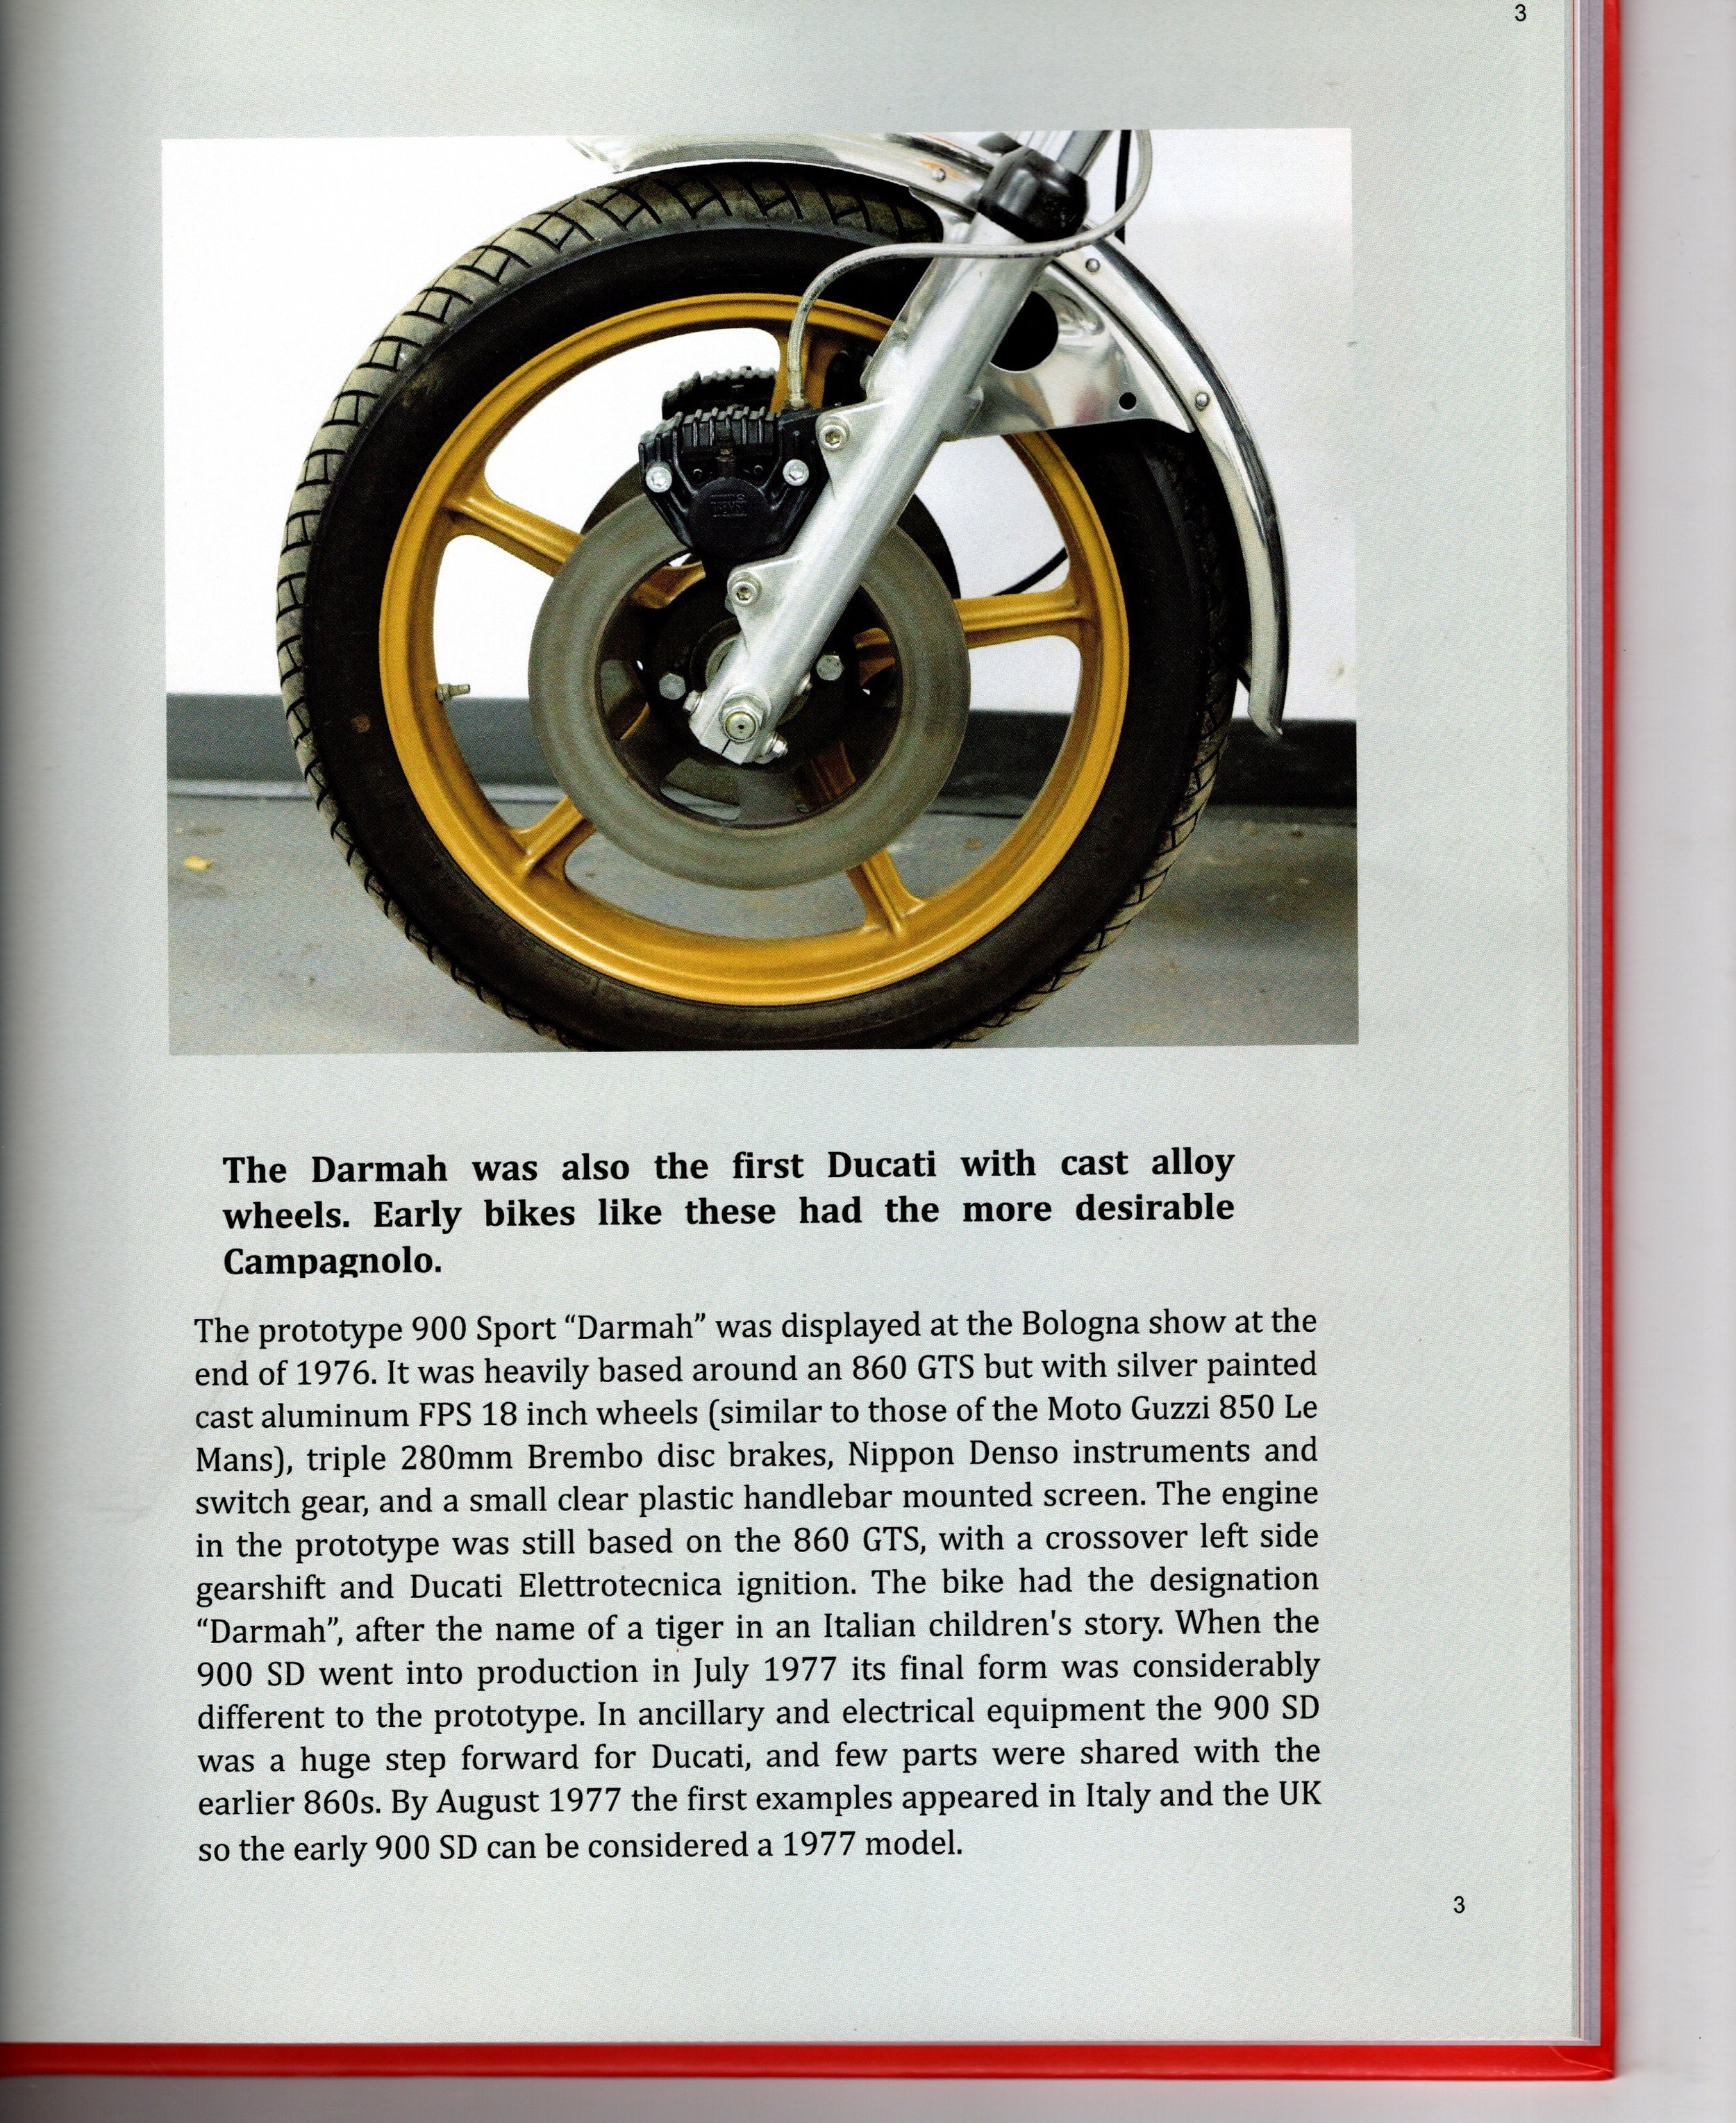
This bike is not light.

These calipers would later make a mess- but worth putting up with. Cast iron discs too.


Excellent Bosch headlight. Bosch Ignition components just as good?...not so much...but not necessarily Bosch's fault. No one told them that the pick ups that Ducati asked them to produce for the Darmah would spend their life bathed in boiling oil. It's likely I will have to replace the wiring to them


welcome.


Note from previous owner to previous owner....highlights the fact that these carbs need to be rebuilt a lot...not to mention is it a 77 or a 78?


Carburetor & brake caliper rebuild
in the waiting room…
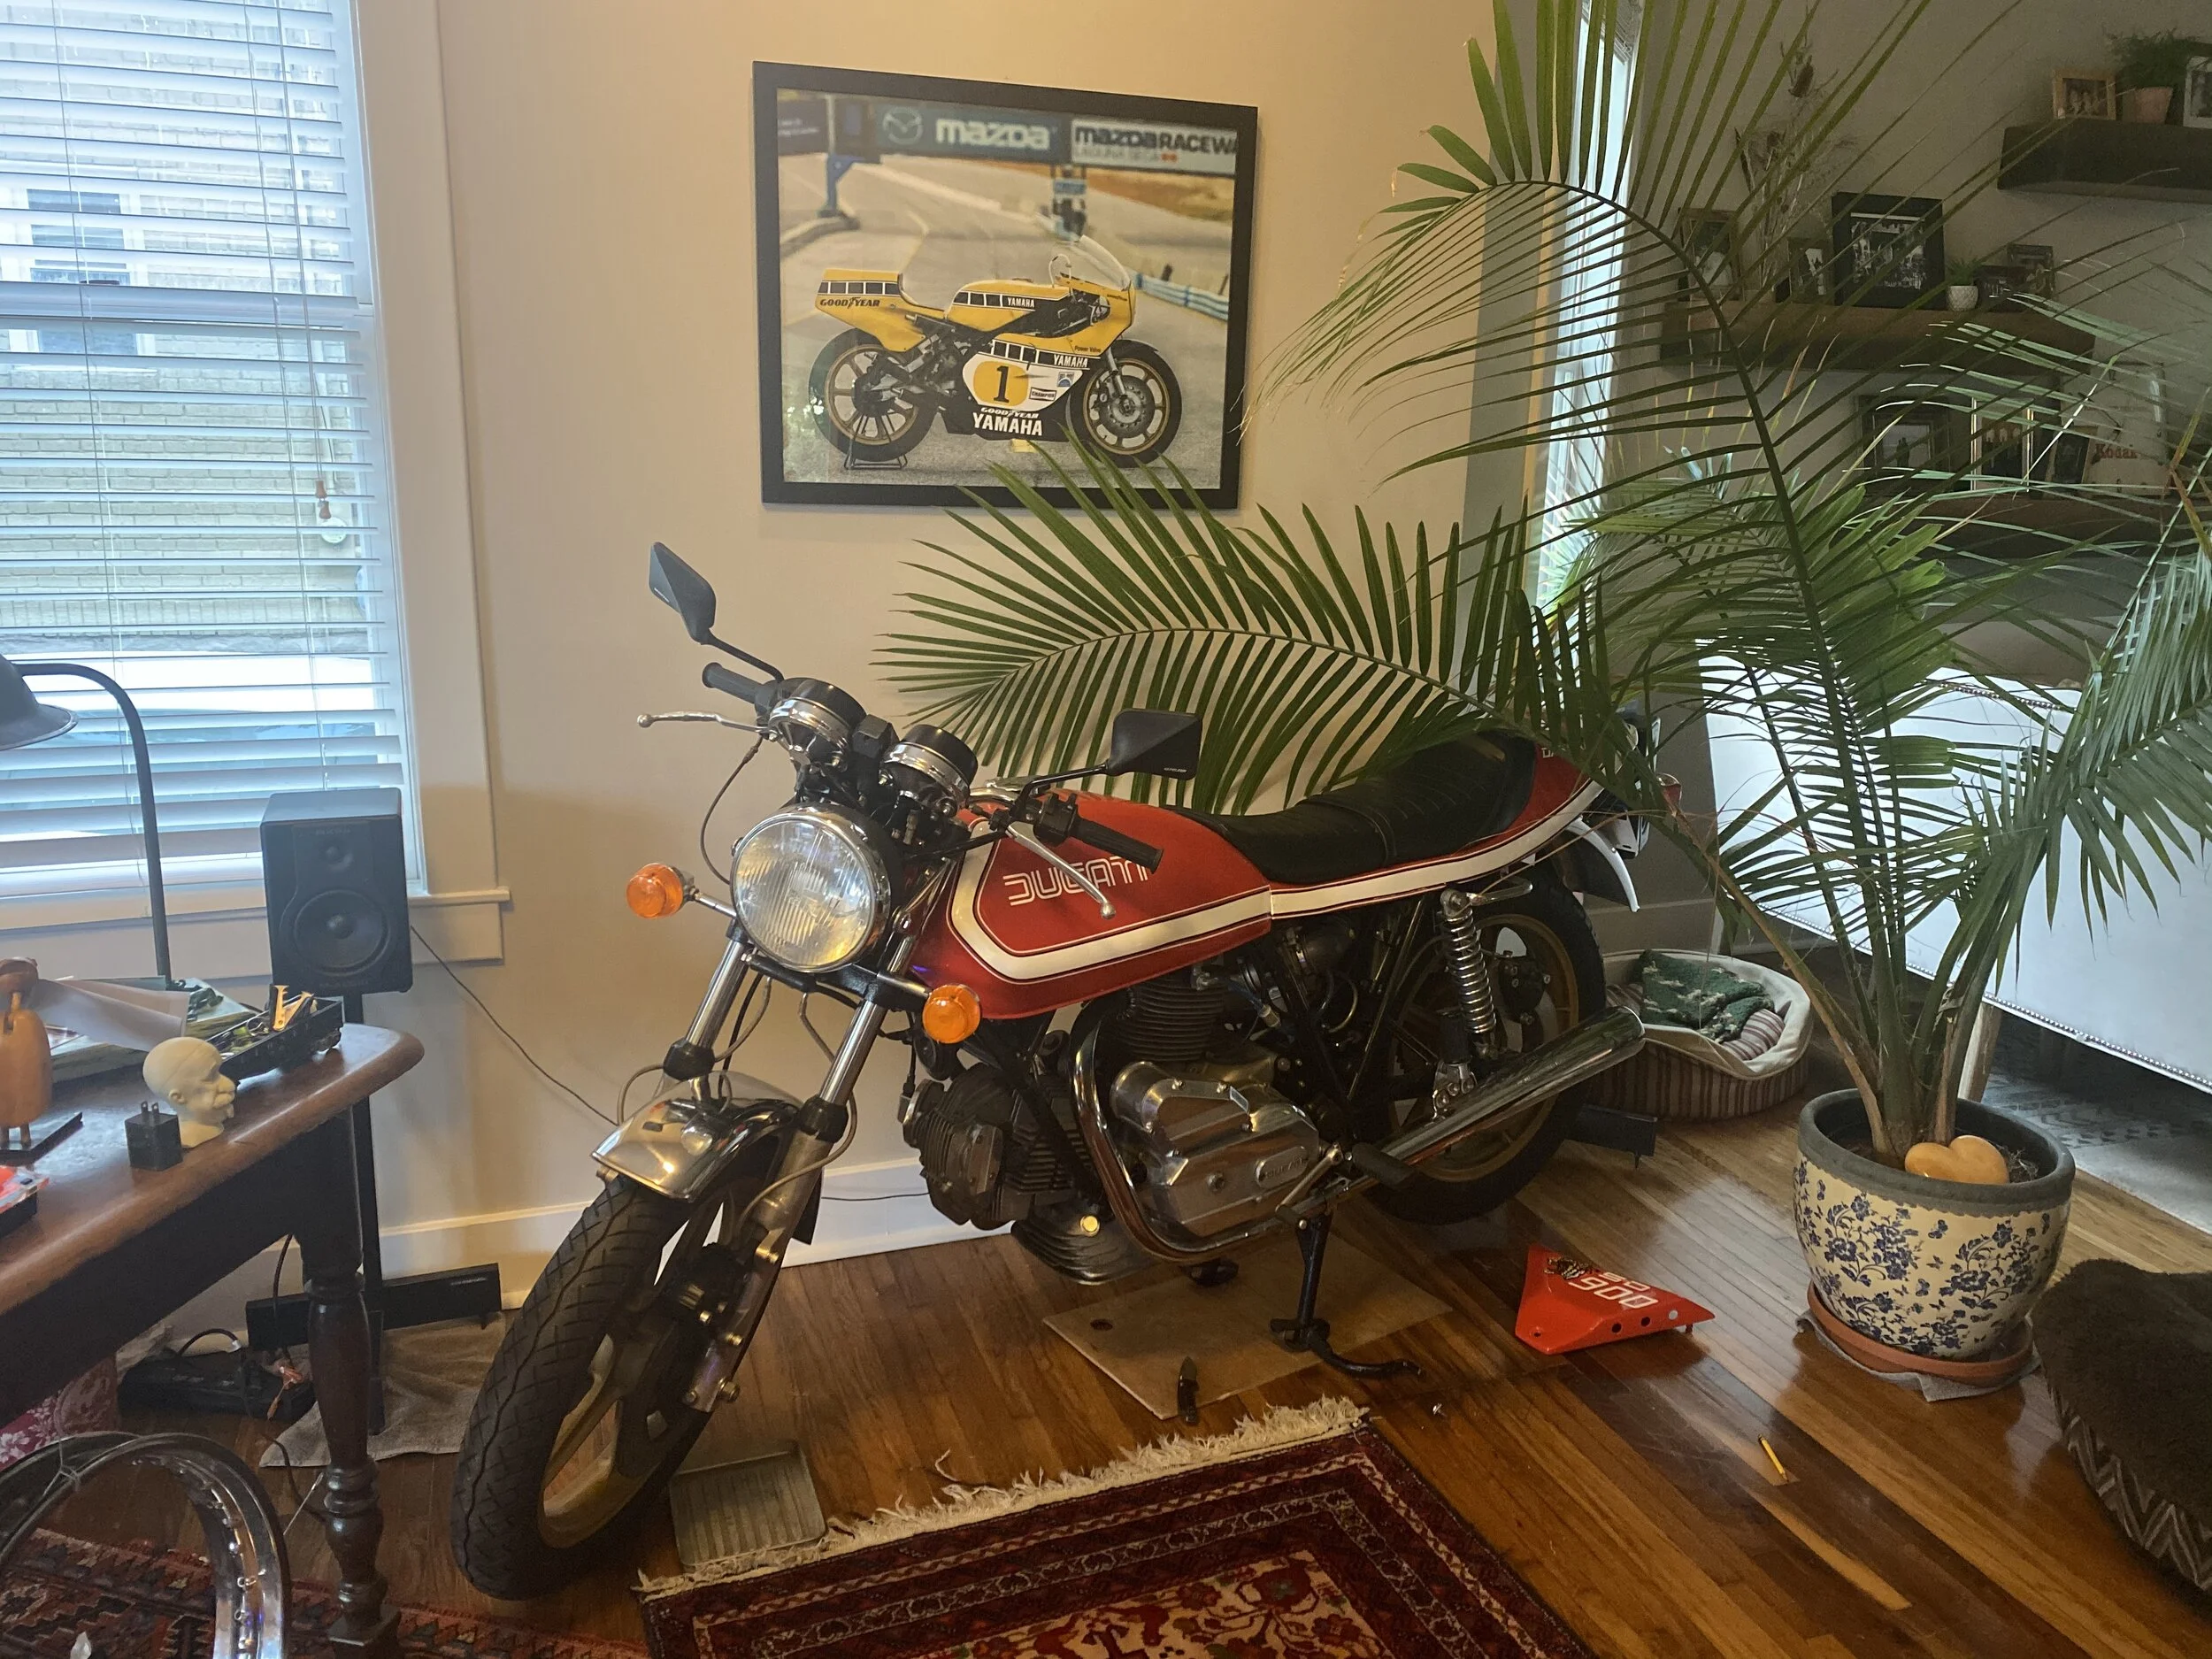
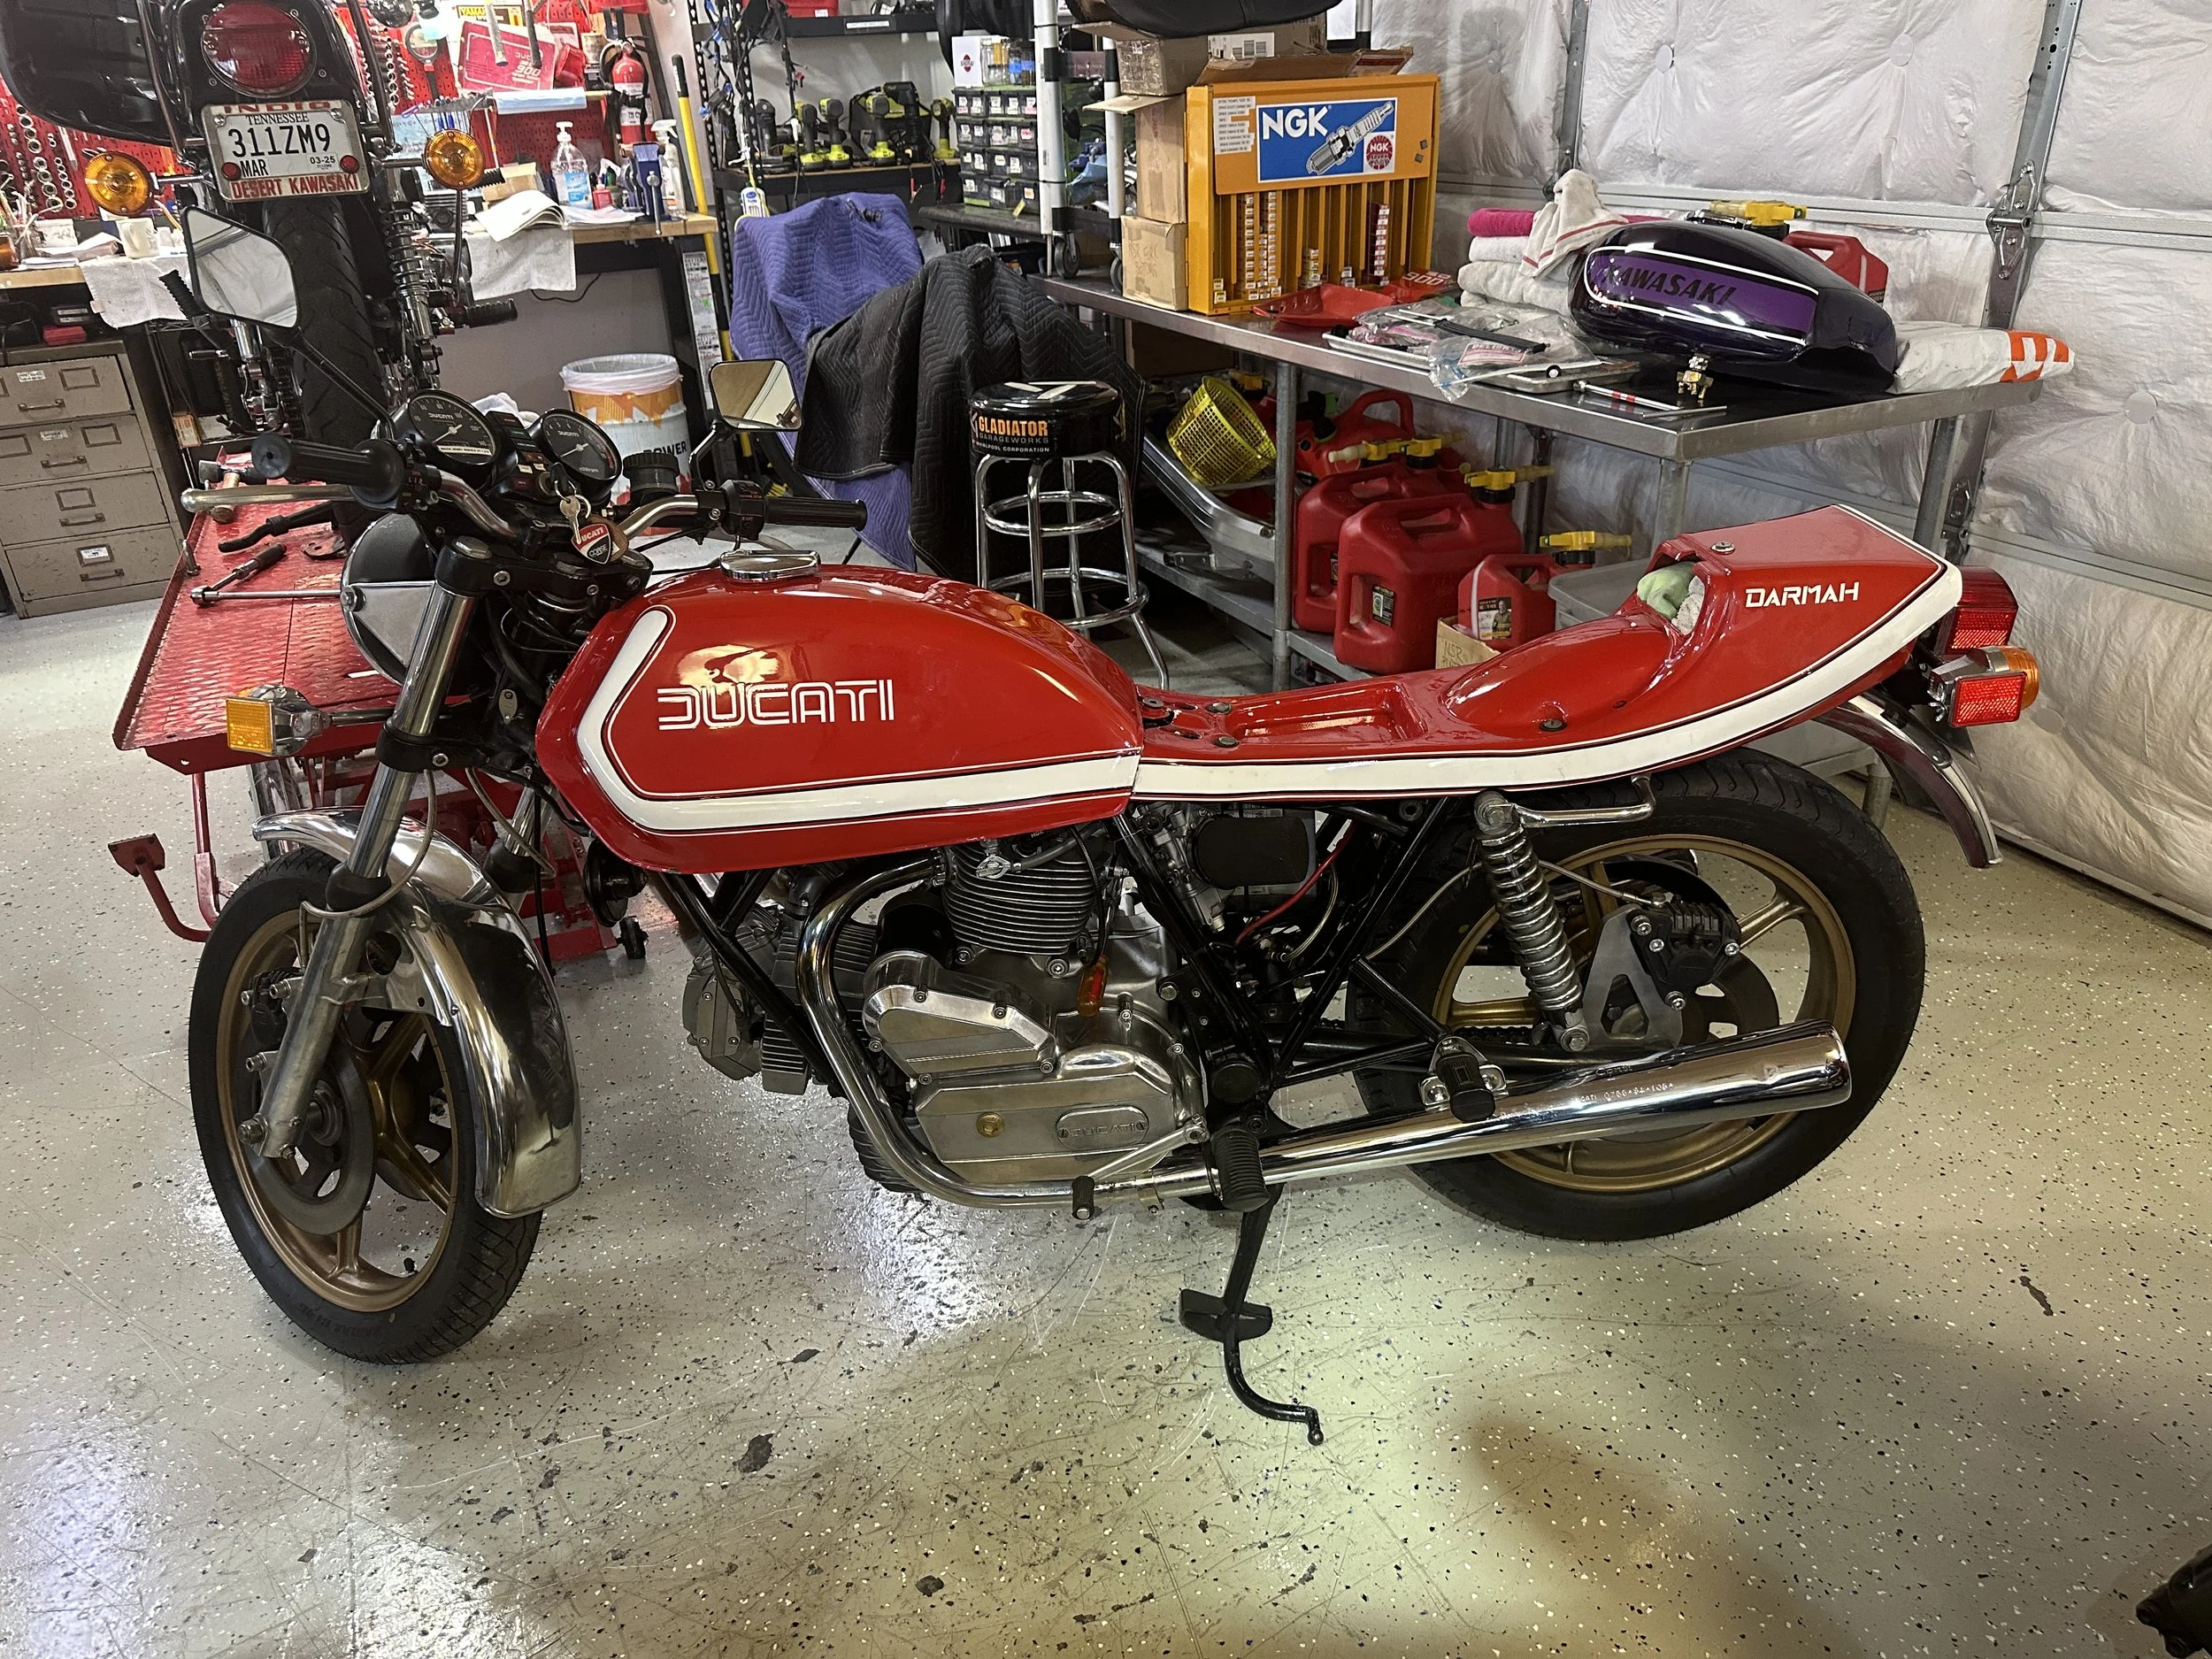
Until I had time to attend to it we put in in the entry way of the house so we could appreciate it’s immaculate Italian design every damn day. This Ducati had spent all of it’s time with the last owner displaying itself in a museum. They only passed this one on because they found another model with 1 mile on the clock. Gregory of the Stuart Parr collection tried to get it running before I took ownership but said he couldn’t get it going as smoothly as he wanted and promised to reimburse me for carb rebuild kits when I had a chance to get at it. While sitting in the house, the bike decided to release it’s contents of the front brake system onto the floor. Seals gone, master cylinder empty, floor relieved of it’s sealer. I guess 6 years is a caliper seals limit. I took this as a signal it was time to work on it. I’m somewhat glad I didn’t jump on it and take it for a ride the first day it arrived- the truth is…I didn’t even attempt to start it.

…on the lift
bike out of the house and into the garage heading for the lift.
Where to start? I had a great, long and informative conversation with Steve Allen longtime Ducati racer and the owner of Ducati parts store bevelheaven.com. Plan: rebuild the carburetors with authentic Dellorto kits. Also purchased from BH: Brembo brake caliper and master cylinder rebuild kit, fork seals & Ceriani embossed fork wipers, fuel line, classic inline Paioli fuel filters and even the recommended Motul brake fluid (RBF600 DOT4) and engine oil (3000 20W50)

These Dellorto PHF32 carbs are a little more complicated than the Mikuni’s I’ve worked on from the H2 and RDLC’s- but there is some really great video available on YouTube that walks you through every step, not to mention Bevel Heaven’s downloadable pdf’s- those aren’t free though, but equally valuable so….I spent it.
https://www.youtube.com/playlist?list=PLULuGf3sBIFRExVT3wShAiRcMnhItfp5E
Carburetor rebuild….

Authentic parts catalogue arrived from ....France...of all places...

via... fleabay of course...

With both print and video as guidance, launching into Dellorto rebuild with authentic kits....


122 main

60 pilot

K6 needle

we've all seen worse...

much worse....

and if your cold start plungers have these indents, it's likely they aren't sealing well, leading to running rich and, yeah, backfiring. These were replaced

Crud on the end of the pump piston possible evidence of why the accelerator pump wasn't working

a lot of o-rings to contend with and not completely obvious which one goes where...


It was at this point, after watching video of an Aussie gentleman rebuilding his carbs that had been vapor blasted, (They looked far superior to mine) I couldn't resist it. I re-dismantled the carbs and sent the bodies to the blaster. In the meantime I added some Cavis Benz fuel line and OMG/PAIOLI in line filters

Getting them vapor blasted....priceless
Rebuilding the front brakes….

Have Steve's (Bevel Heaven Owner) instructions on how to deal with rebuilding the calipers.


the blown seal......there's a joke about that isn't there?

this has got to be the easiest piston removal method I've ever used and beats having caliper pistons flying across the garage due to impatient use of compressed air....

this is the set up I had to create to get the pistons out of the FZ600 calipers...

I found the caliper pistons to be the updated black ones in great condition so no need to replace. ..pads looked good...but with all that fluid having been released...not worth the risk...so calipers got new pads.

i hereby declare these calipers...

....restored.

Master cylinder mostly dismantled....

to replace all seals on the plunger....


Although under no pressure at all, a front brake caliper seal let go while it was on display in the house. Resulting damage done to the finish on the Campaognolo is super disappointing. That, and the resulting removal of the sealer on the 1930's original wood floor are nothing in comparison to what might have happened had I decided to jump on and take a test ride the day it arrived. If the seal caved just sitting there it would have likely exploded the first time I grabbed the front lever with any kind of force. That should be a lesson to all of us eager buyers of dream bikes. Take a breath and take a minute to think: what should I REALLY do first?

Oil change, fork seal replacement, exhaust sealing and chain adjustments…
Before I put the expensive oil in, and since the bike had been sitting idle for at least five years, rather than try to start it with who knows what in the carbs etc, I warmed up the sump with a heater before I drained the original oil. Later, after carbs were rebuilt and the motor had been running while synchonizing the carbs etc, I drained the generic oil, replaced the filter and and filled with recommended Motul.

word of warning.....it comes out pretty fast.

filter is a bit fiddly to get back into the correct position in the engine.

Athena beats Emgo

the recommended lifeblood. MOTUL 3000 Engine Oil - 20W50 *SG RATED* you need 5 of these as capacity is 4.9 lites or 1.32 US gallons

In an effort to eliminate every possible reason for the backfire the previous previous owner mentioned, decided to dismantle the exhaust system and make sure each joint was airtight. Where I thought necessary, added a little RTV. Dual walled exhaust header pipes were meant to resist bluing, but this wasn't very successful


had to get one of these.....

so I could remove this...

clean faces make for the best airtight joint...

As you can see the chain was lacking tension. Years of Japanese motorcycle ownership had me going straight to the rear axle to start adjustment...imagine my surprise when that's all I see.

adjustment is made by the eccentric swingarm axle. Fantastic. You can either get a special tool....and who doesn't love another special tool...

or take a grinder to a 1/2 inch impact socket in just the right way....I of course ordered a fancy one from Bevel Heaven and almost immediately made my own out of curiosity......A.D.D.

iconic

Fork seals were next. Before I got myself a mini scissor lift, some old school wood was used to levitate the front....ride around rural Tennessee enough and before long you'll see mobile homes held up by such an arrangement.

Like most forks: undo Allen bolt at bottom, and slide out the forks..remove circlip and these seals came out easily.


perhaps the only thing unique to me about these original 38mm Ceriani forks (besides being pronounced Cheeriani) is that they take two seals per side simply stacked one upon the other...

and then tapped into place....


That's 'Cheeriani' to you pal...

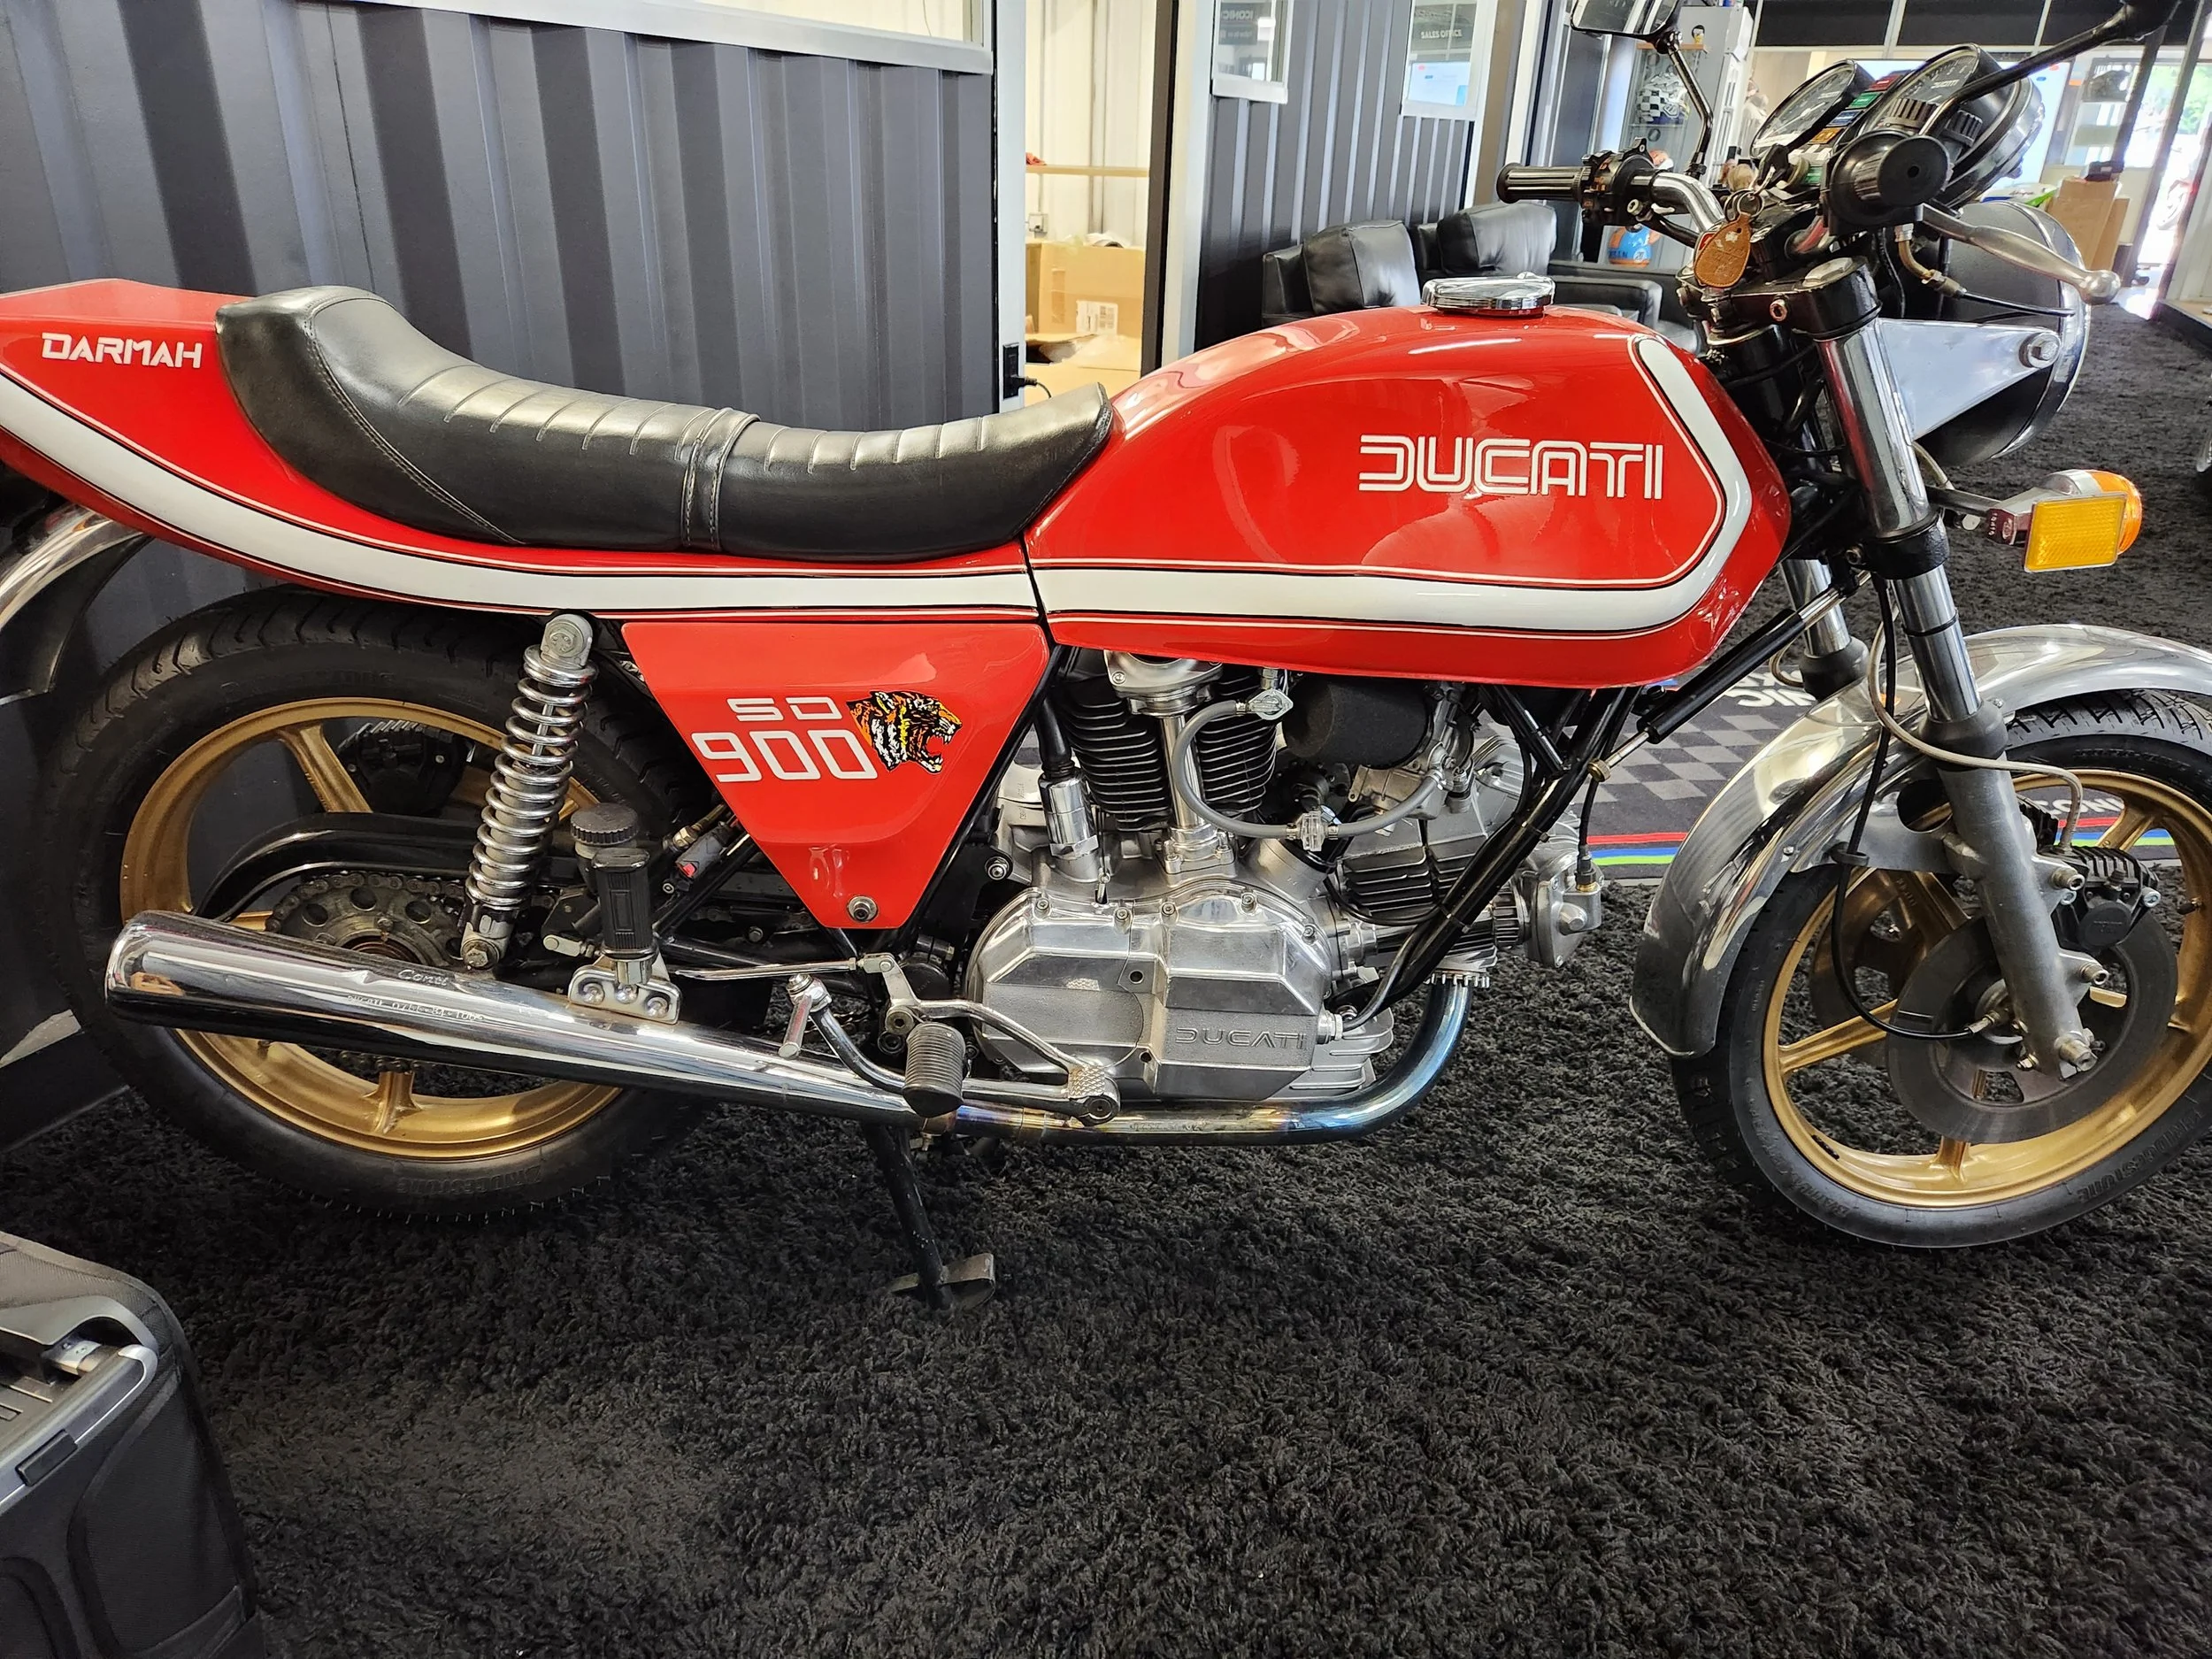
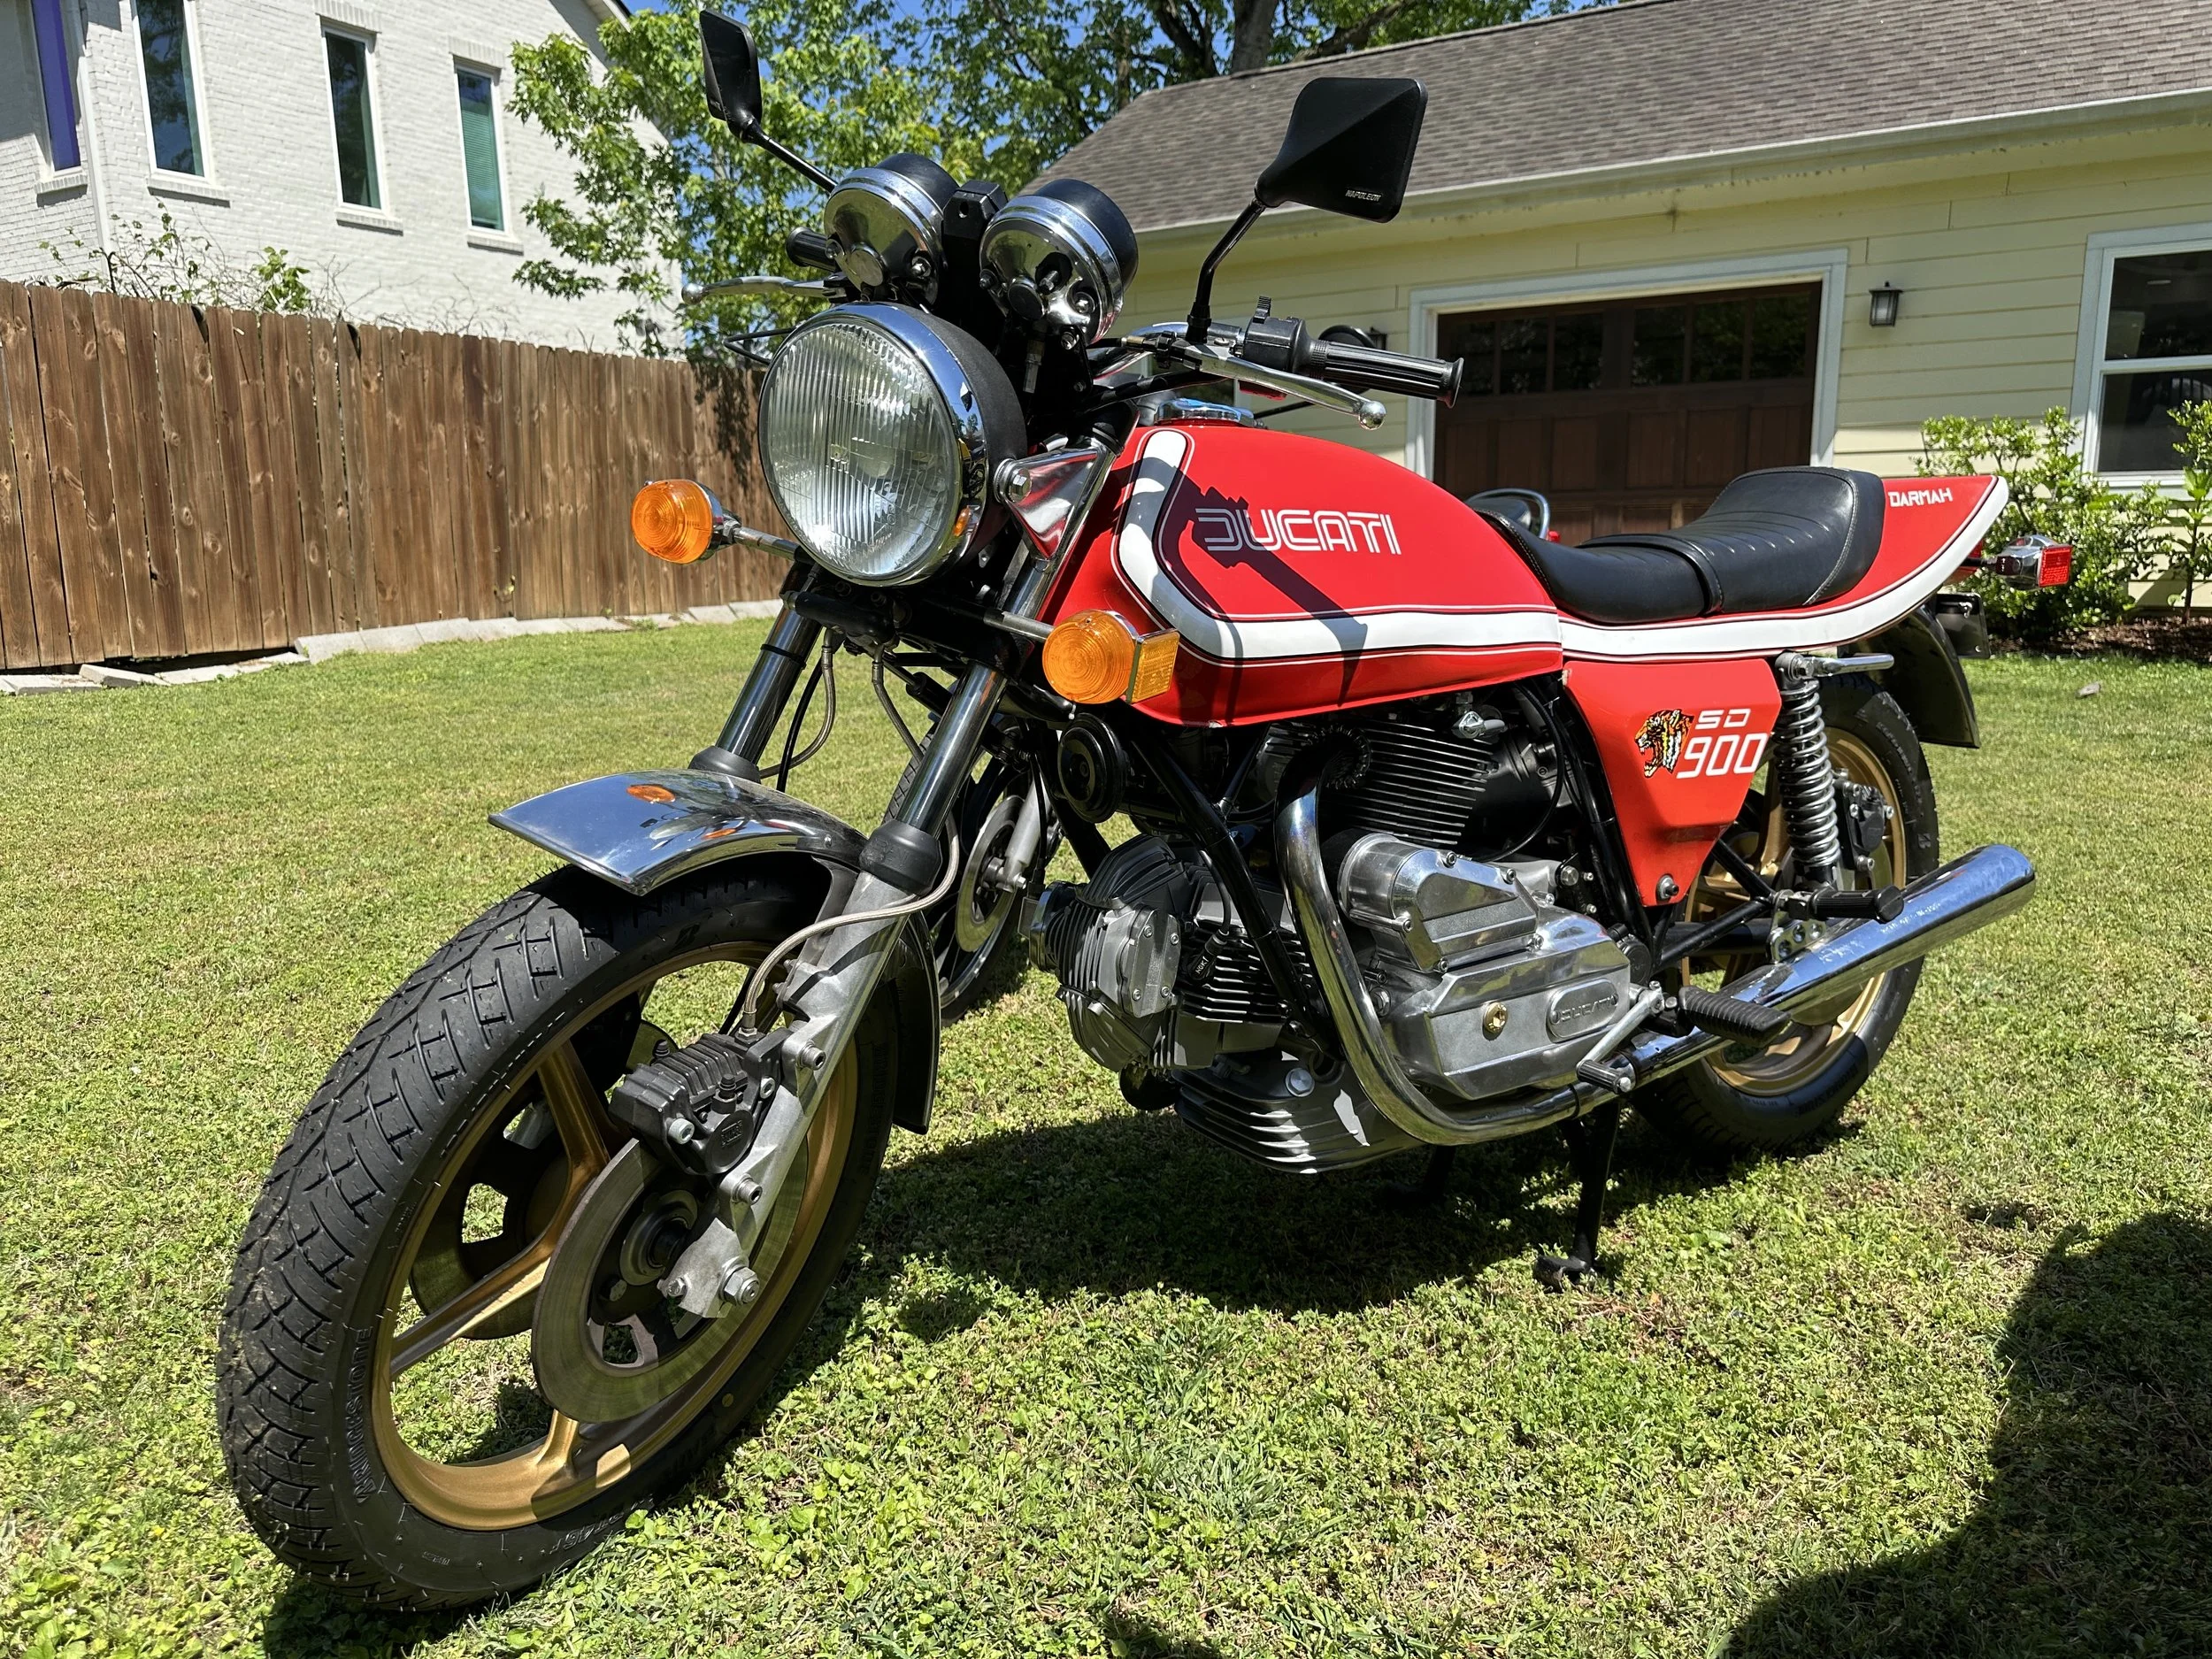
got it ready in time for my 60th birthday with my favorite run out to Leipers Fork....and the best coffee this side of the Mississippi....I kinda like it without the side panels....
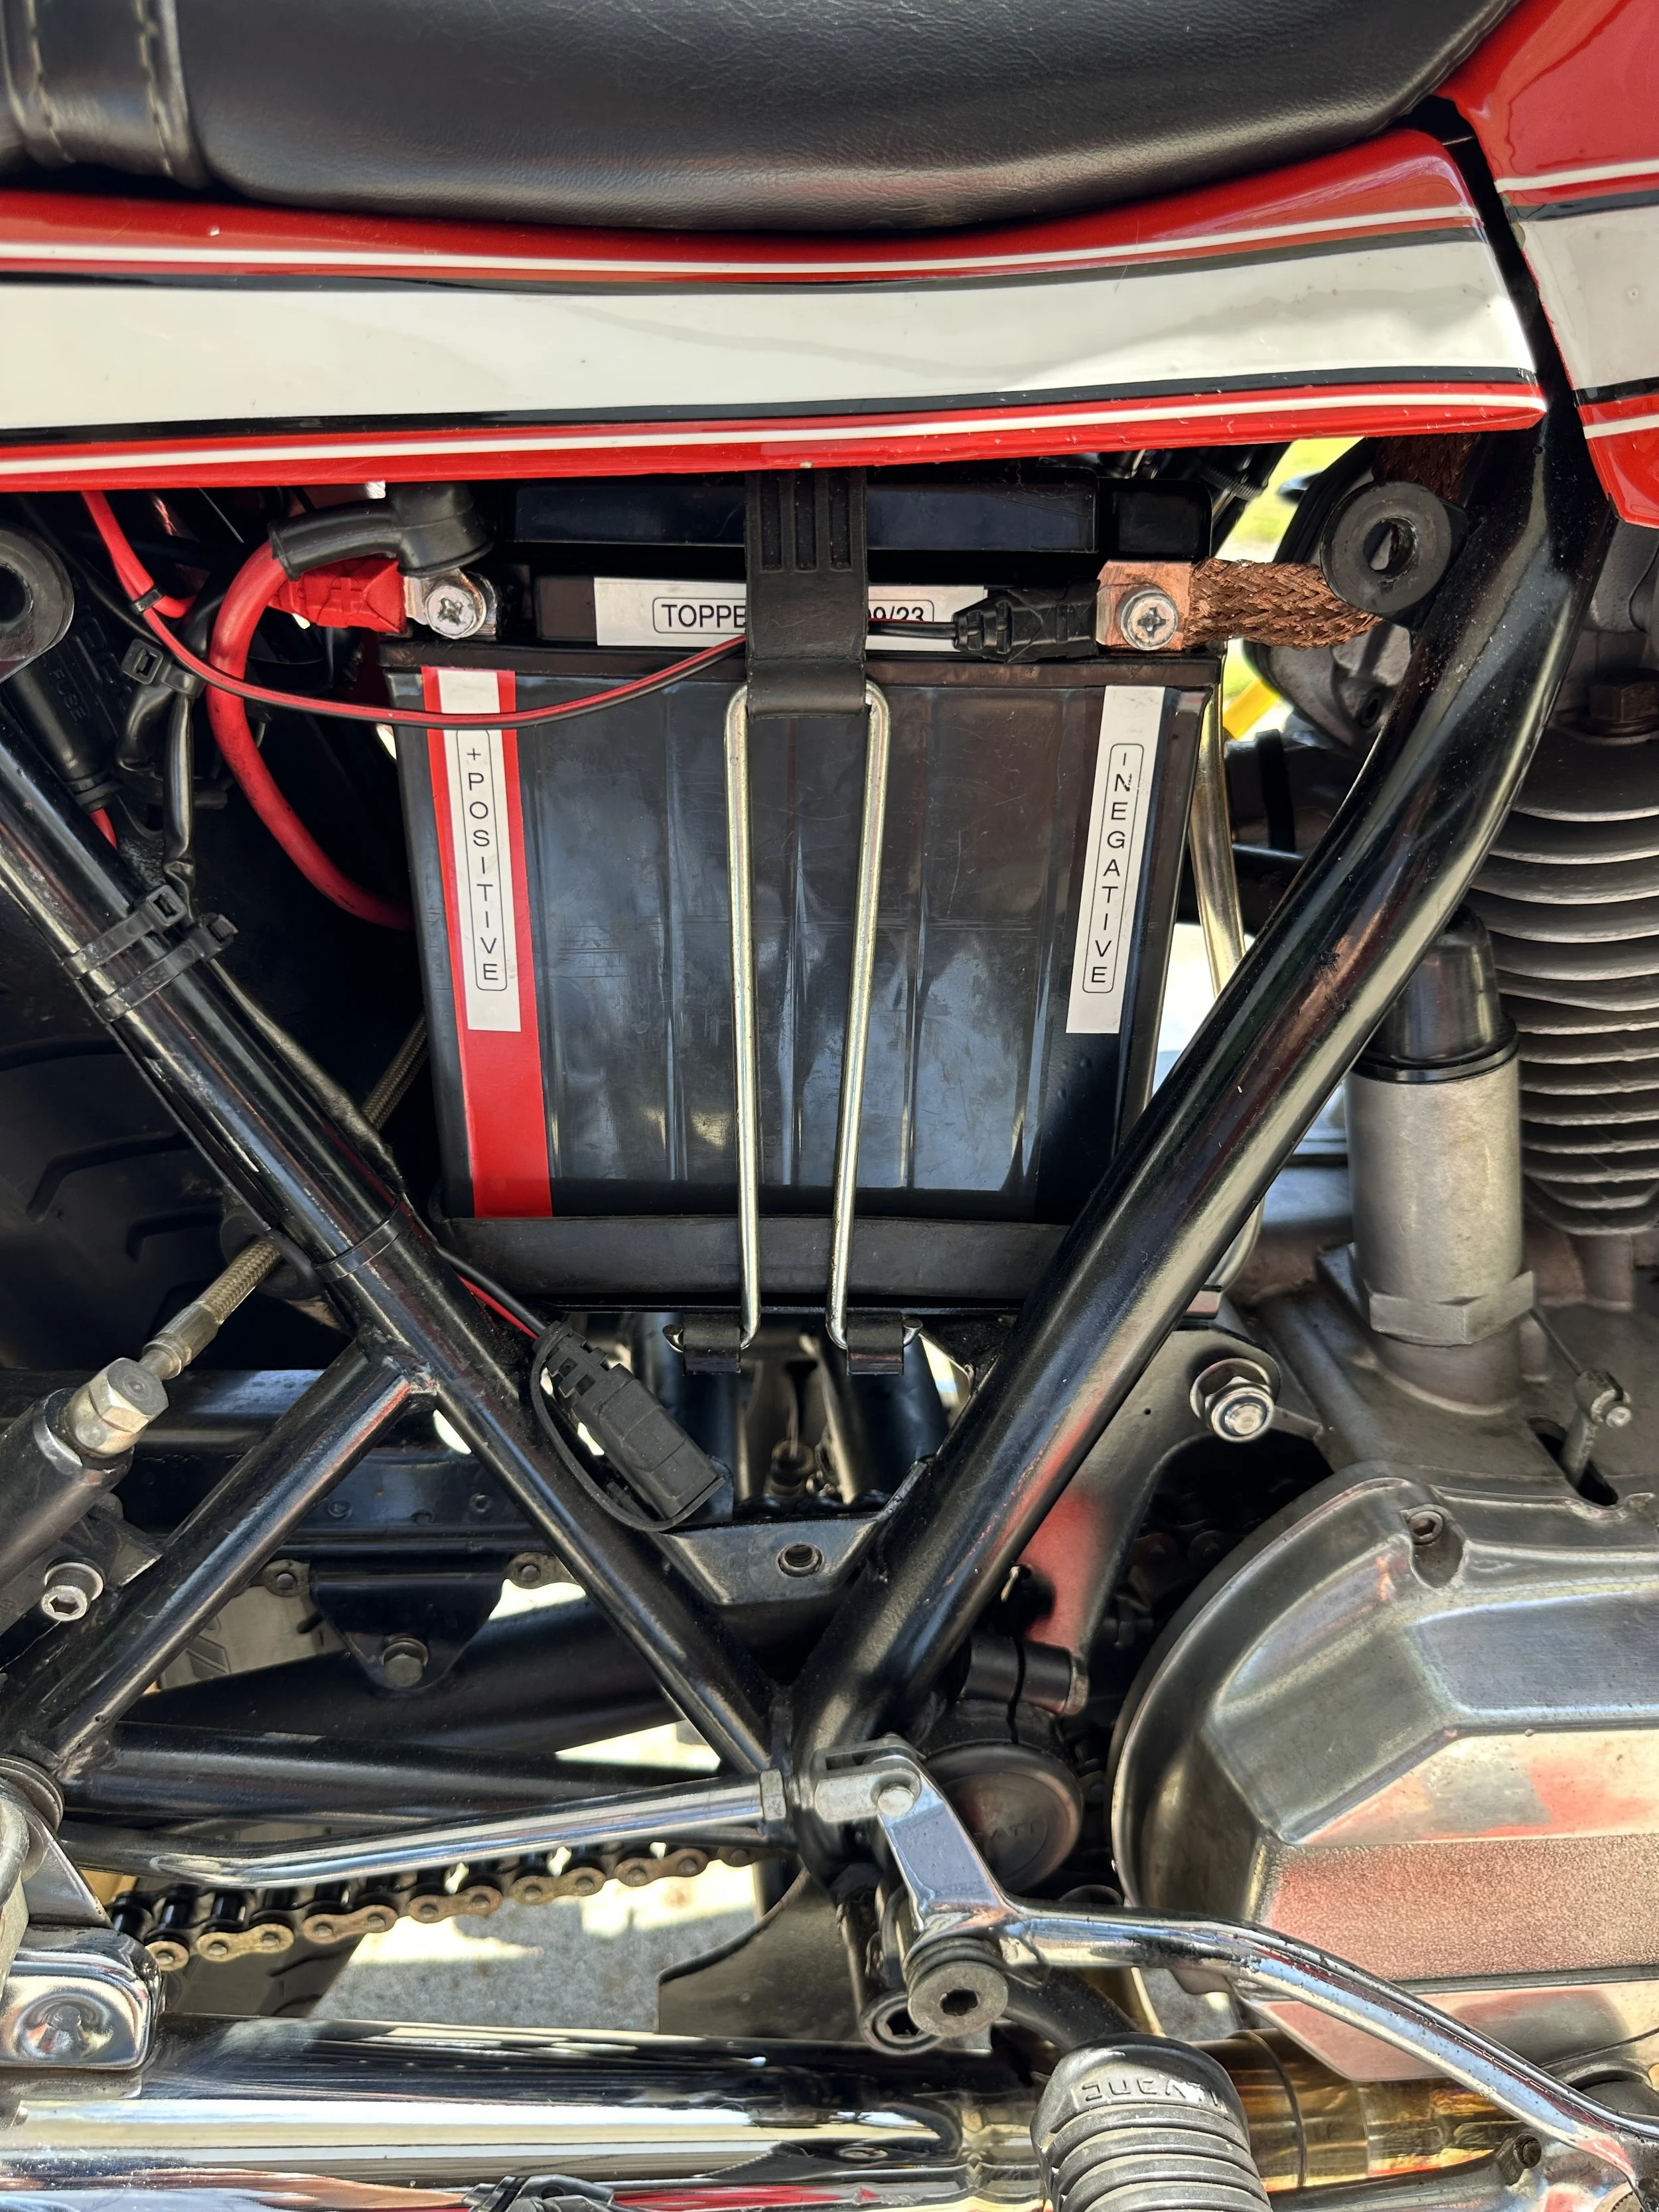
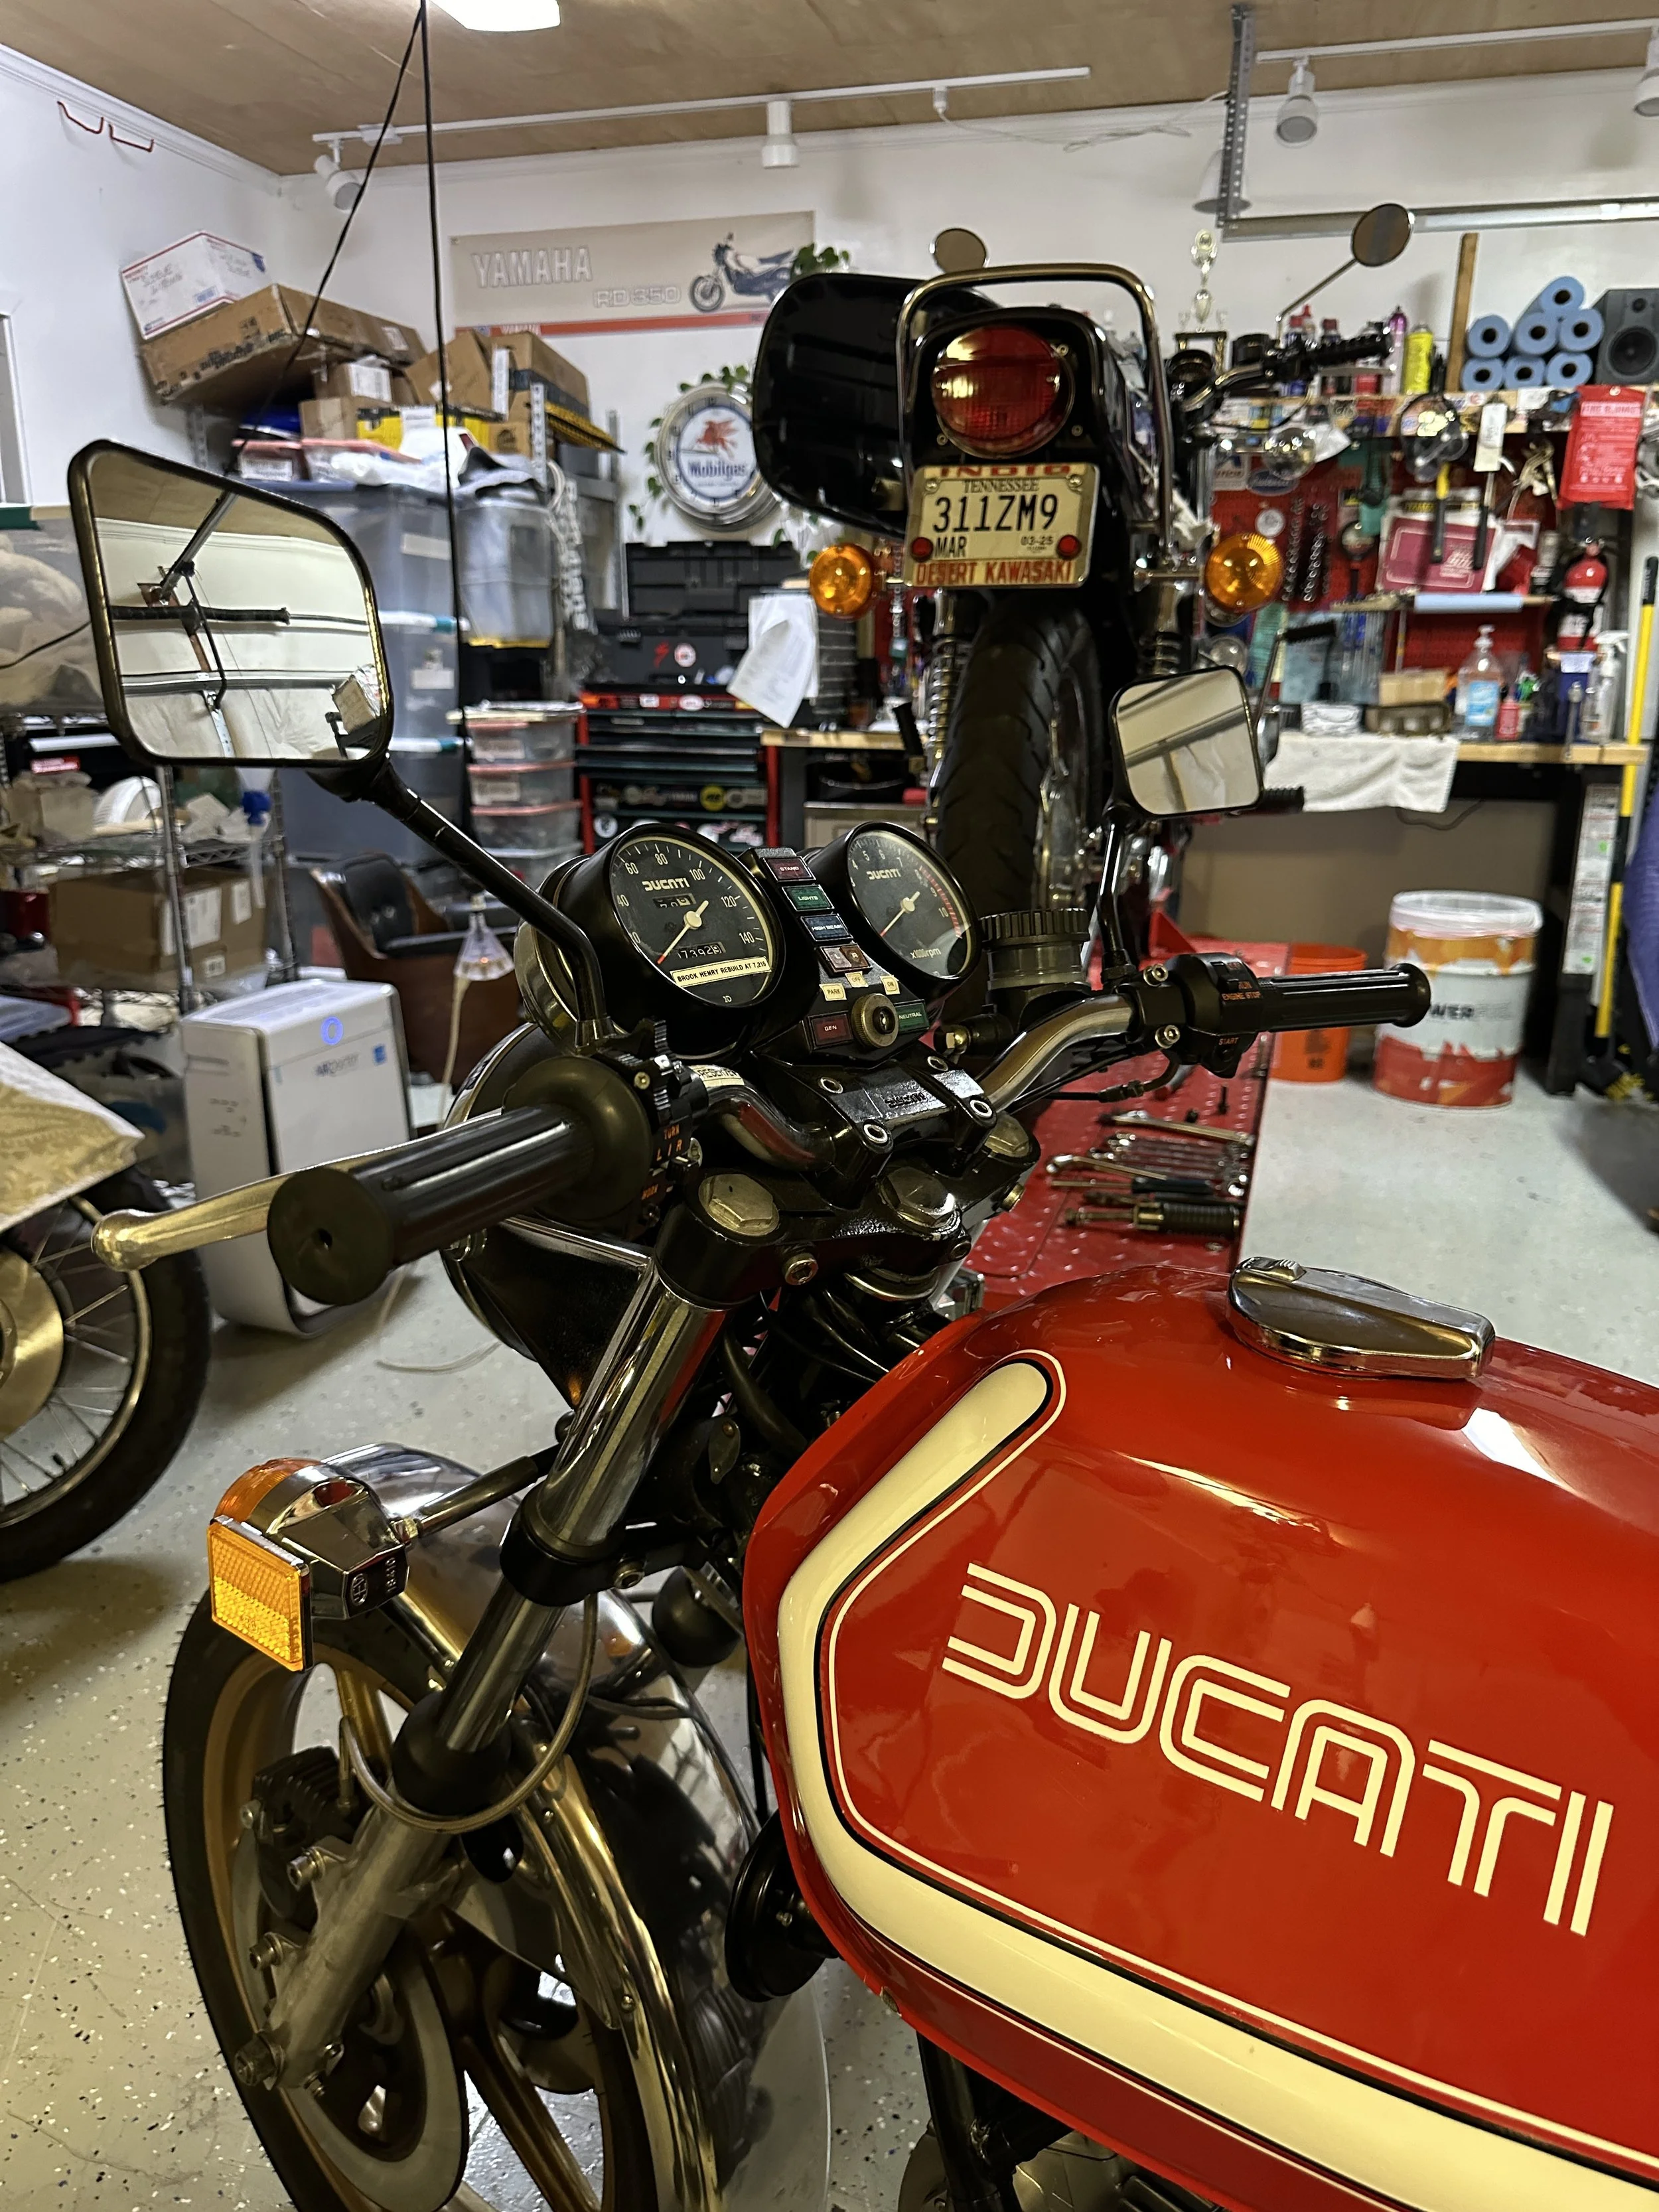
Fuse box…..
Jan 20th 2021- out on another run to Leipers Fork and on return bike dies in Green Hills. Motor seemed fine- just all electrics dark. Much fiddling with the (uncovered and lidless) fusebox find the connections dry and the fuses suspect. A quick trip across the street to Walgreens gets me some tinfoil and a home tool kit including the allens needed to get better access to the fuses. Problem solved and new fusebox and fresh fuses ordered from Bevel Heaven.

easier to access fuse box with the tank out of the way...It was cold but so glad it wan't raining.

The thing that kept me from fixing it for so long (90mins) was that all the fuses looked fine.....only when they were given a full metal jacket would two of them work and that got me home. Found the exact fuse box on Bevel Heaven (https://store.bevelheaven.com/Electrical-Battery-Ignition/Fuse-Box-900SS-etc/) and only there did I discover that there is supposed to be a cover- a relief because the box is in the exact target area for rain spray from the front tire.

On reaching for my basic tool kit I discovered the lock was gone! The latch bar, nut and so-called "lock washer" was in the tail.

I might get to this next week or it could be next year....not taking any chances and labelling everything. R= rear, F=front
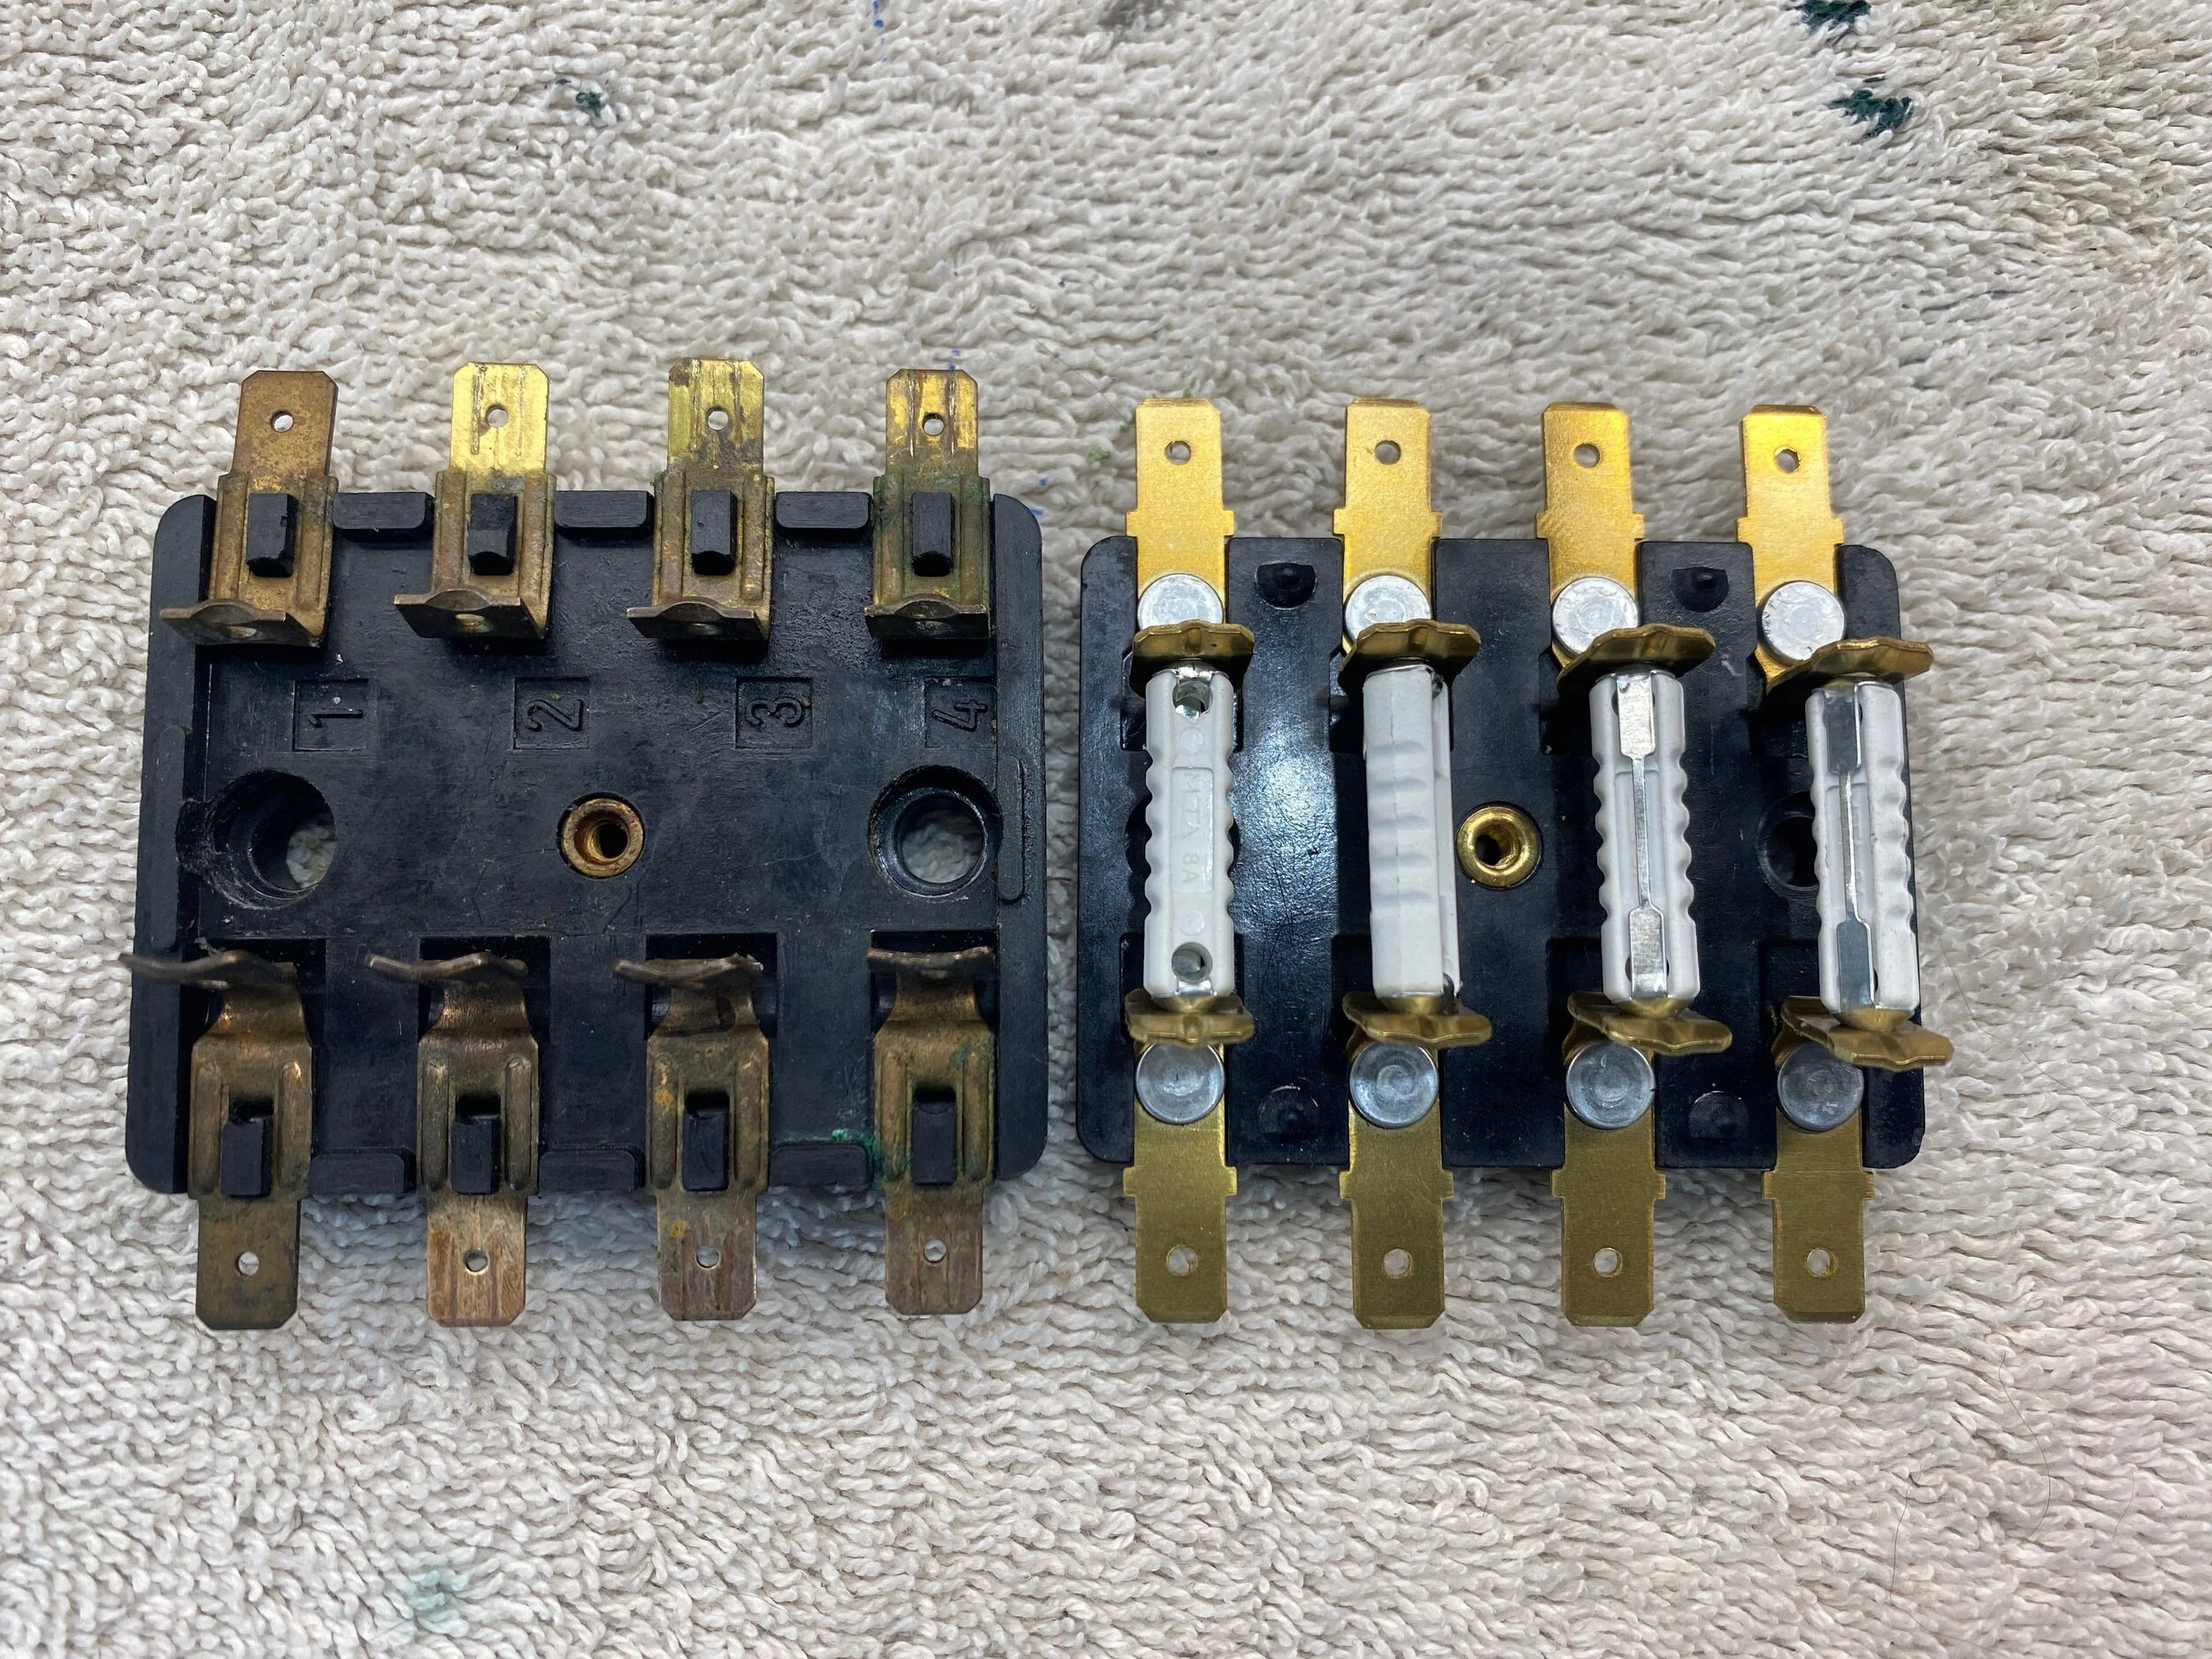
New Box arrives....
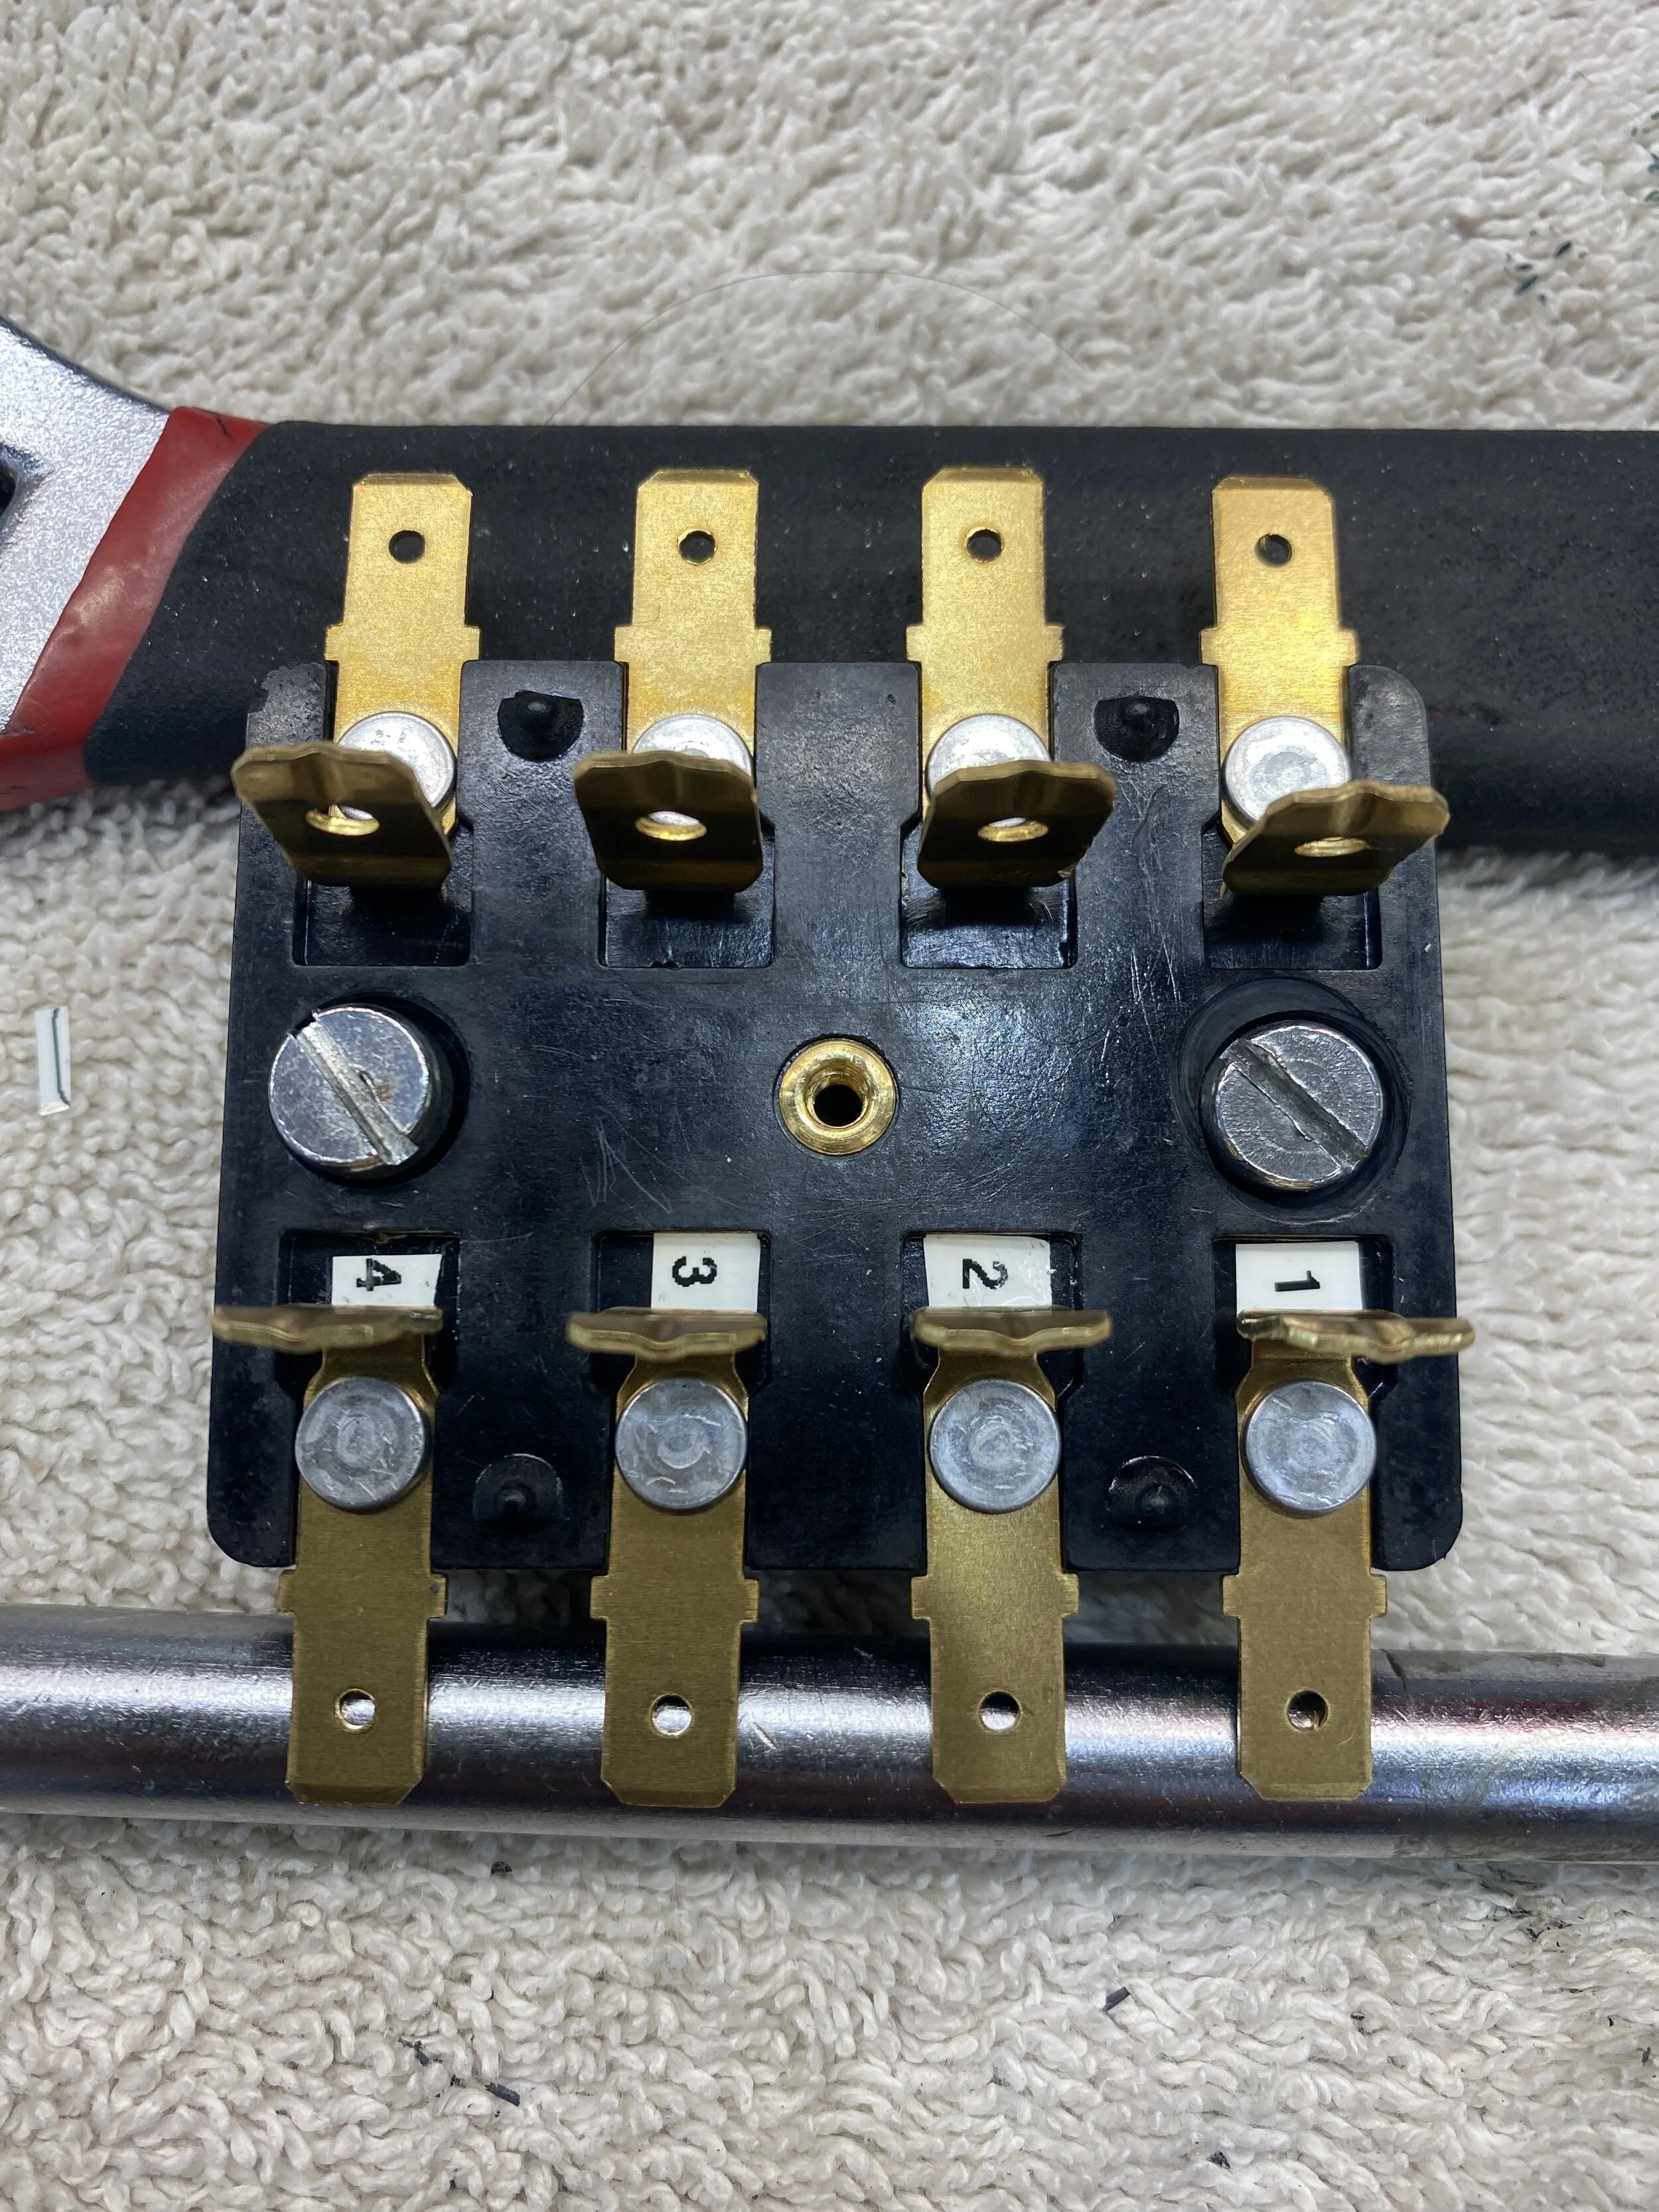
without numbers imprinted so I label up...

had to drill out the 4mm mounting holes to allow the 5mm screws and then (a little carelessly) countersunk them a little to allow the screwheads to be flush...it works.

All back in place with the plastic cover....
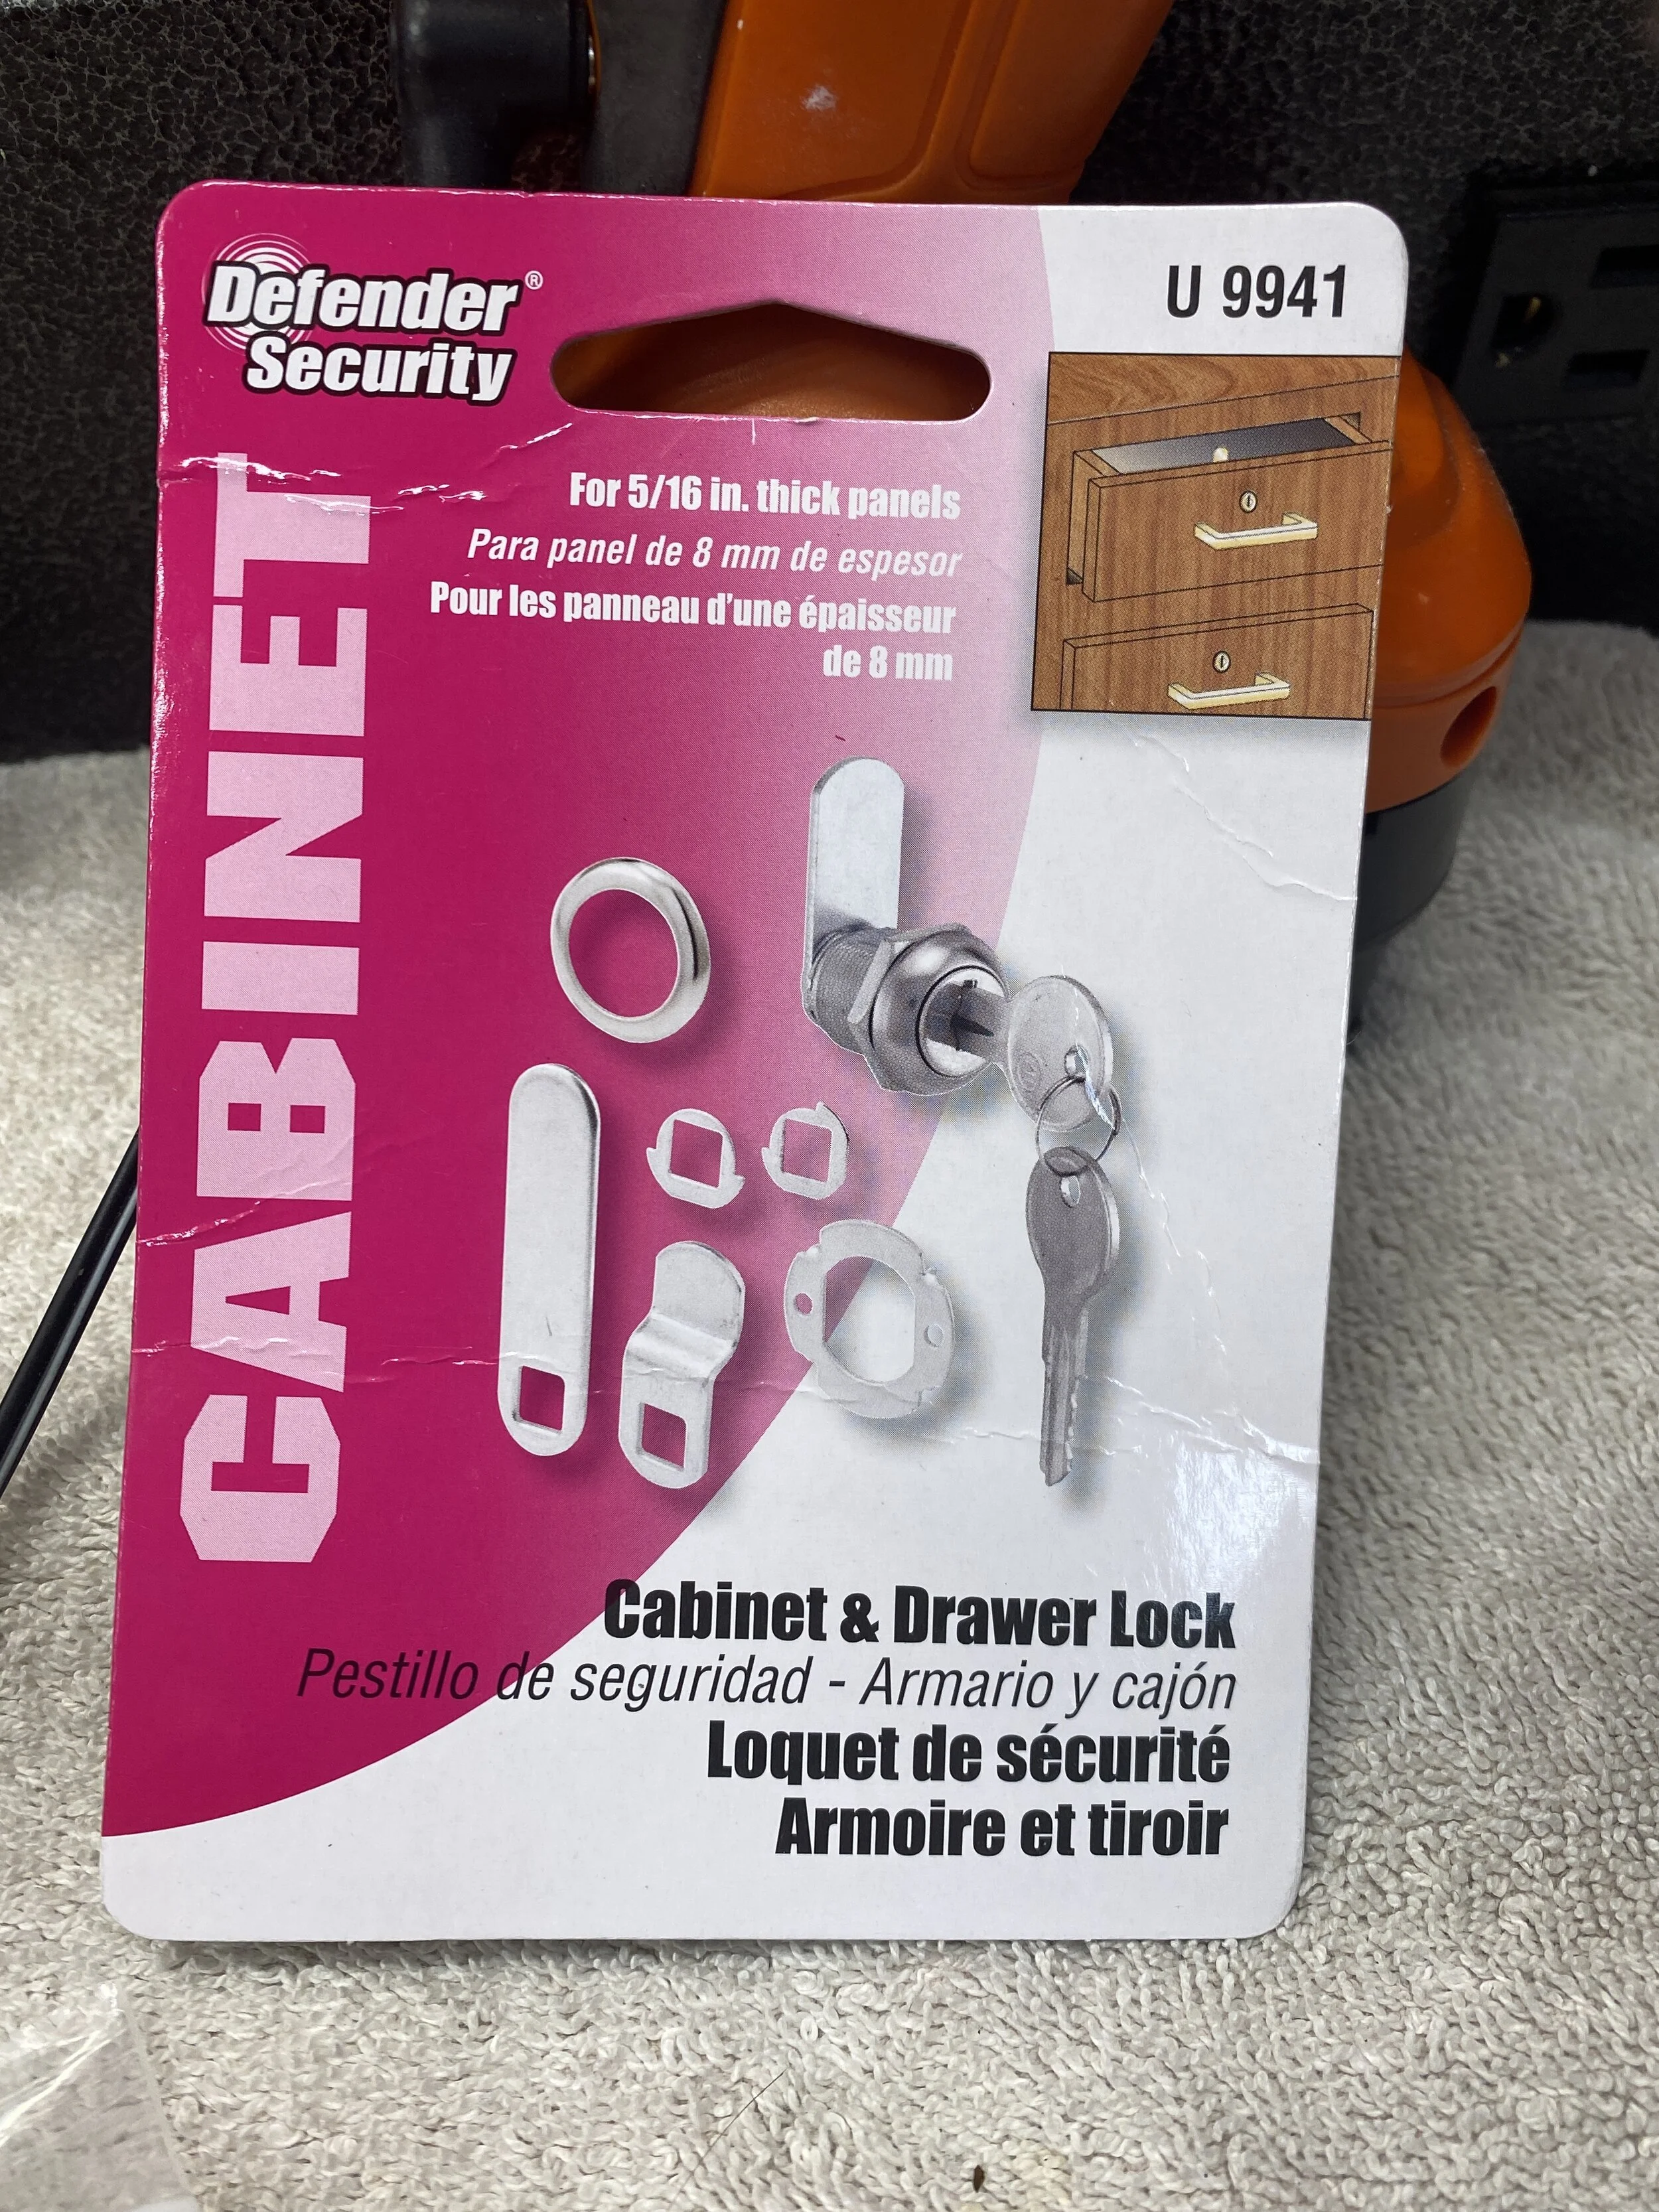
As to the missing seat lock. I consulted everyone on the Vintage section of the best Ducati forums (https://www.ducati.ms/forums/vintage.14/) and 'Ventodue' told me that all I needed was a 'cam lock'. Googling just those words lead me to Home Depot- they had just the thing......
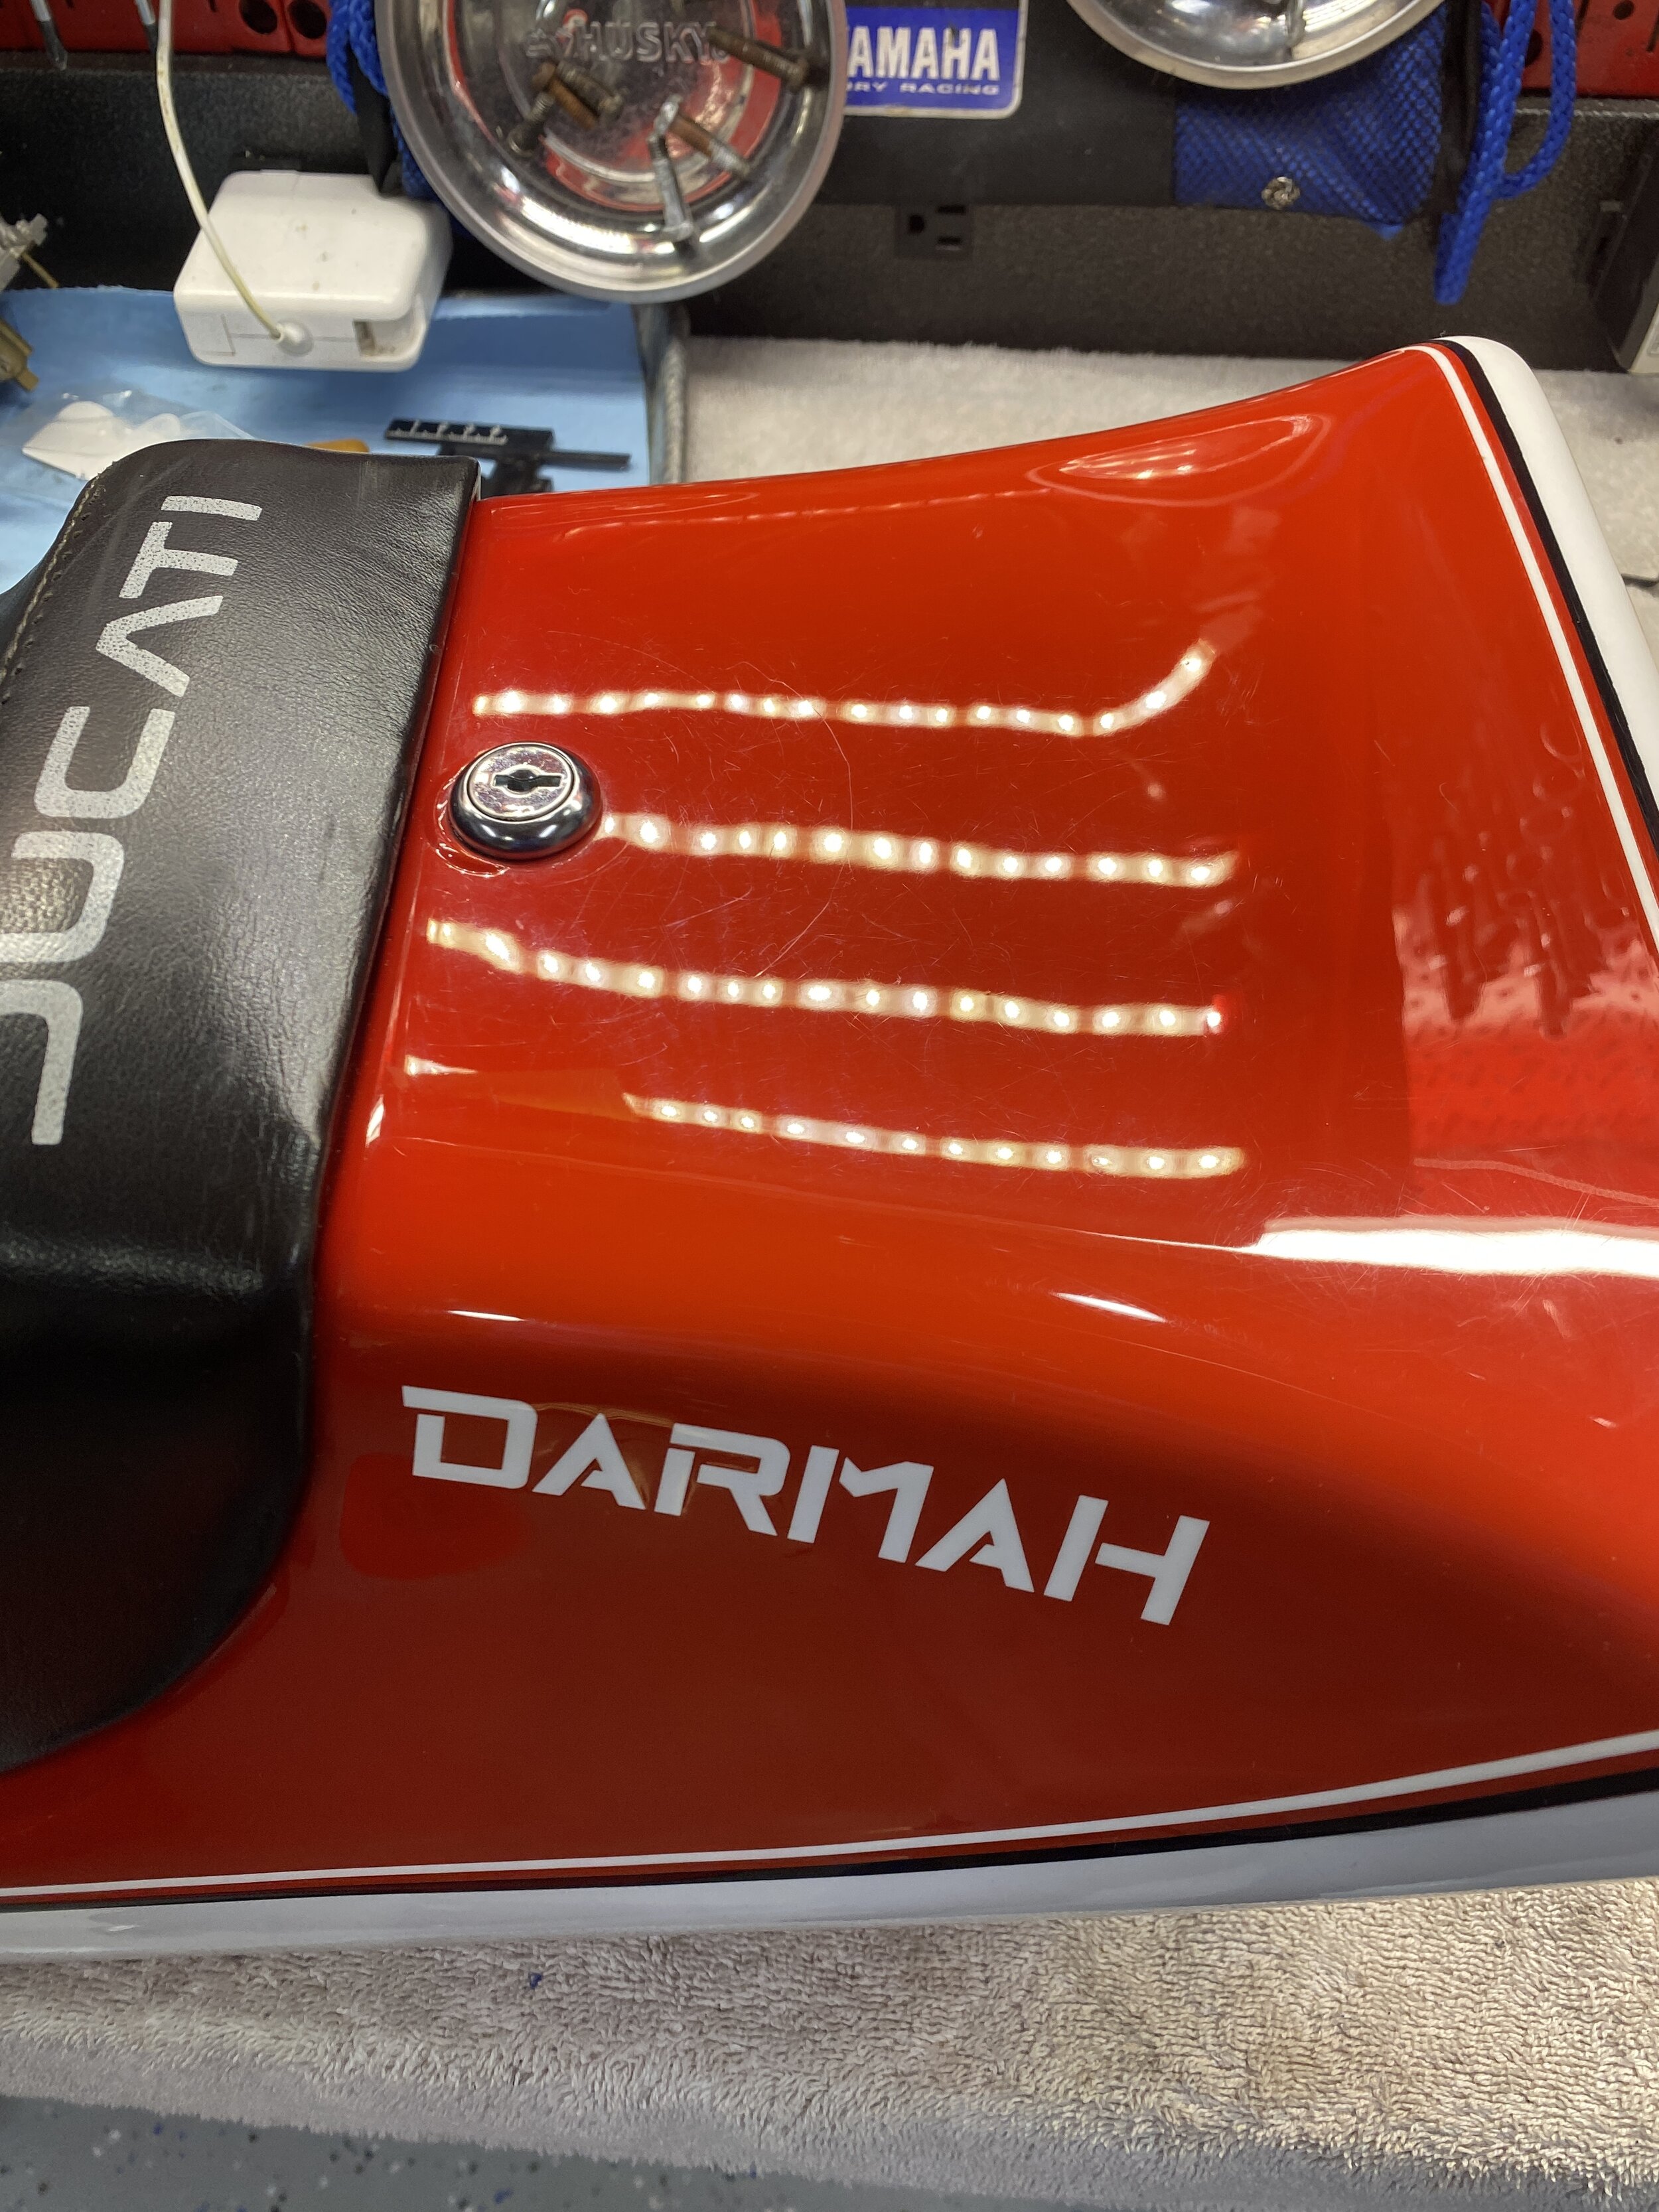
just needed a little but of filing here and there, some Loctite and a good lock washer and....done. Never underestimate the Power of a Good Forum.
May 2021- First gear.
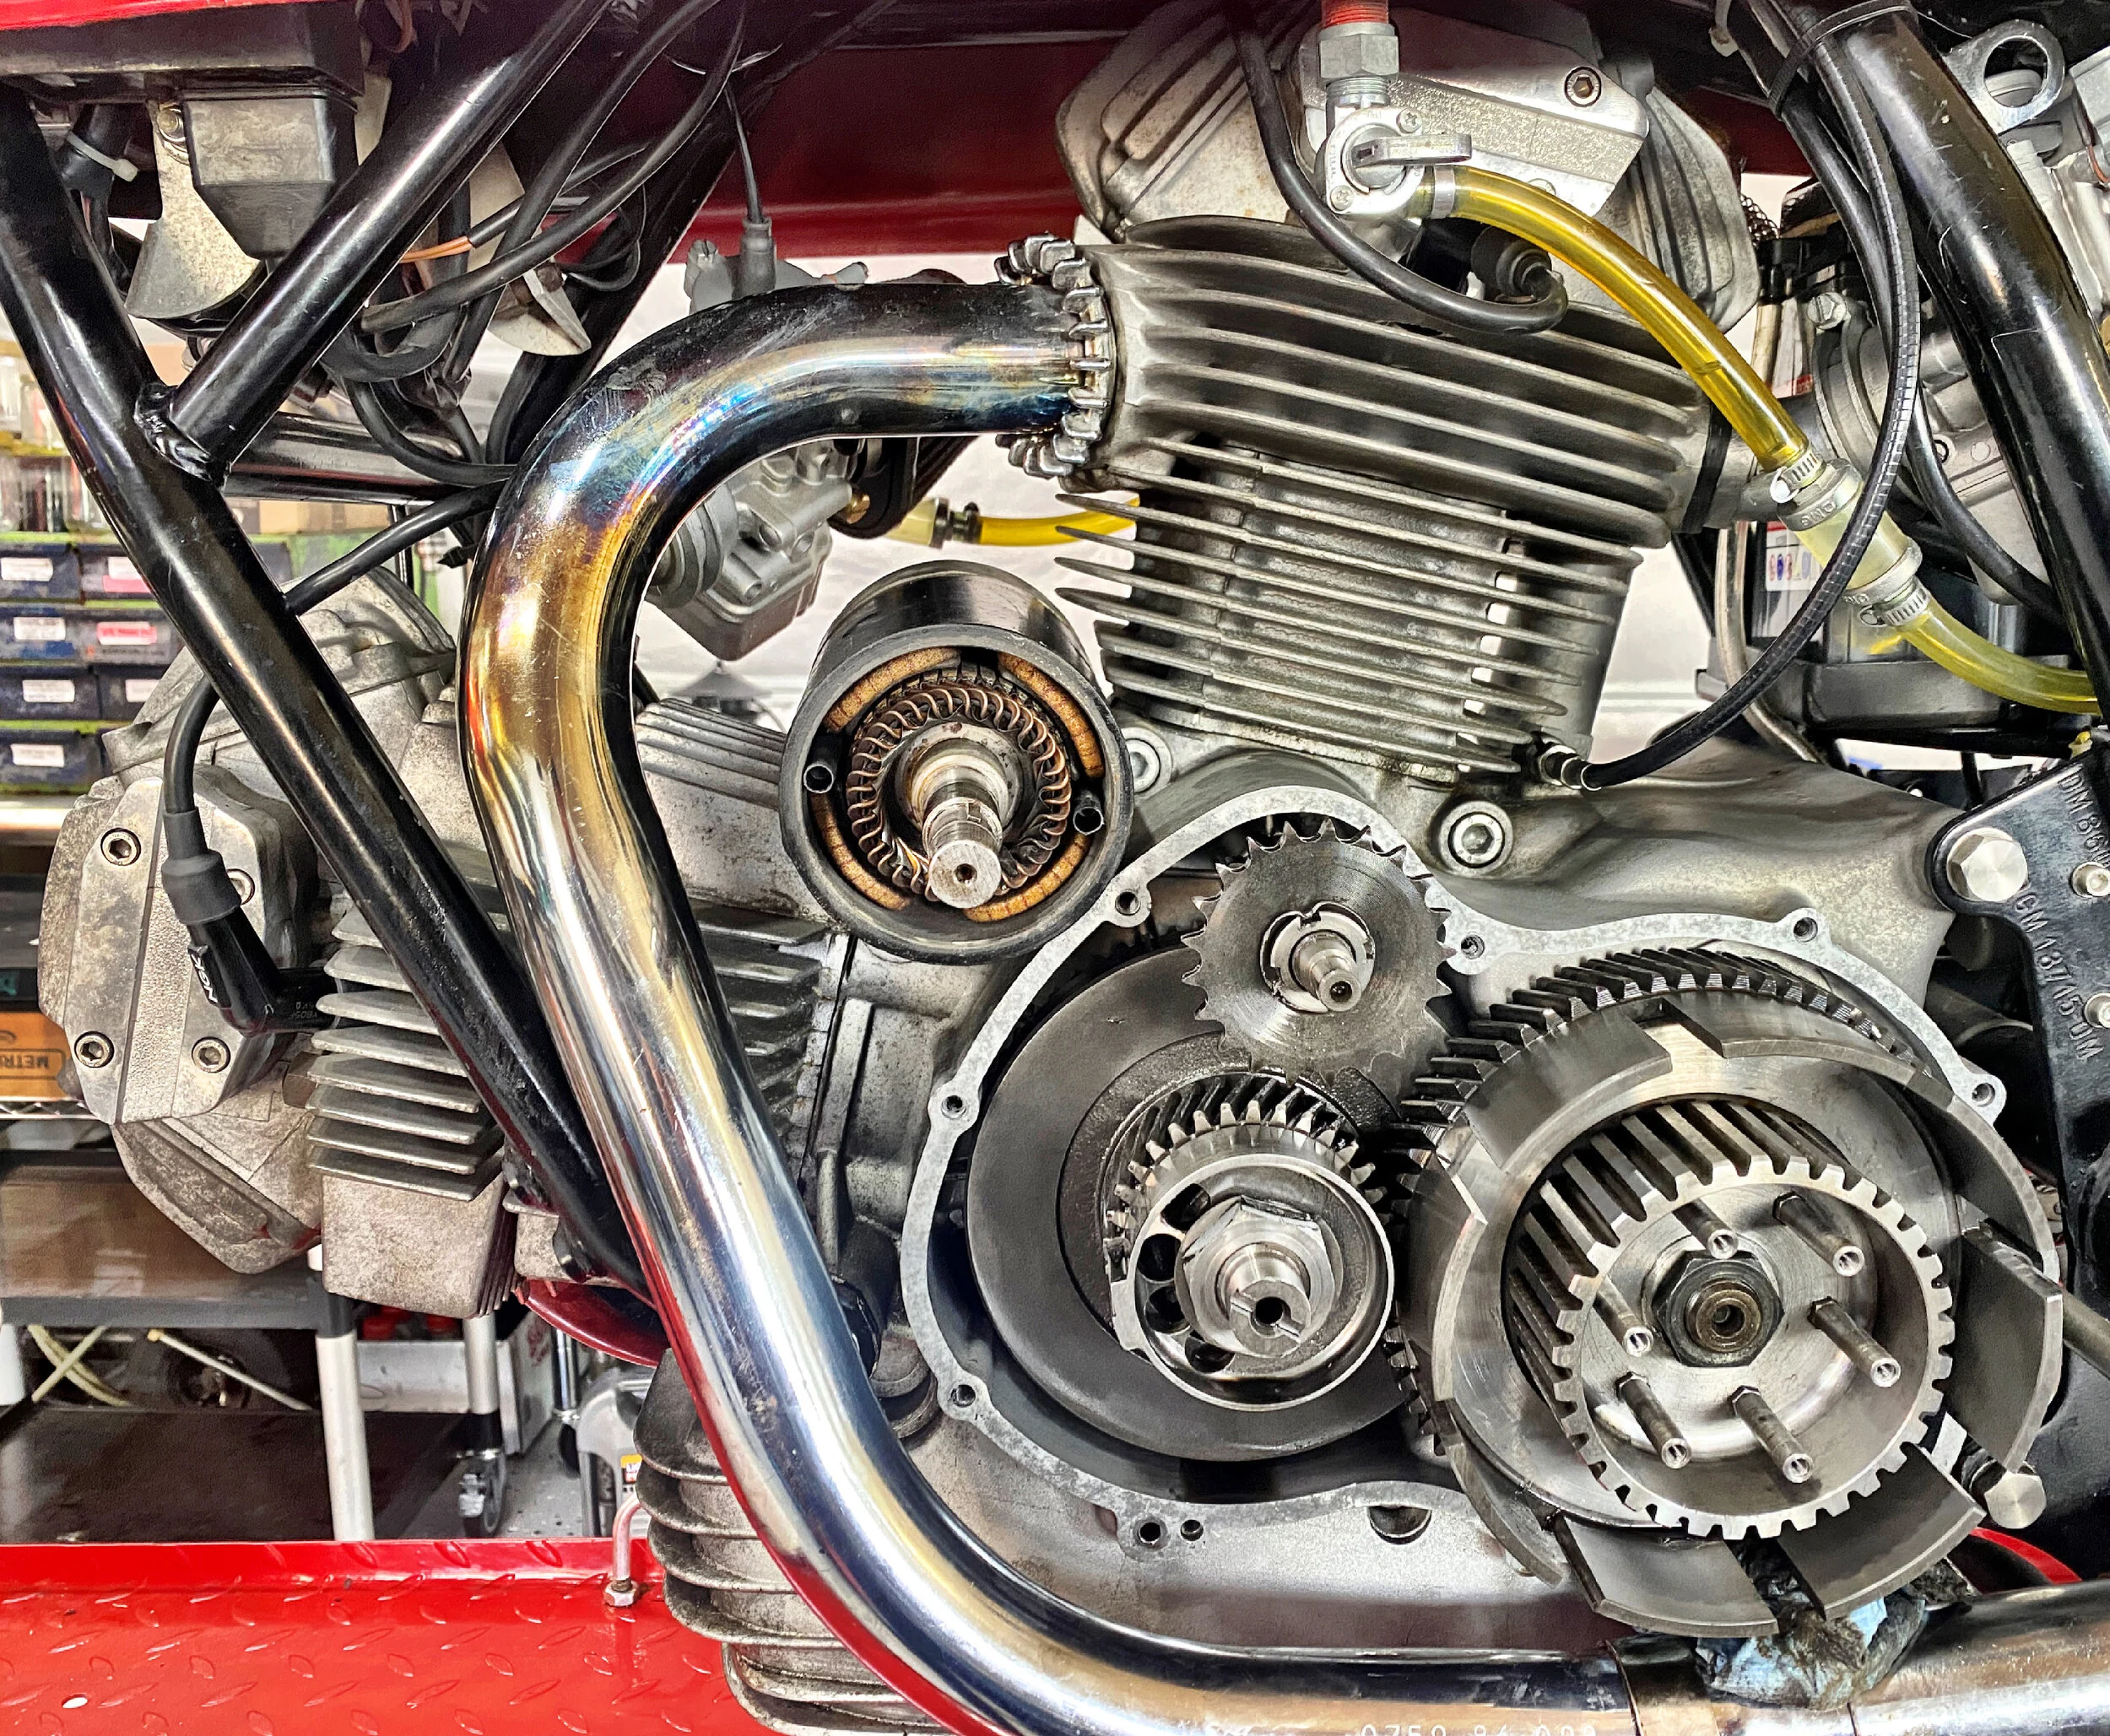
Bike has developed a strange characteristic of feeling like it’s jumping a tooth when pulling away in first gear. Another analogy would be like it hits a small patch of ice and the rear tire slips & grips. Steve @ Bevel Heaven suggested: “Ok the first and easiest things to check are: make sure the sprocket in front has the locknut still on and it solid. 2ndly disassemble the clutch and make sure the huge nut that holds the clutch basket is super tight and has not loosened out. while in there, check out the shifter spring. Might need to replace that.” So here we go….

Got it up on the lift and heating the sump again up so I can drain the oil.

Just like any other clutch....but I've never see a fibre plate spot welded to the pressure plate.


LowBrow Customs 'Barbie Stairs' not really helpful in this circumstance...
beauty.
I had bought a whole new set of pick up wires- only to find the conversion has already been done.

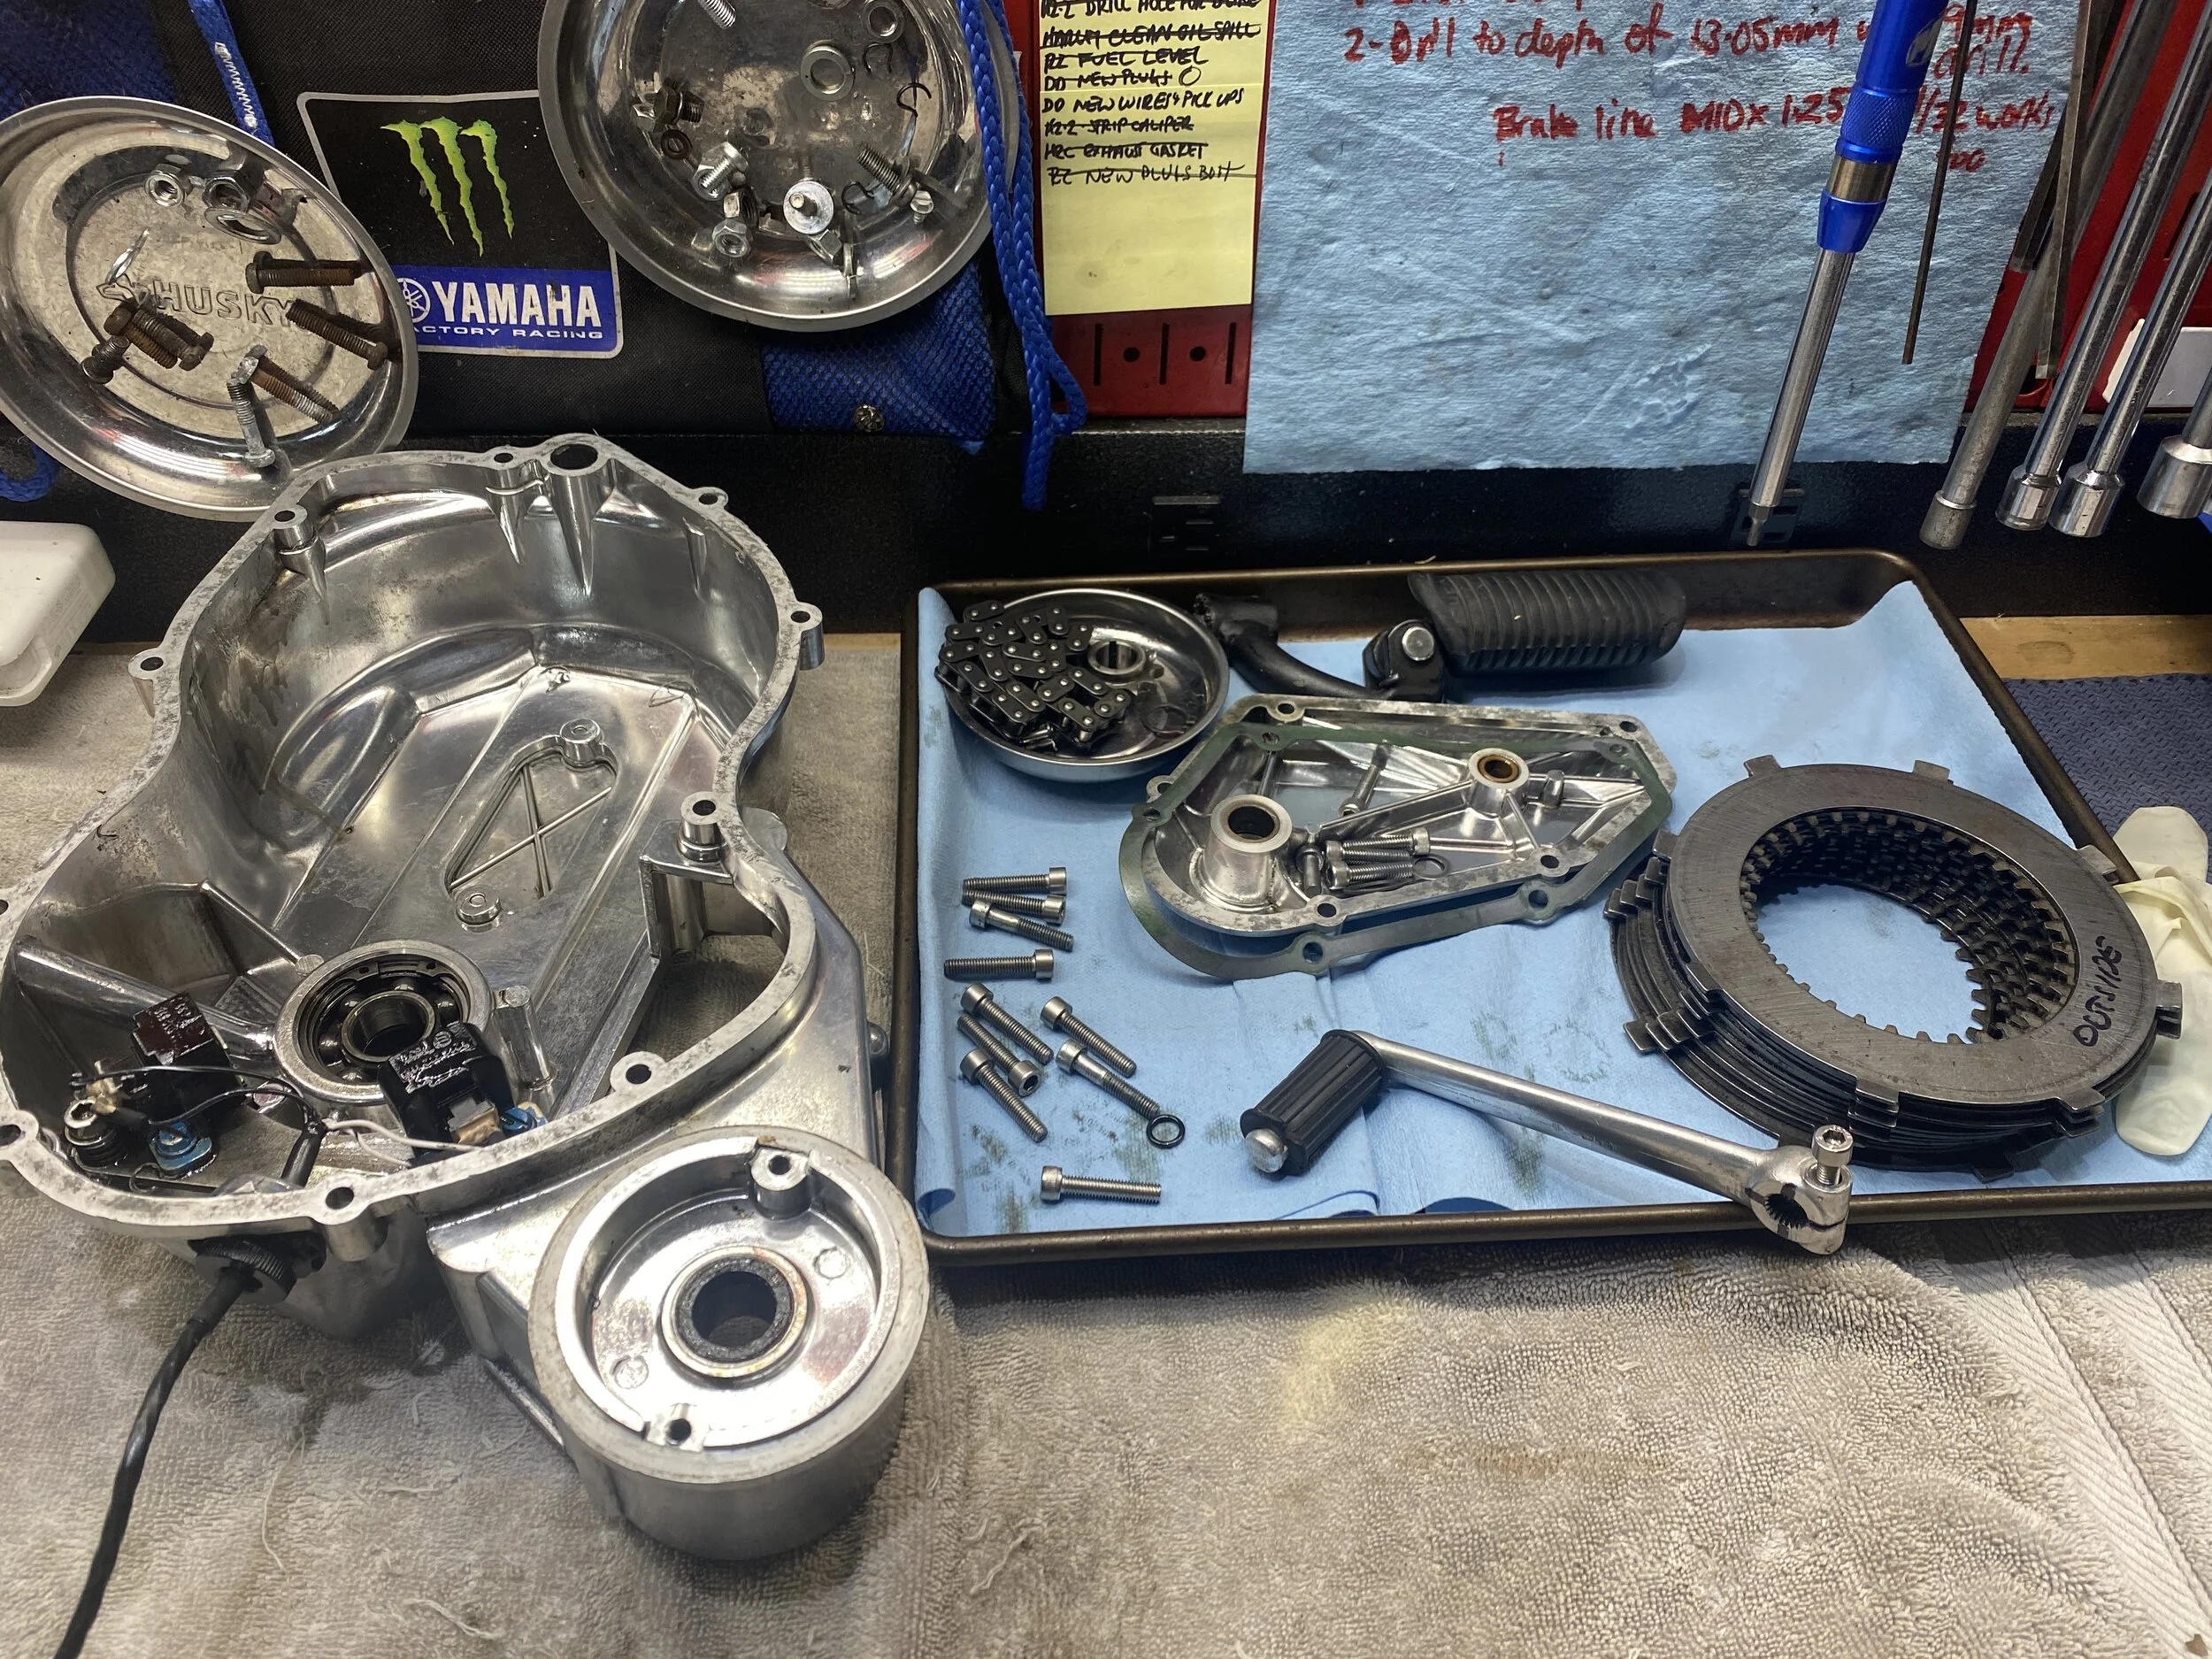
Special tool helped me get off the clutch basket
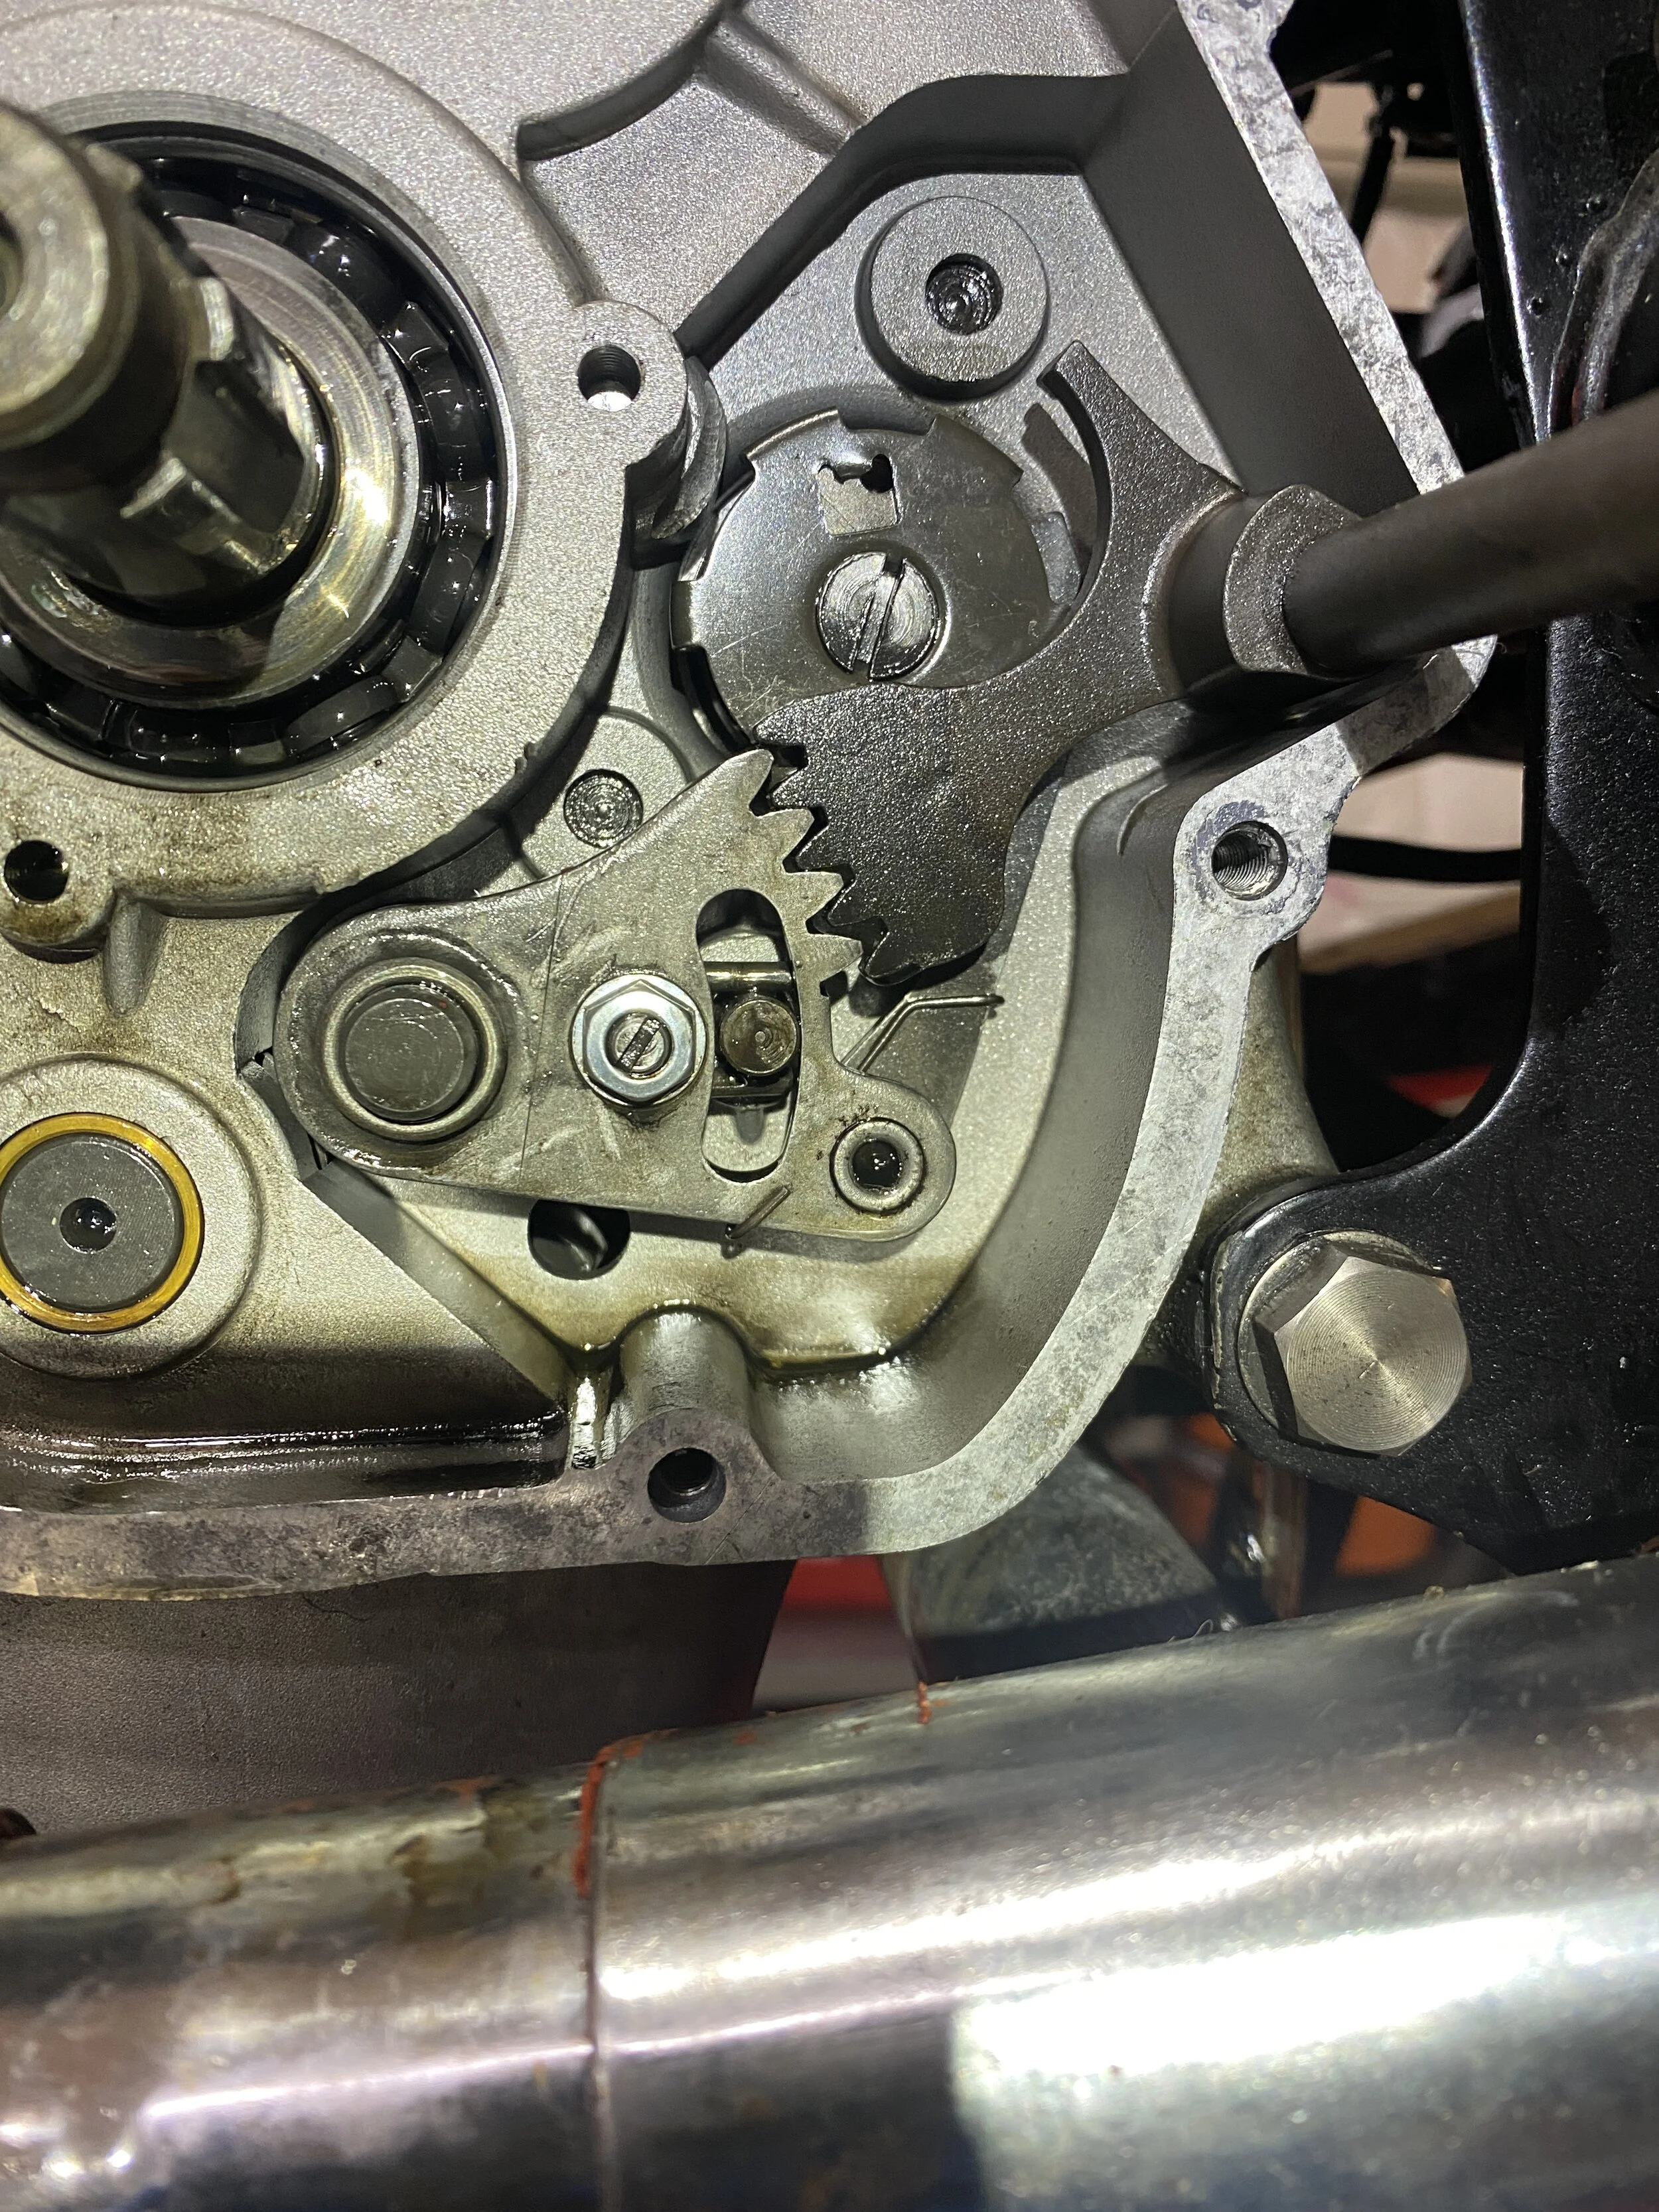
The selector spring is behind the toothed plate on the left : it's intact and in place, so that is not the problem. I thought about adjusting it but there's little direction in the manual about how to do it. "act on the adjusting screw.....until the best operating position is found." I wouldn't know whether to loosen it or tighten it.

prepping a new lock washer around the clutch basket nut...

and on...torqued I think it was 70lbs.

This is the first plate that goes in after the 2 spring rings... first plate has teeth that are very slightly bent outwards....the very last steel (or they call it the 'driving' plate) has it's ears facing outward.

As suggested by the PPO's (Previous, Previous Owner) hand written note above- the clutch plates are virtually new.
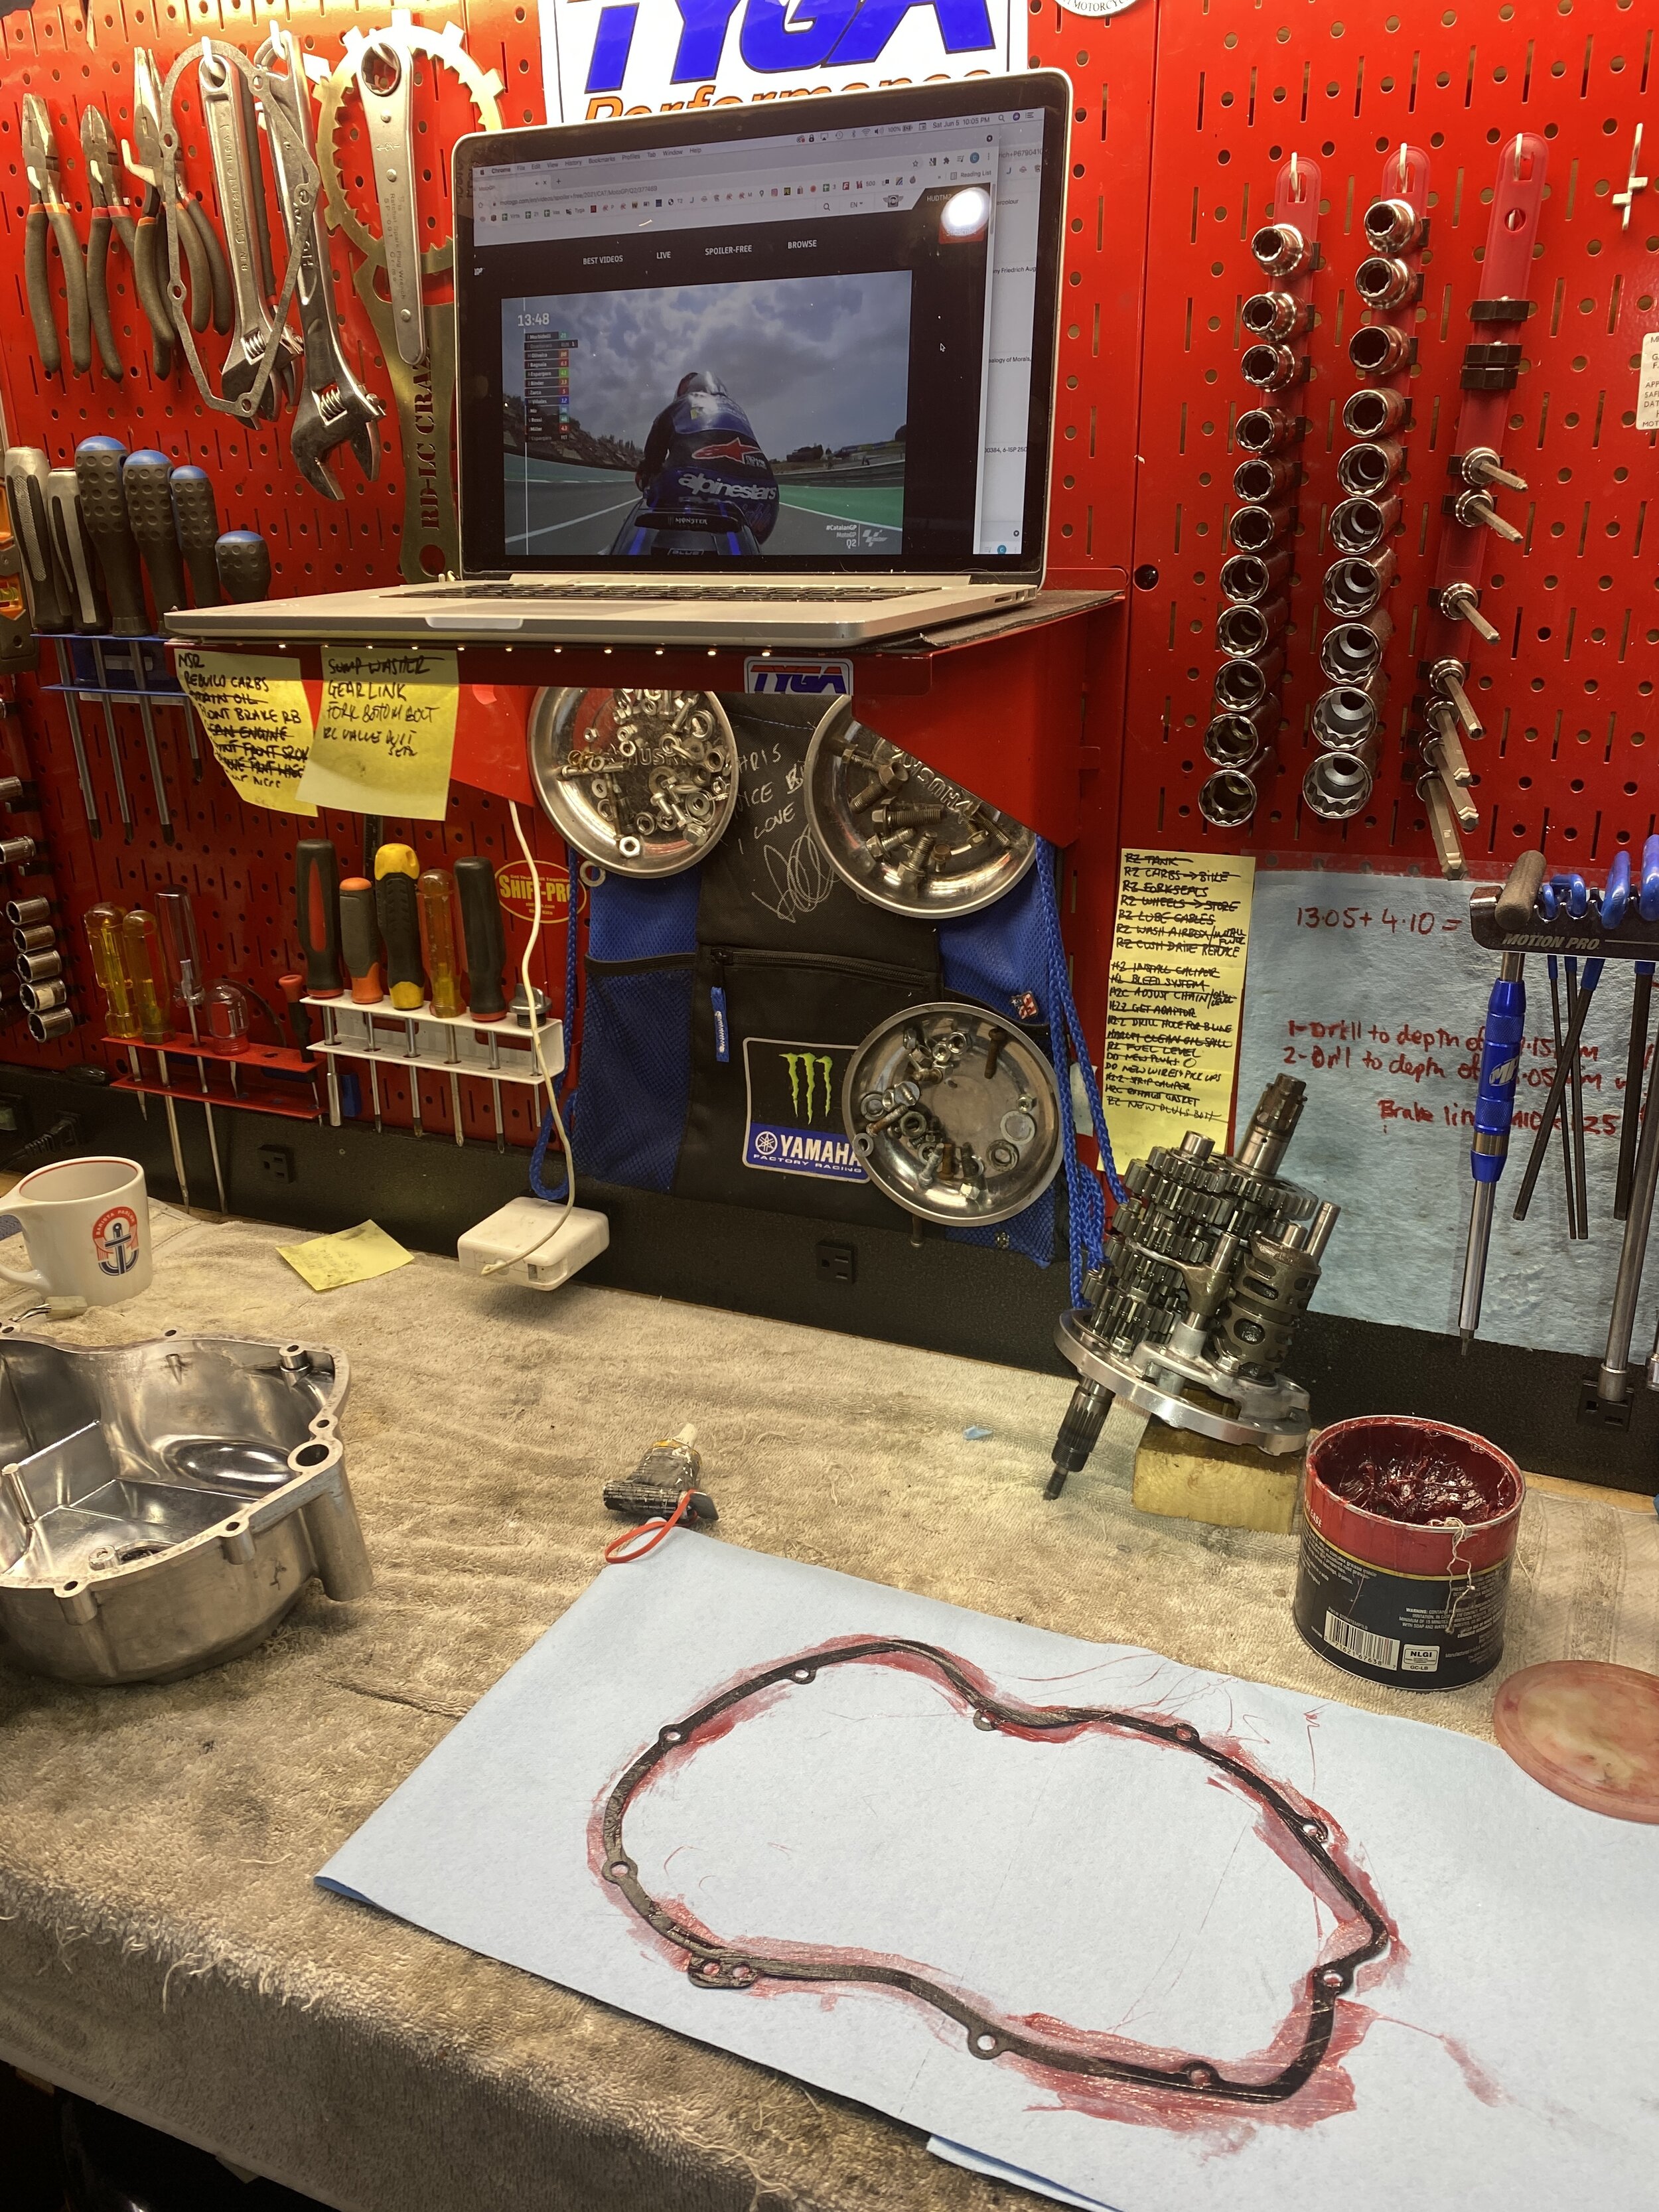
new gasket with a thin layer of grease...looks more than that...but it ain't.

The electric start chain....a bit fiddly to reinstall. This is the best position to get the chainlink on....along the bottom run....copied the direction of the spring link from the manual.
Eagle eyed Steve of Bevel Heaven spotted from my write up on this bike that my original filter was an Emgo- which would have only been able to install without this big washer would have been missing. It's an essential piece when using the Athena filter which is closest to OEM you can get. Without this washer, in Steve's words, "the filter is being by-passed" I got one from Steve and dropped it in. Feels good to get that done.

Filled up with just over 4 litres of mineral Motul 3000 20w-50. If the bike had been completely stripped it would need 5 itres.

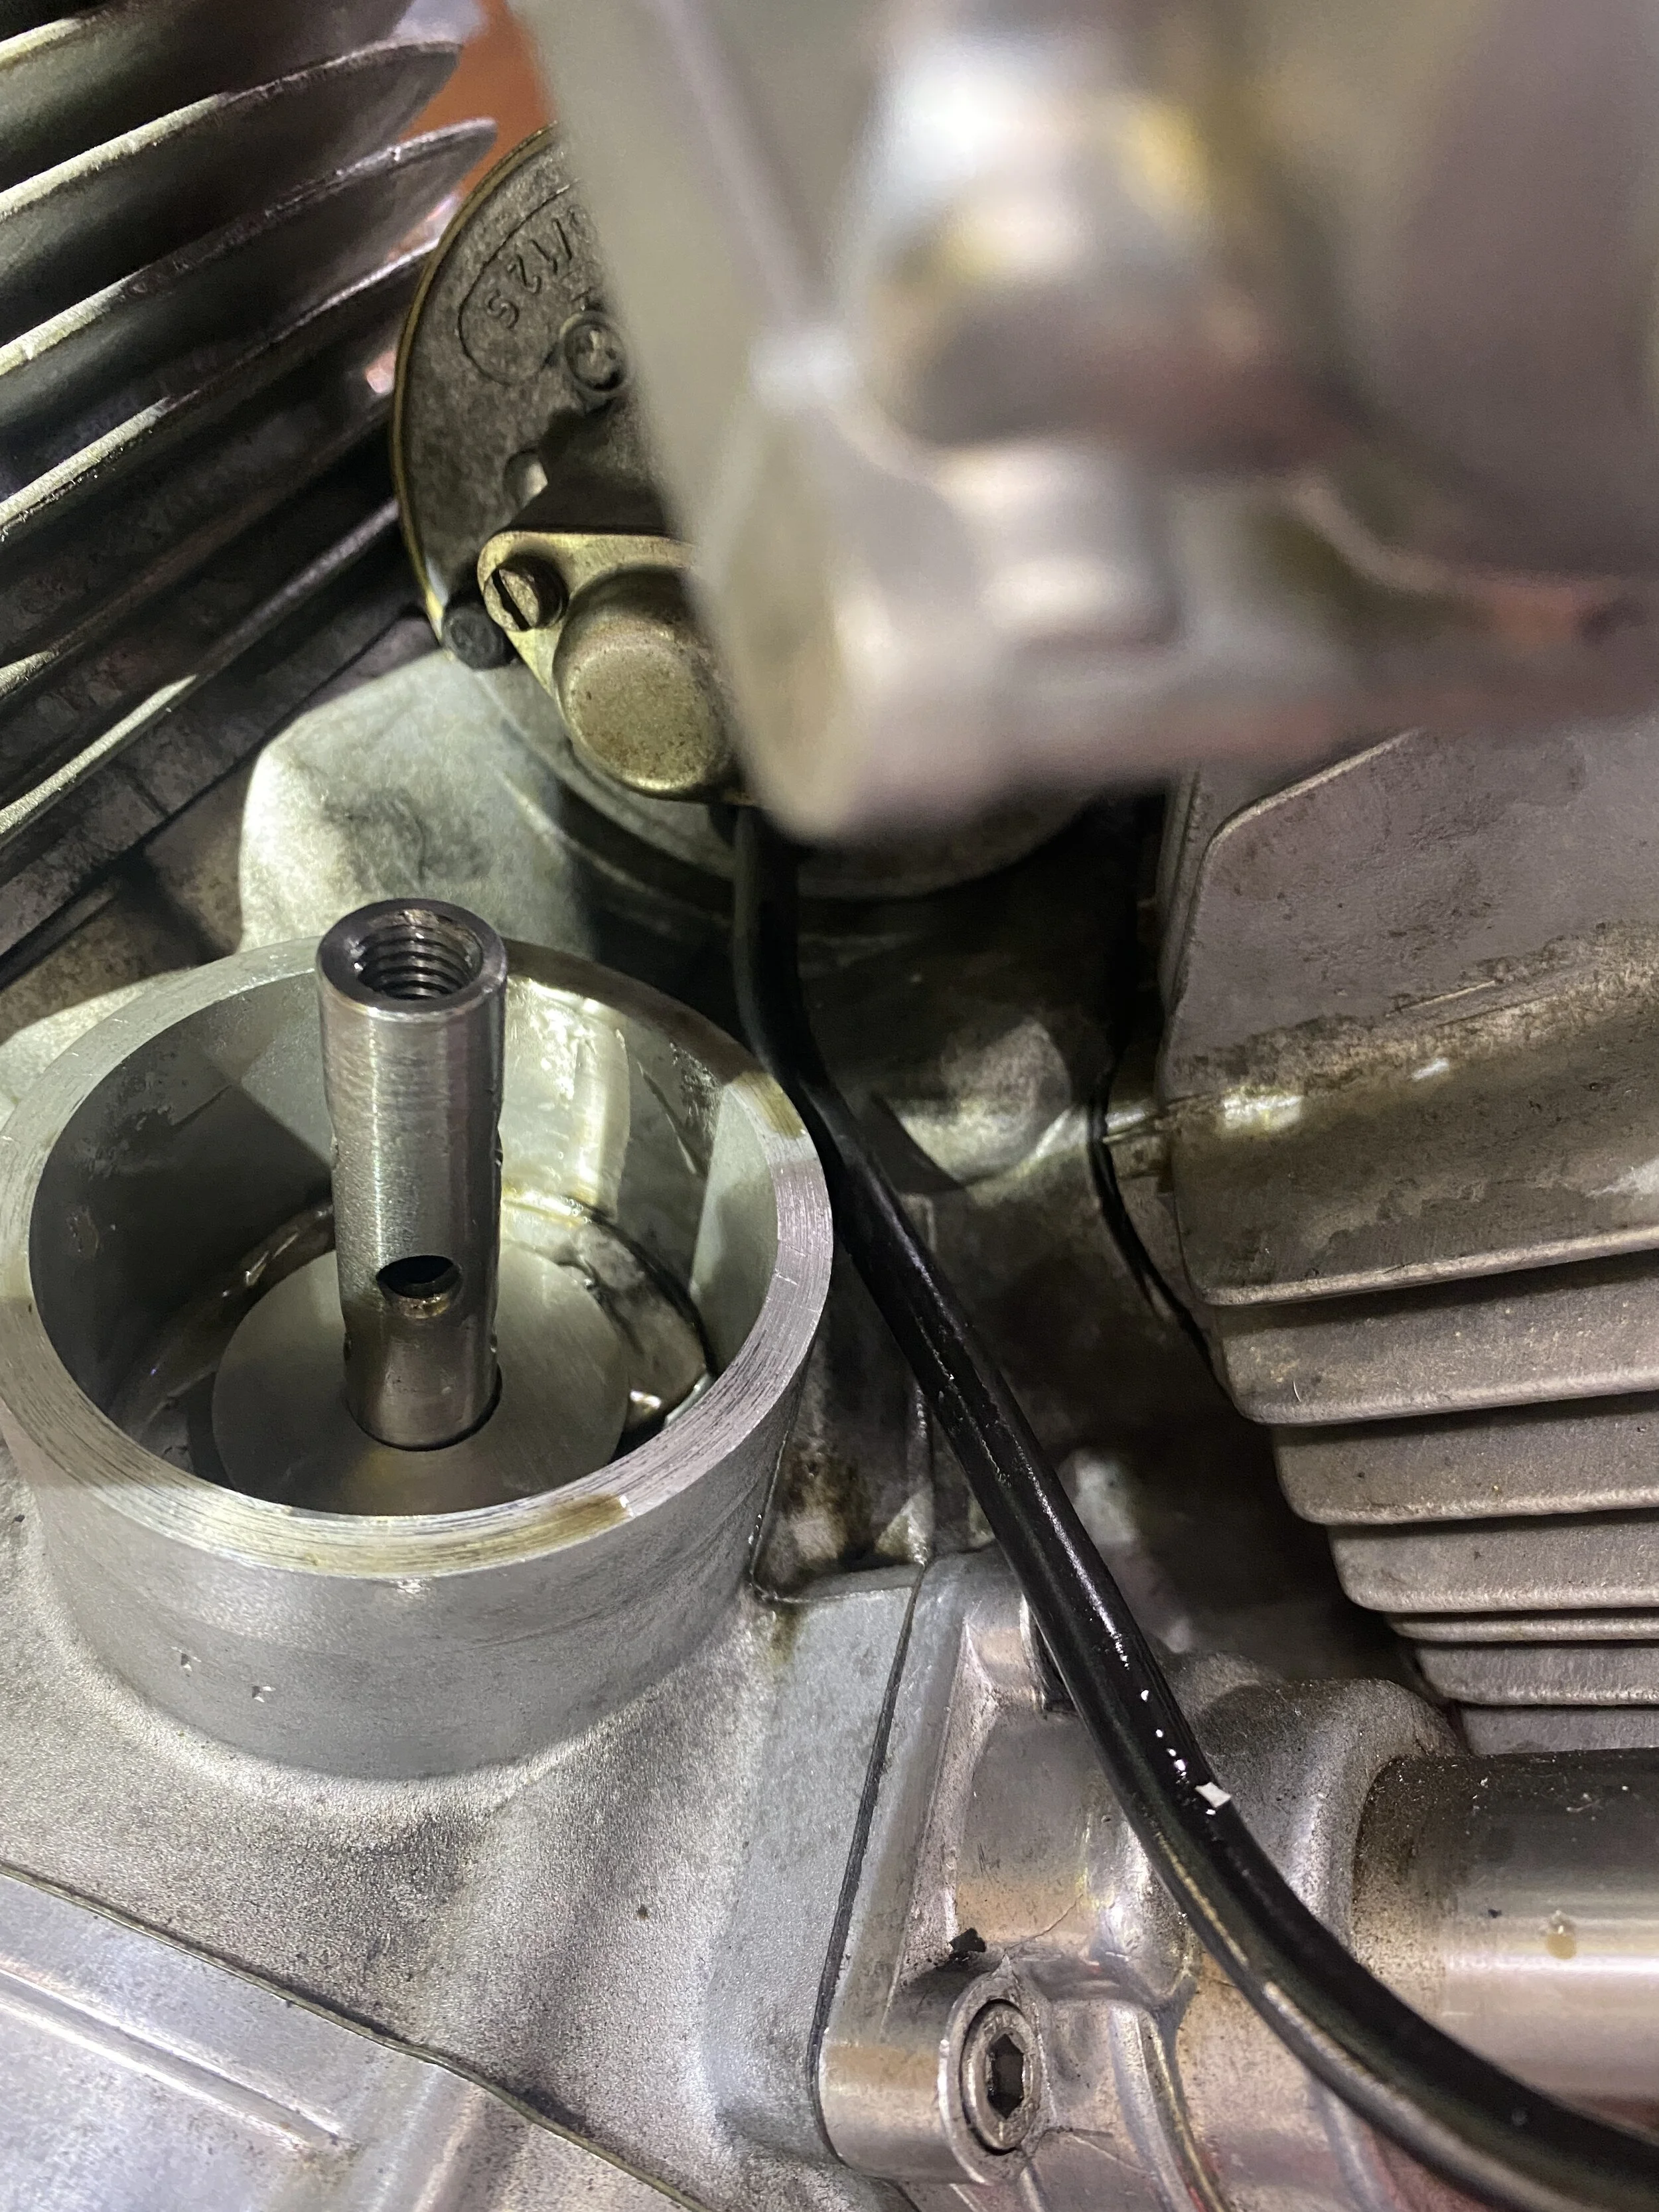
As suggested, double checked that the sprocket lock nut was still on and was locked in solid. I don't have the exact tool to check the torque but there is no doubt it's tight with a lock tab down in place.

End result: perhaps it's my rookie naivety brought on by some mild recreational heavy drug use as a kid that made me think that simply dismantling something and putting it back together would change anything: but it's still jumping in first. It can be avoided if you're ultra smooth on the gas and short shift to second...but there is no hiding the fact that the issue is still there.
Will I have to finally break this seal to get at the first gear problem? The smart people say yes.
Apr ‘23: Trip to A Specialist: Mr. Brook Henry
…..and it’s a shorter trip than you’d think….
Let’s face it, it’s not a round case. Is it the Ford Fiesta of the bevel twins? I don’t know enough to say, but I DO know that I’ve always thought that a rock solid and reliable running vintage Ducati would be something very special. I’ve always dreamt that it would be great to have Brook Henry sort the first gear problem and more importantly while he’s in there add each and every fixit he’s invented to the motor that, with my continuous careful maintenance, will have it start at a mere push of a button everytime and light up the Conti’s (and neighbors) for years to come. So I followed up on my wish and e-mailed Brook asking if he would send me a flat pack crate. Imagine my surprise when he called me out of the blue and told me he would setting up in Iconic Motorbikes Santa Monica Airport hanger and fixing some bikes and offered to take a look at mine. 2 weeks later it was on it’s way to the West Coast…

She's long....and at least I think.....super fast.
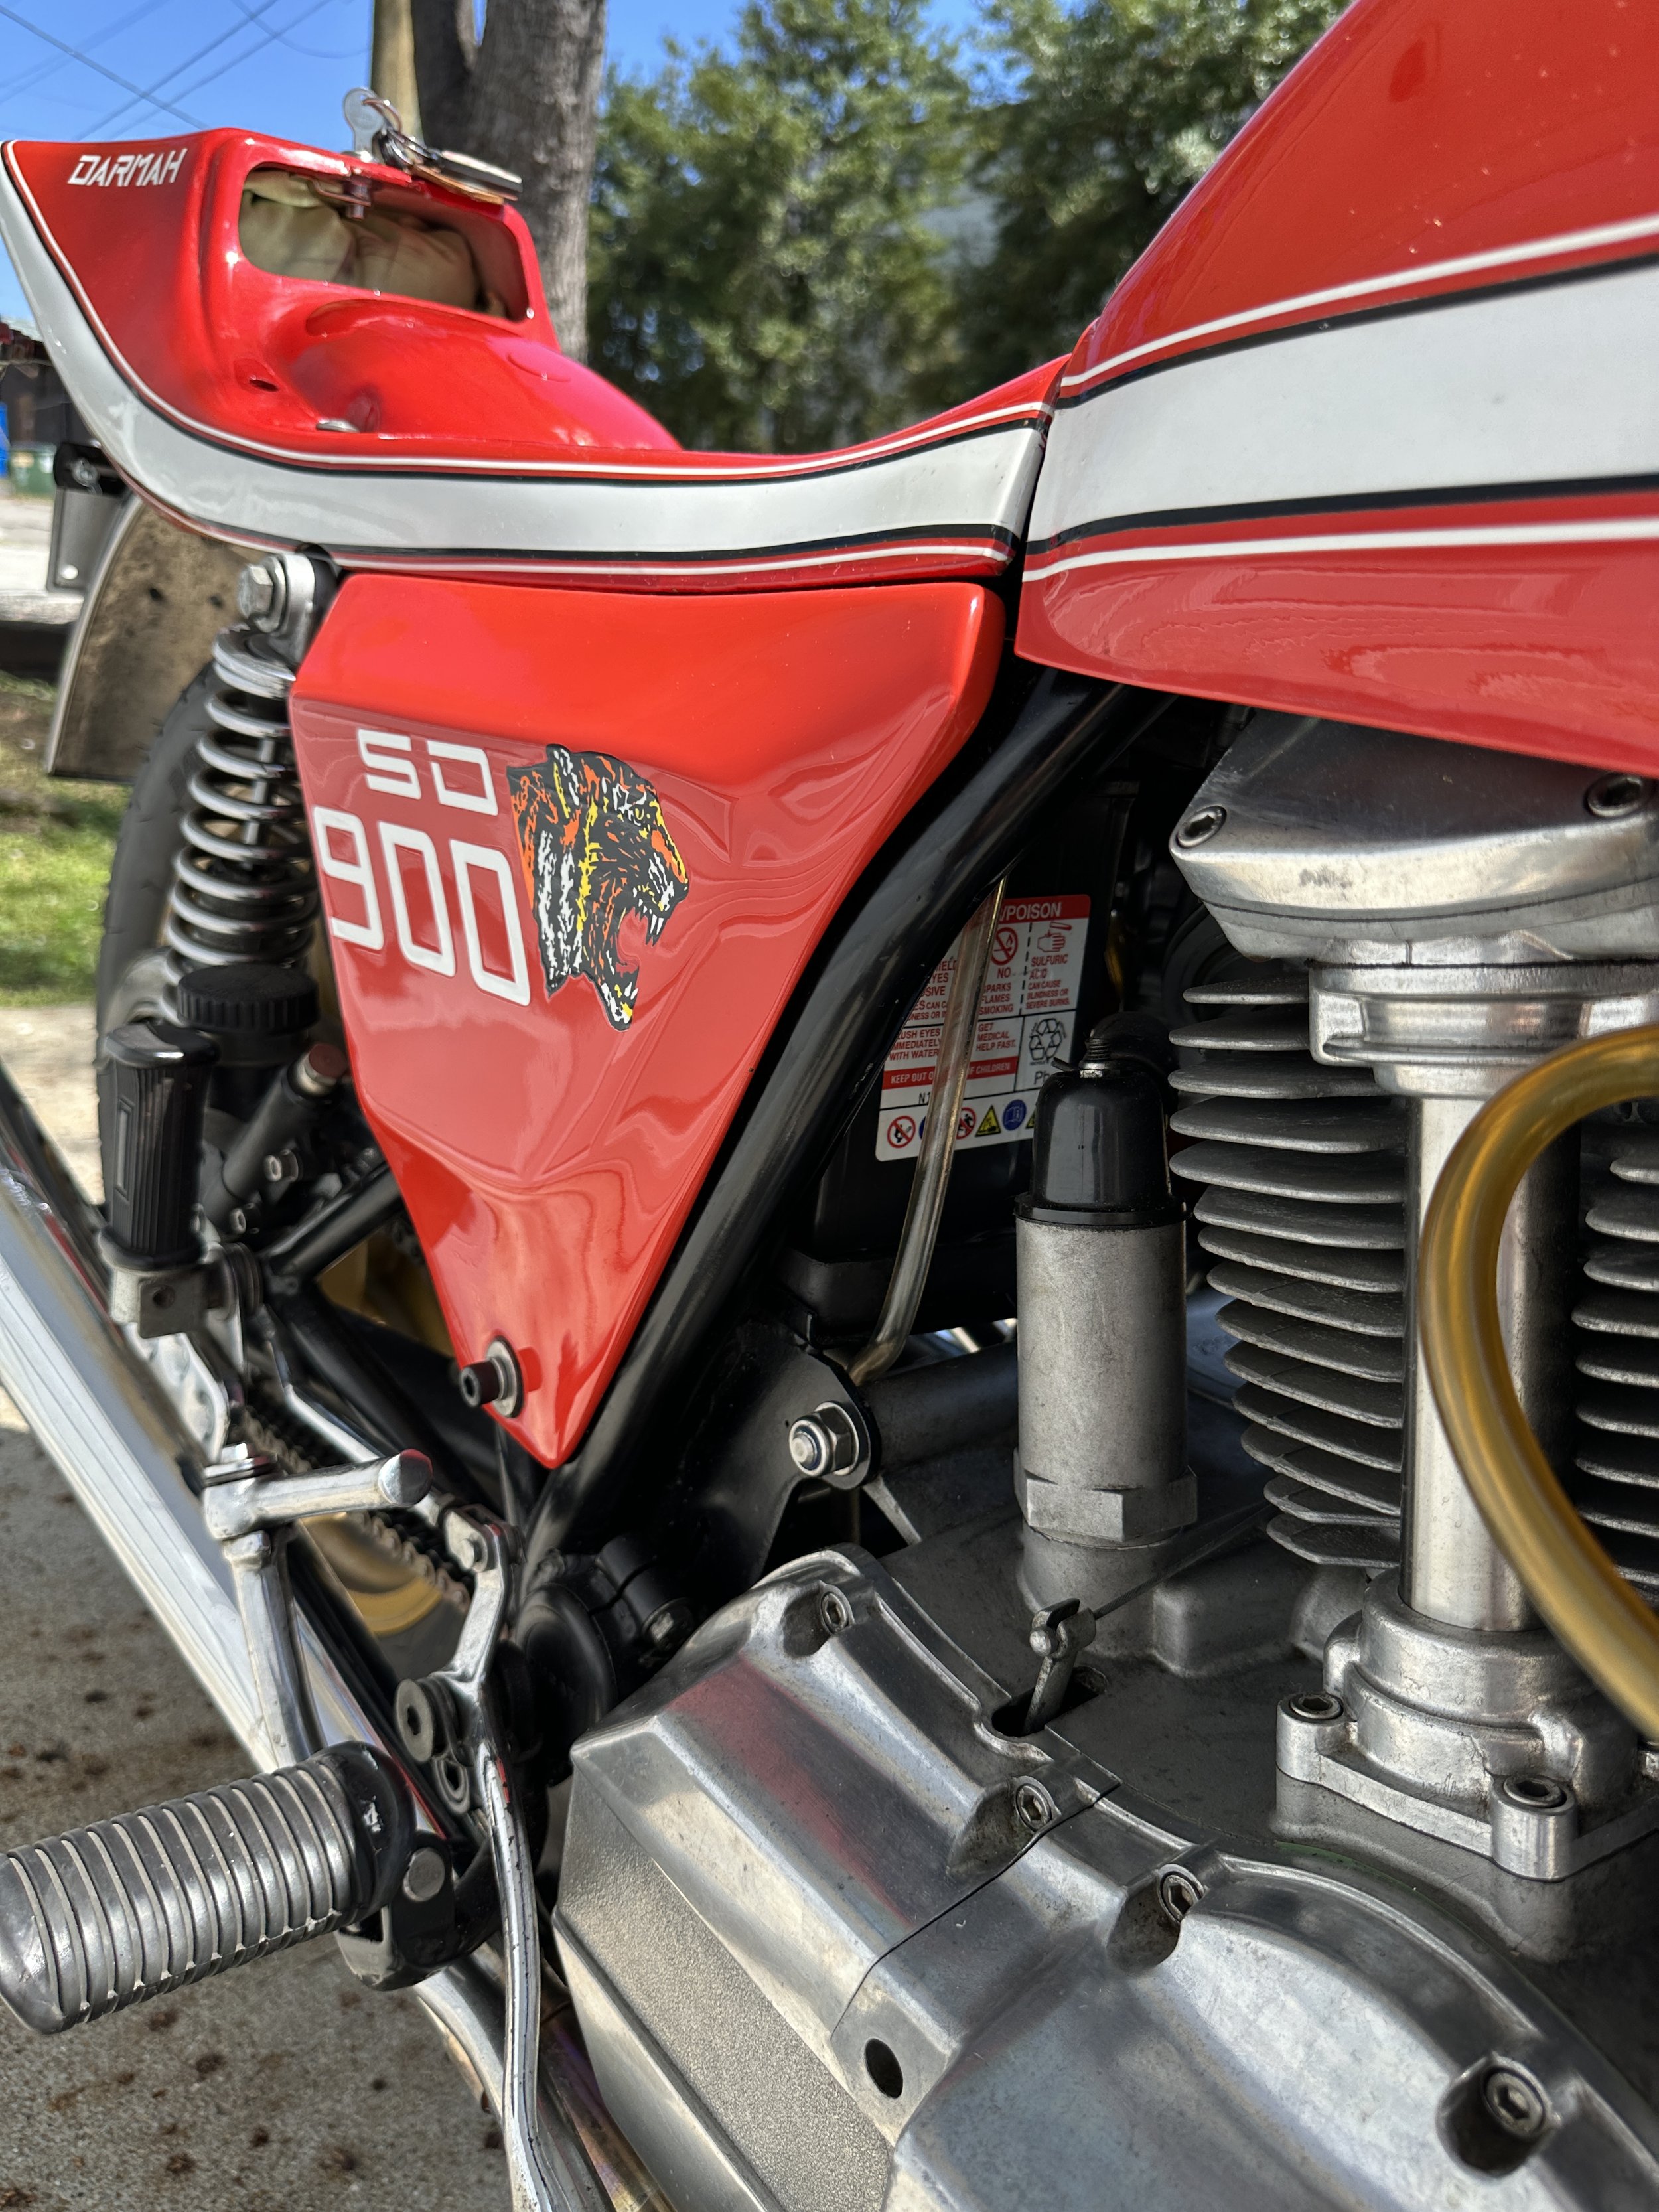
I've been running it without the side panels. I had stored them carefully along with their original fasteners. So carefully that I in fact couldn't find the fasteners.
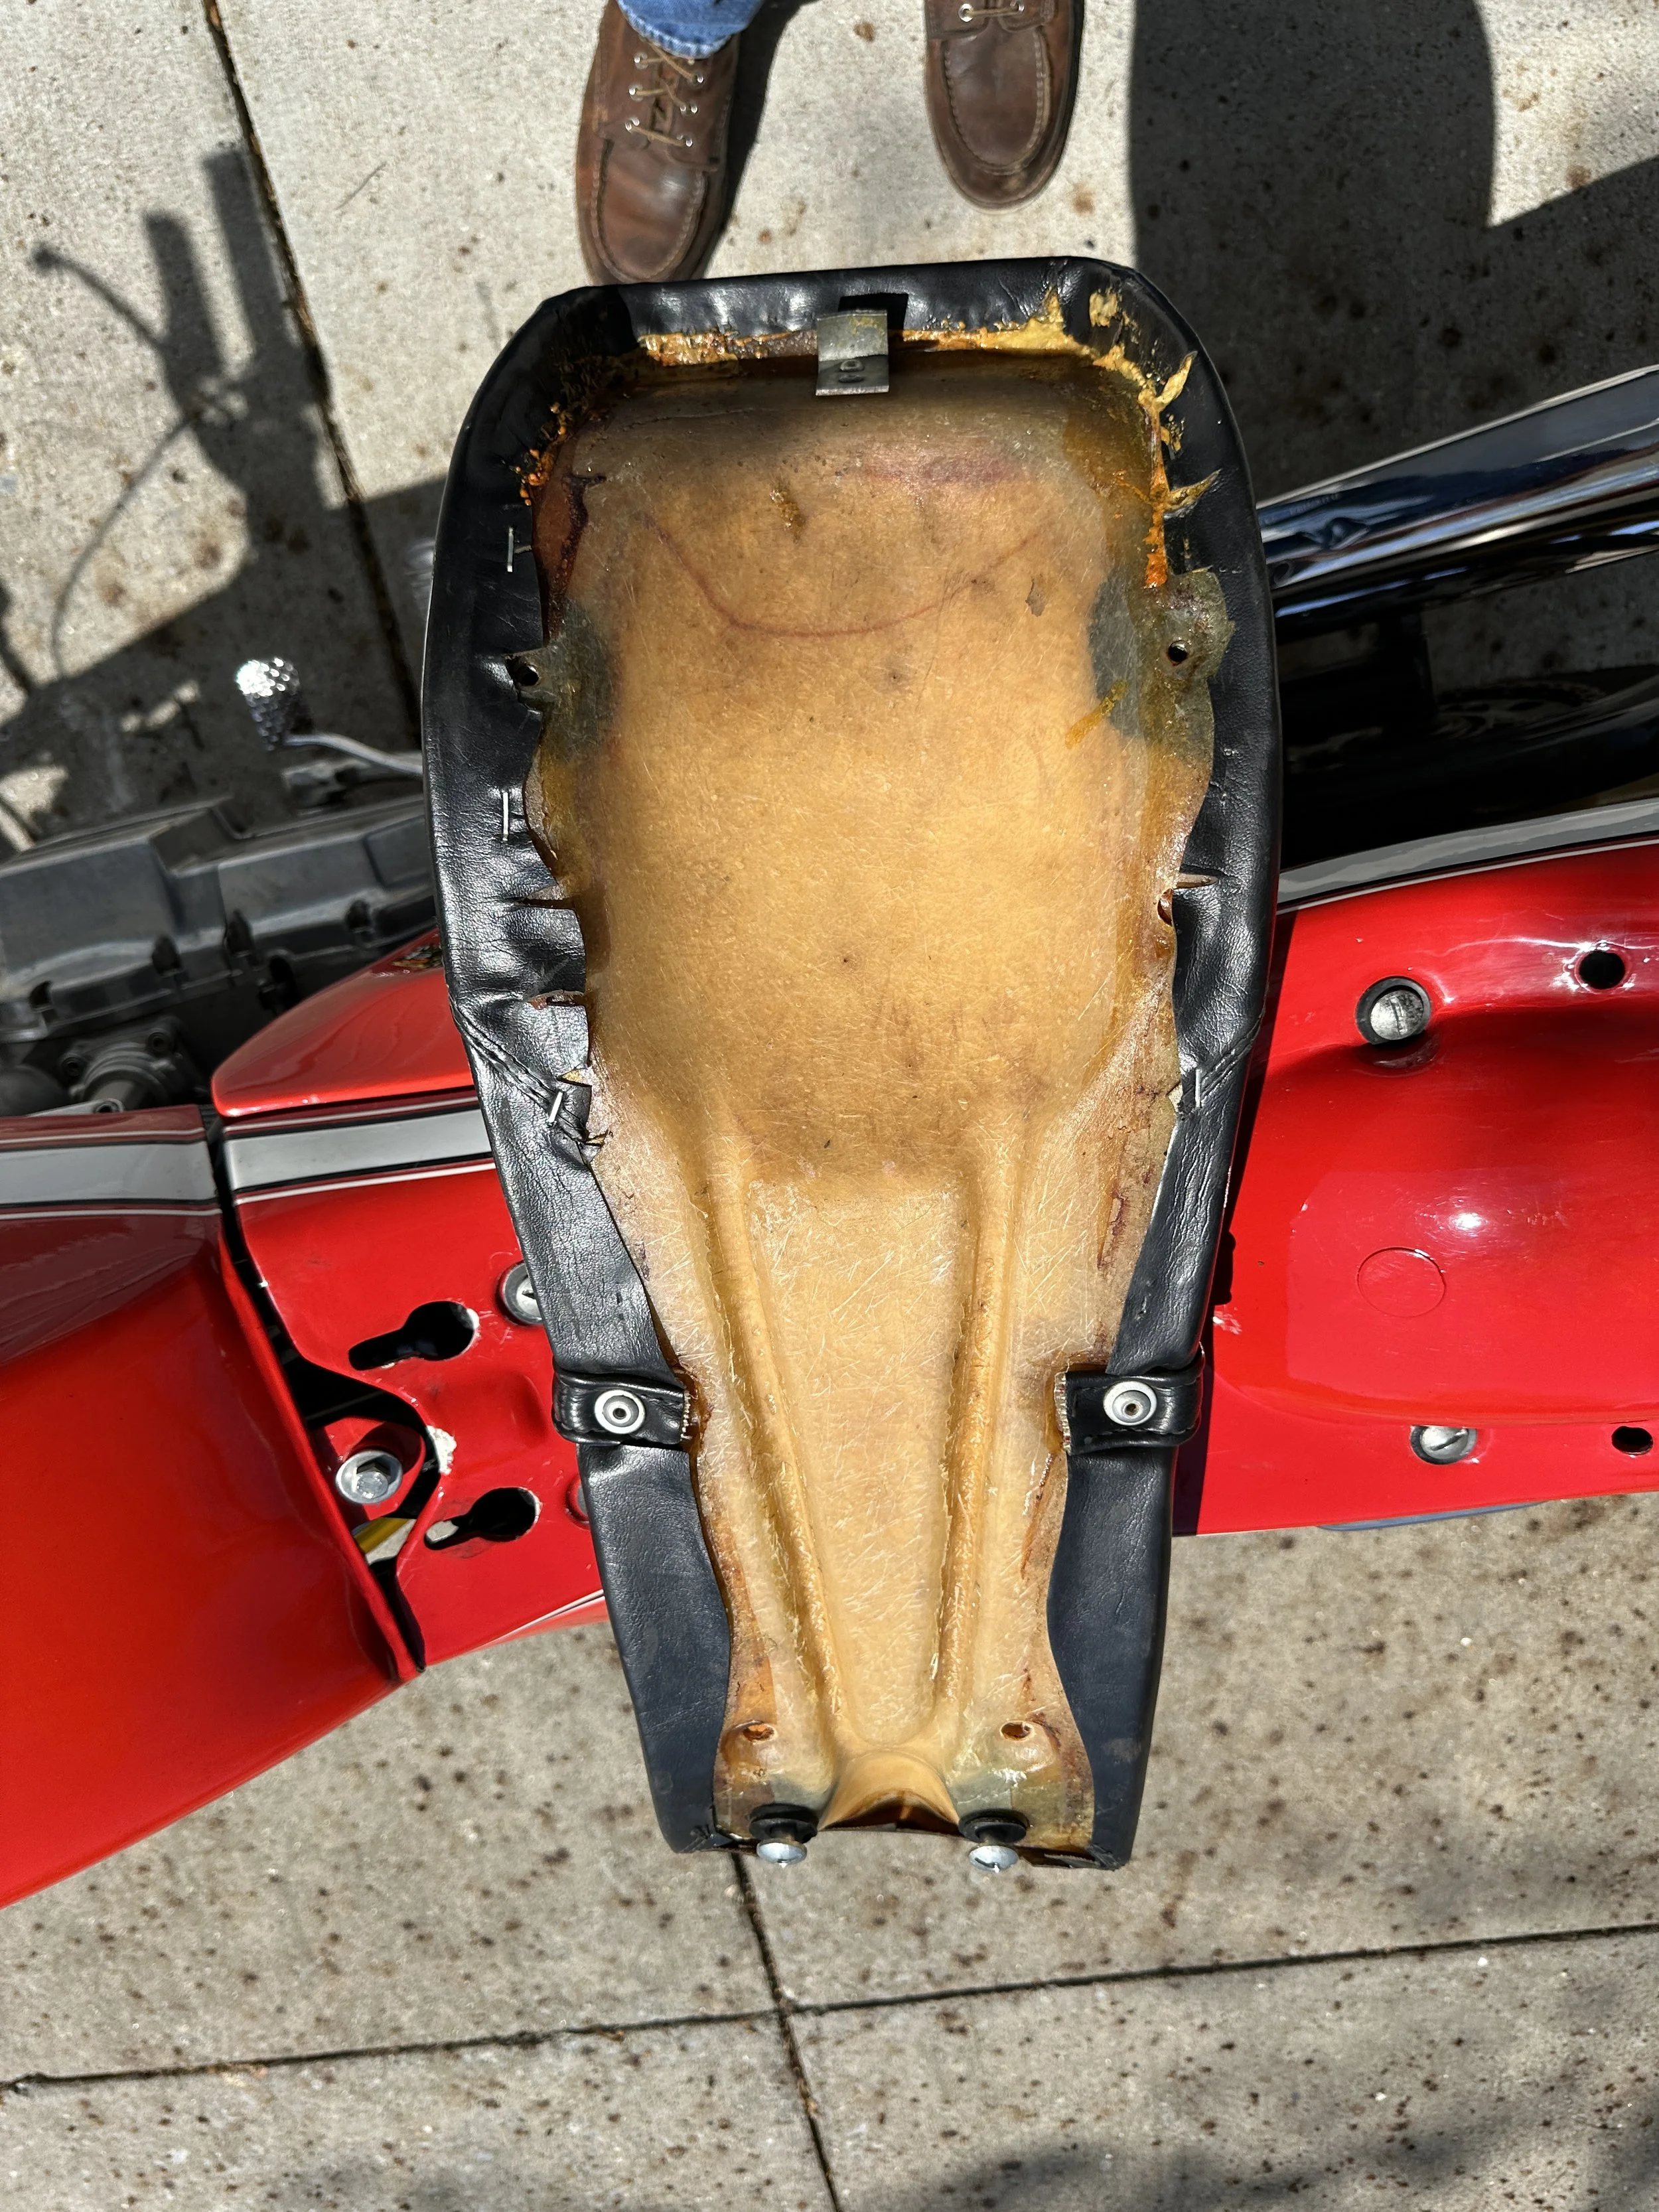
The underside of the seat. Why? I don't know!
I love a label.
And she's gone! (will take the devil to replace her). Work commitments prevent me from meeting Brook Henry and all the Iconic crew. Gutted.
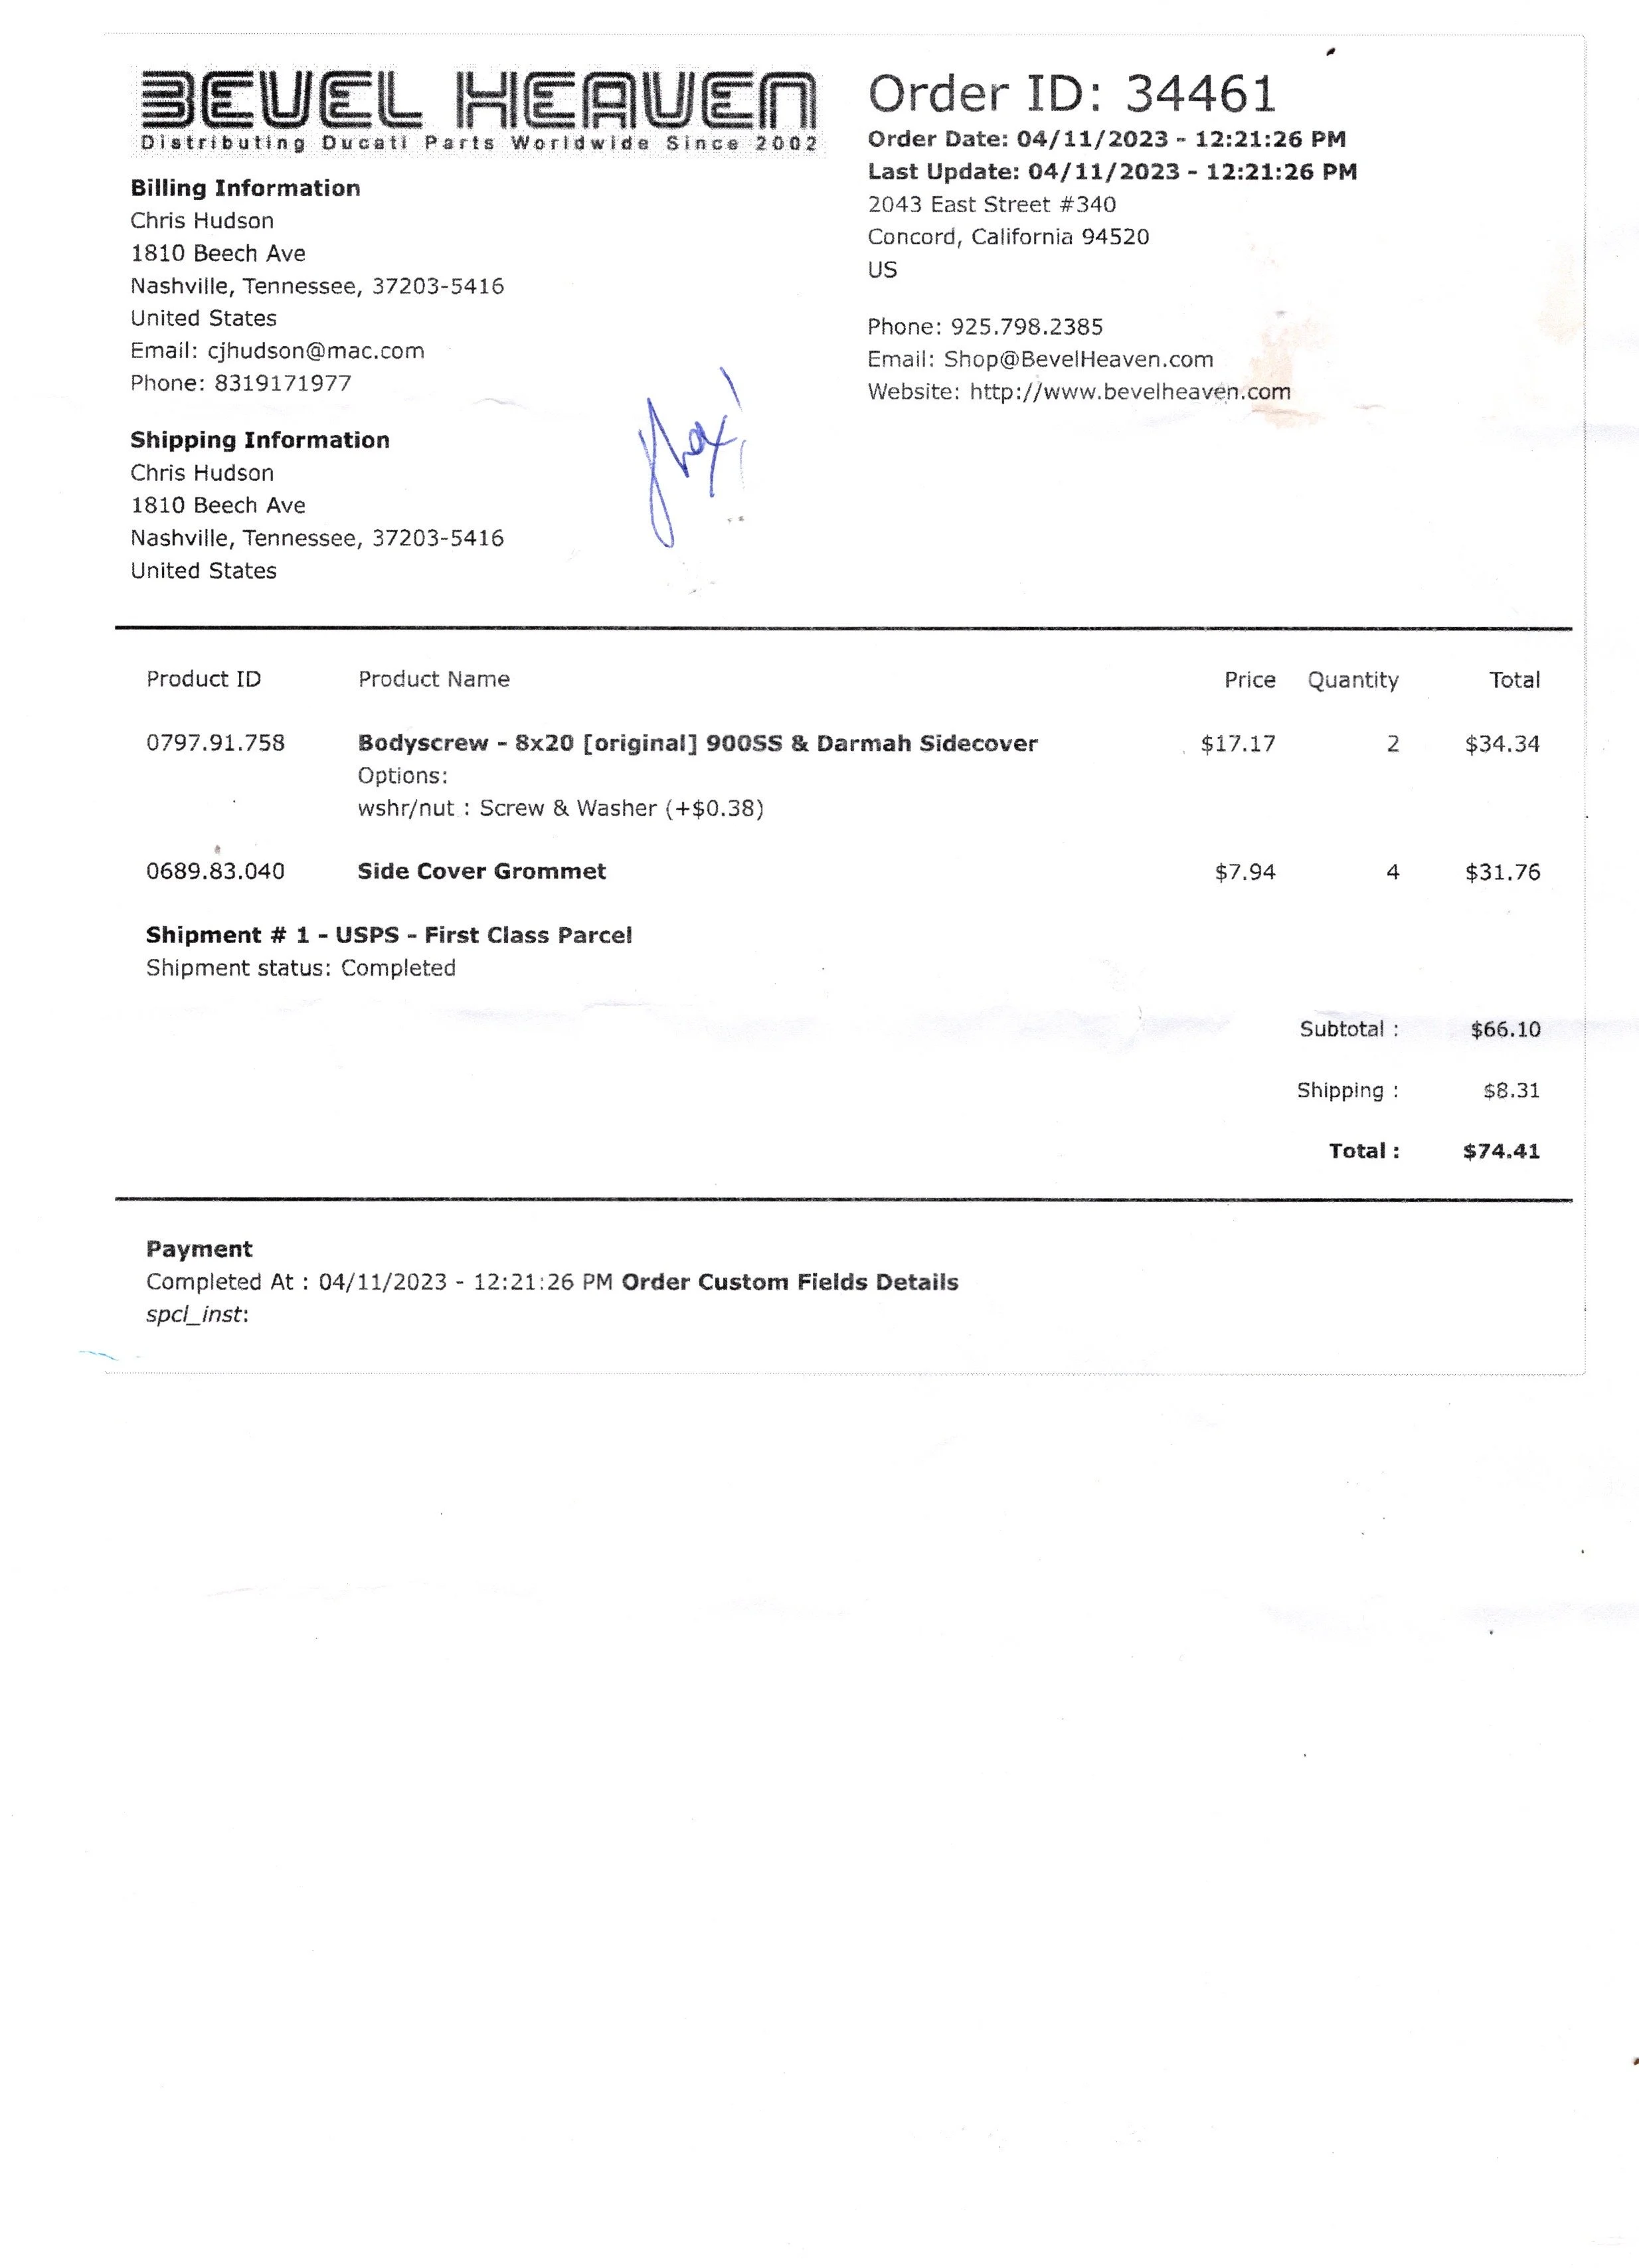
$75 just so that the fasteners are OEM. Expensive loss.

Bike sitting @ Iconic Santa Monica awaiting the trip back to Nashville. Lots of Brook Henry goodies inside that engine!
The Full Brook Story…
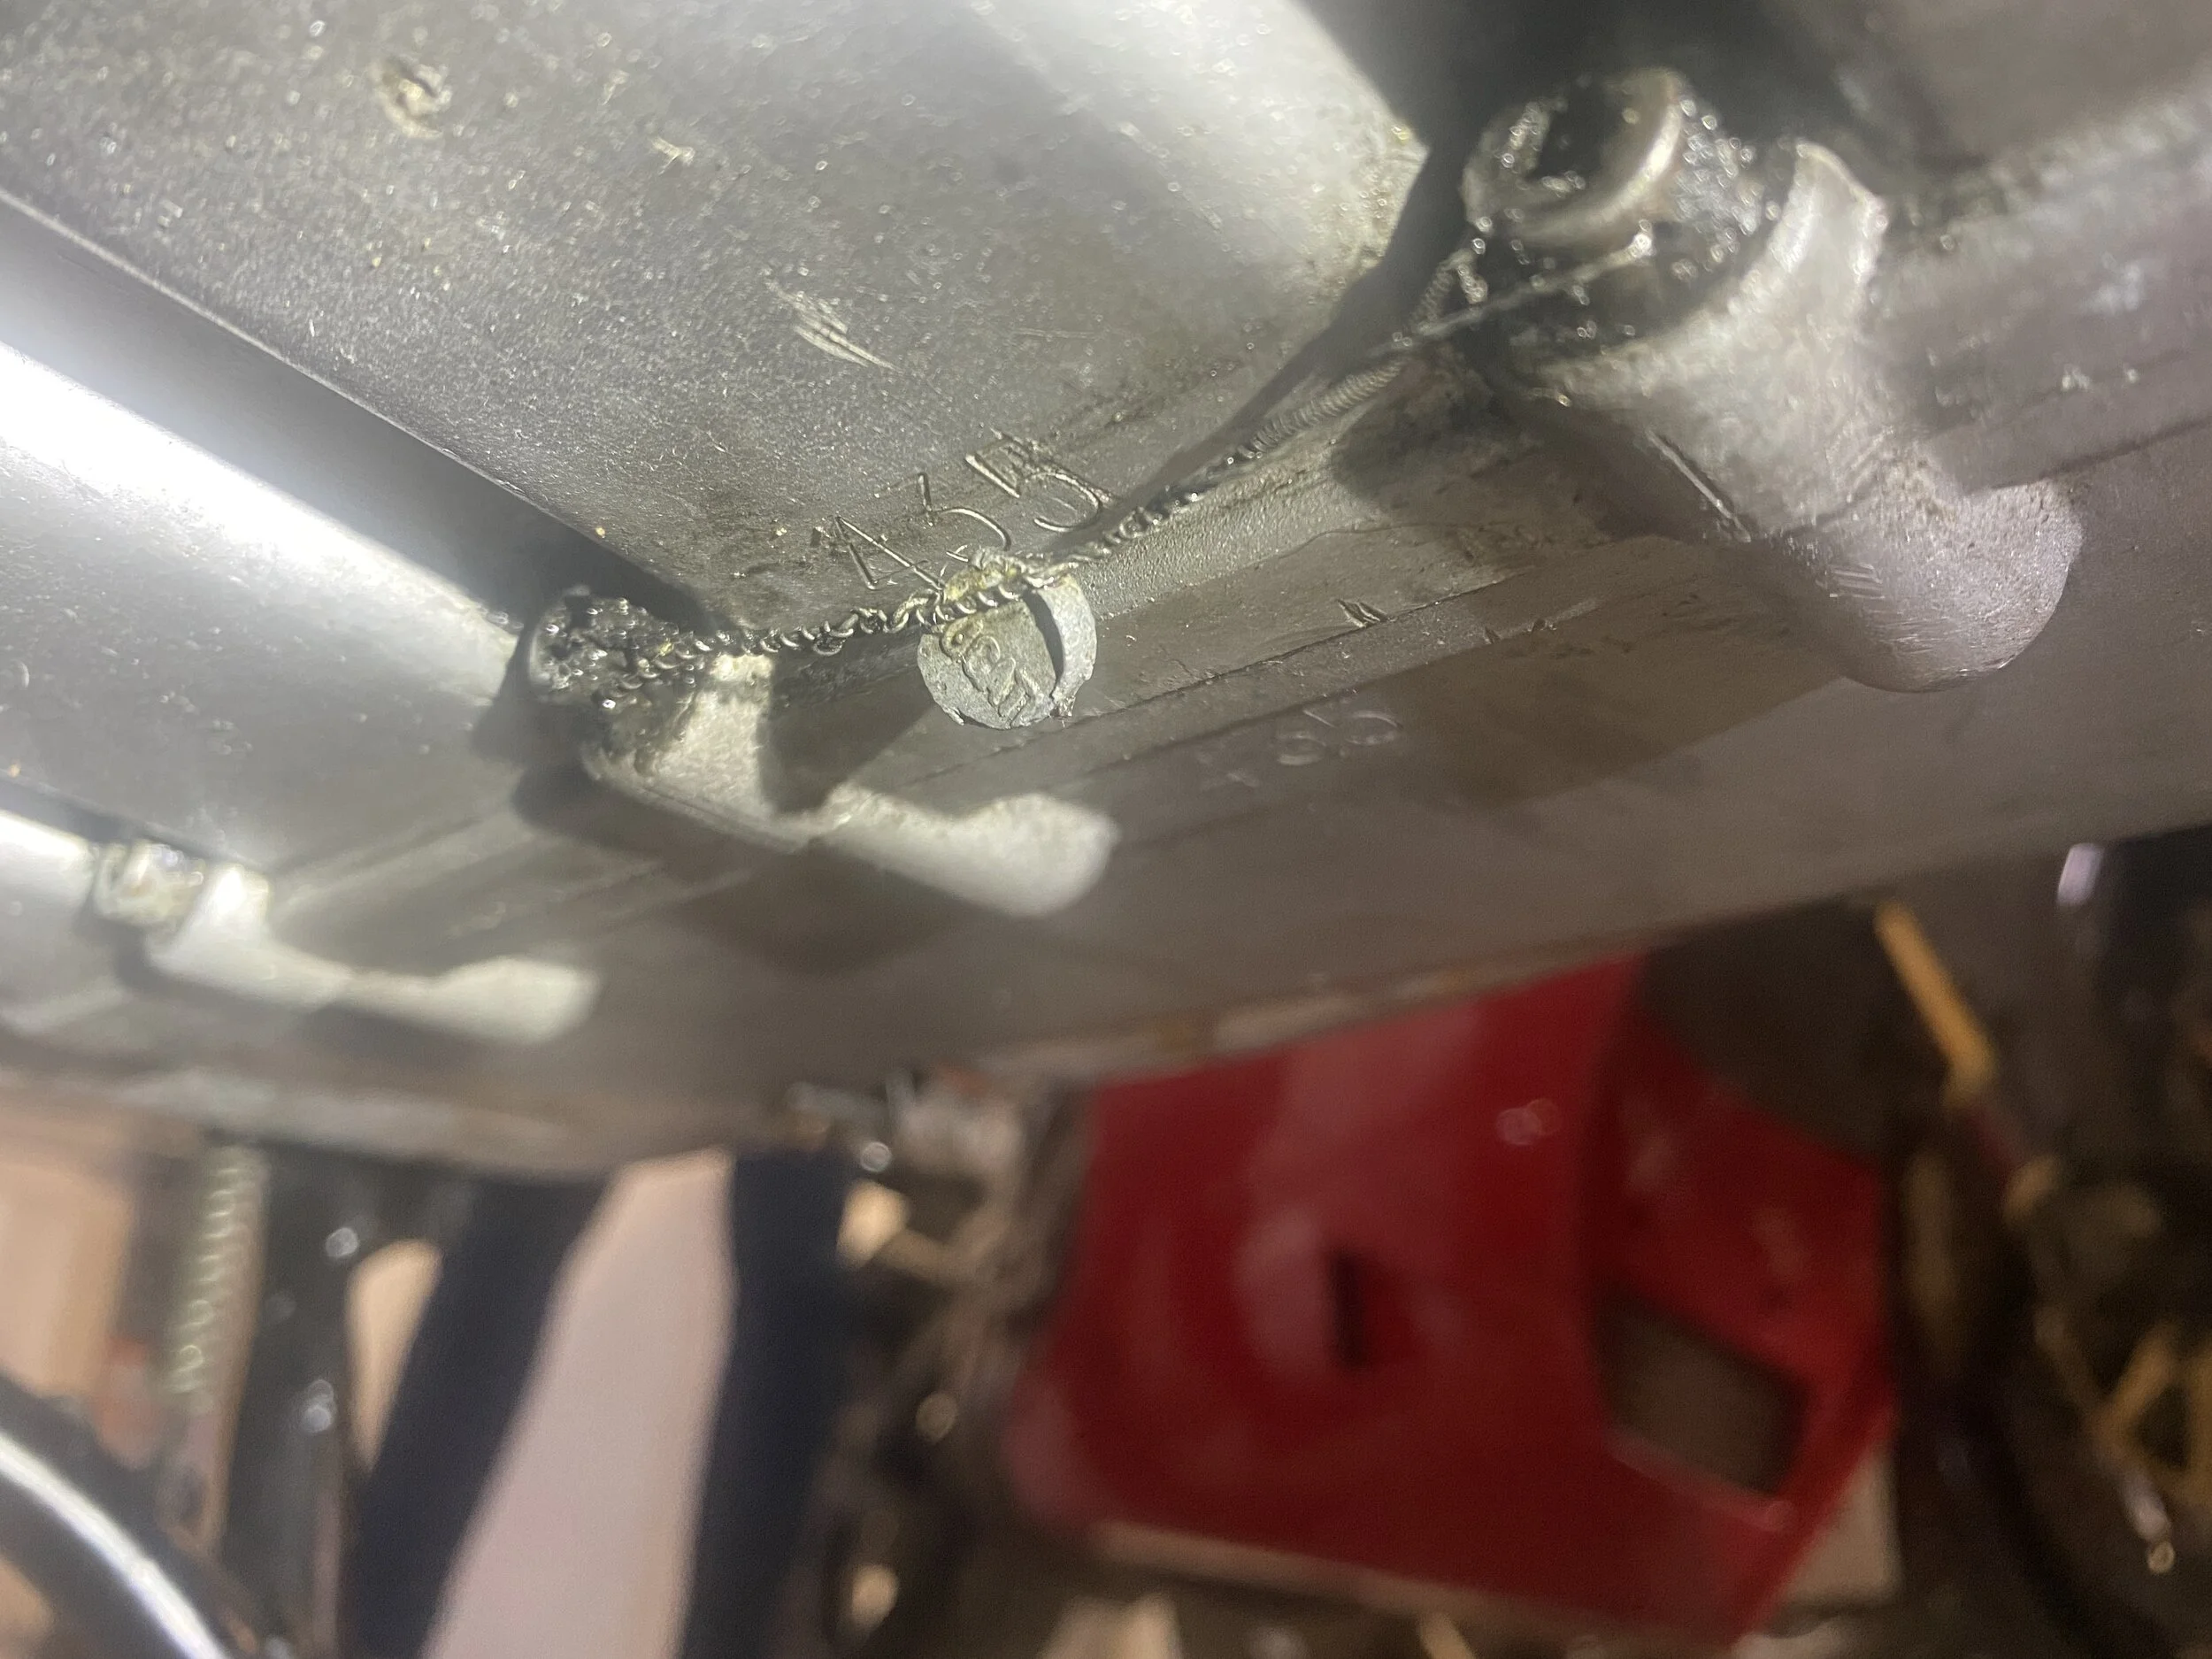
It took about a year, but it was worth it. With some great support from #iconicmotorbikes I was very lucky to have legendary Aussie Bevel-Twin specialist Brook Henry https://www.facebook.com/groups/VeeTwo go through the engine of my 1978 Ducati Darmah.
I had spied the bike on E-bay back in 2019. It didn’t meet it’s reserve so I got in touch with the owners- the Stuart Parr Collection, and we made a deal. It had a very attractive low 6,650 mileage, the engine had it’s original Ducati factory seal, and it even came with a book that some Ducati aficionado had written glorious things about it. What could go wrong? Heh. Well, you know. Stuff.
After I had had my way with an oil change, all round brake rebuild, a judicious carb clean & rebuild, a marathon attempt at carb balancing, lots of convos with people like the very patient Steven Allen of Bevel Heaven and all the best forums, the bike was quite fast, sounded lovely, but was never really, really happy. It hated starting and would blow my ear drums out with sawn off shot gun like backfires. I could live with that to a certain extent, but then it started jumping in first.
I tried everything to address it but no go. That was it. Original engine seal be damned, the engine had to be split. But by whom? Not me. I’ve done a few 350LC’s but those were simple and direct. If it’s all stock, there’s no real fettling involved. Just replace everything, renew all the consumables, bolt it back together and it runs like it just came out of the factory. At least that’s my experience. This was different. The bike is almost 50 years old and your local dealer doesn’t want to know….
From the outside there appears to be some kind of sixth sense required to get every aspect of a vintage Ducati engine to work with one another. I needed a vintage Ducati guru. A specialist. A mench. A superfan of the marque. There was only one person I had heard of that fit that description: Brook Henry, so I got him on board.
But how?
Truthfully, ever since I got the bike I’d wanted to have Brook Henry go through the motor. It had clearly sat for 5 years in a museum with no sign of it having ever been ridden. Not a good thing for any bike never mind a Ducati. Rather than wondering step by step if I was doing the right thing it would be a worthwhile investment to engage Brook and get him to judge the integrity of it’s internals and remedy every issue and in doing so turn it into a motor I could trust. It would be like having Martin Scorsese direct your home video or Gordon Ramsay cooking your Christmas dinner. It would be the best.
For my Triumph, I had found a local highly skilled retired Ford engineer in the form of Frank Kays of Columbia,TN who turned the ’73 Tiger from a recalcitrant non-starter into a reliable, and believe it or not, fast, excellent example of British iron that doesn’t leak oil and even the turn signals work. Not everyone has to be famous, they need to be the best for the bike in question.
True, this engine still had the unbroken factory seal but that was nothing more than charming and no guarantee of anything other than the internals have not been touched in 46 years. A deep dive into the world wide web told me the Darmah engine had some known problem areas. The ignition was never designed by Bosch to be bathed in boiling oil because Ducati forgot to tell them that’s where it would sit. The sprag clutch (whatever that is) had a habit of disintegrating, the dogs on the soft as cheese first & second gears wore until they would no longer engage.
So you can imagine my excitement when I started researching Brook and discovered that he is not only familiar with these issues but he single handedly developed components that were a cure to most of the shortfalls. If I wanted something that was going to keep me faultlessly moving forward throughout the backroads of Tennessee then he was the man to call.
But Brook is in Australia. Western Australia which is even further, depending on which way you go around the world, because either way is, literally, around the world.
One day, high on caffeine and hope I took the first steps and tried connecting with VeeTwo (Brooks company) to see if they would send me a flat pack crate for me to return to them complete with my engine inside. They do that for customers in Oz, but would they do it for me in Nashville,Tennessee?
I was just going thru the motions really because I was sure the freight would be prohibitively pricey- and the dream would be quashed. But lo and behold not long after my initial e-mail the phone rang and on the other end was Brook calling from Perth, Australia saying he was going to set up shop at Iconic Motorbikes, Los Angeles for a week and if I could get the Darmah there he would set about sorting the first gear…and more.
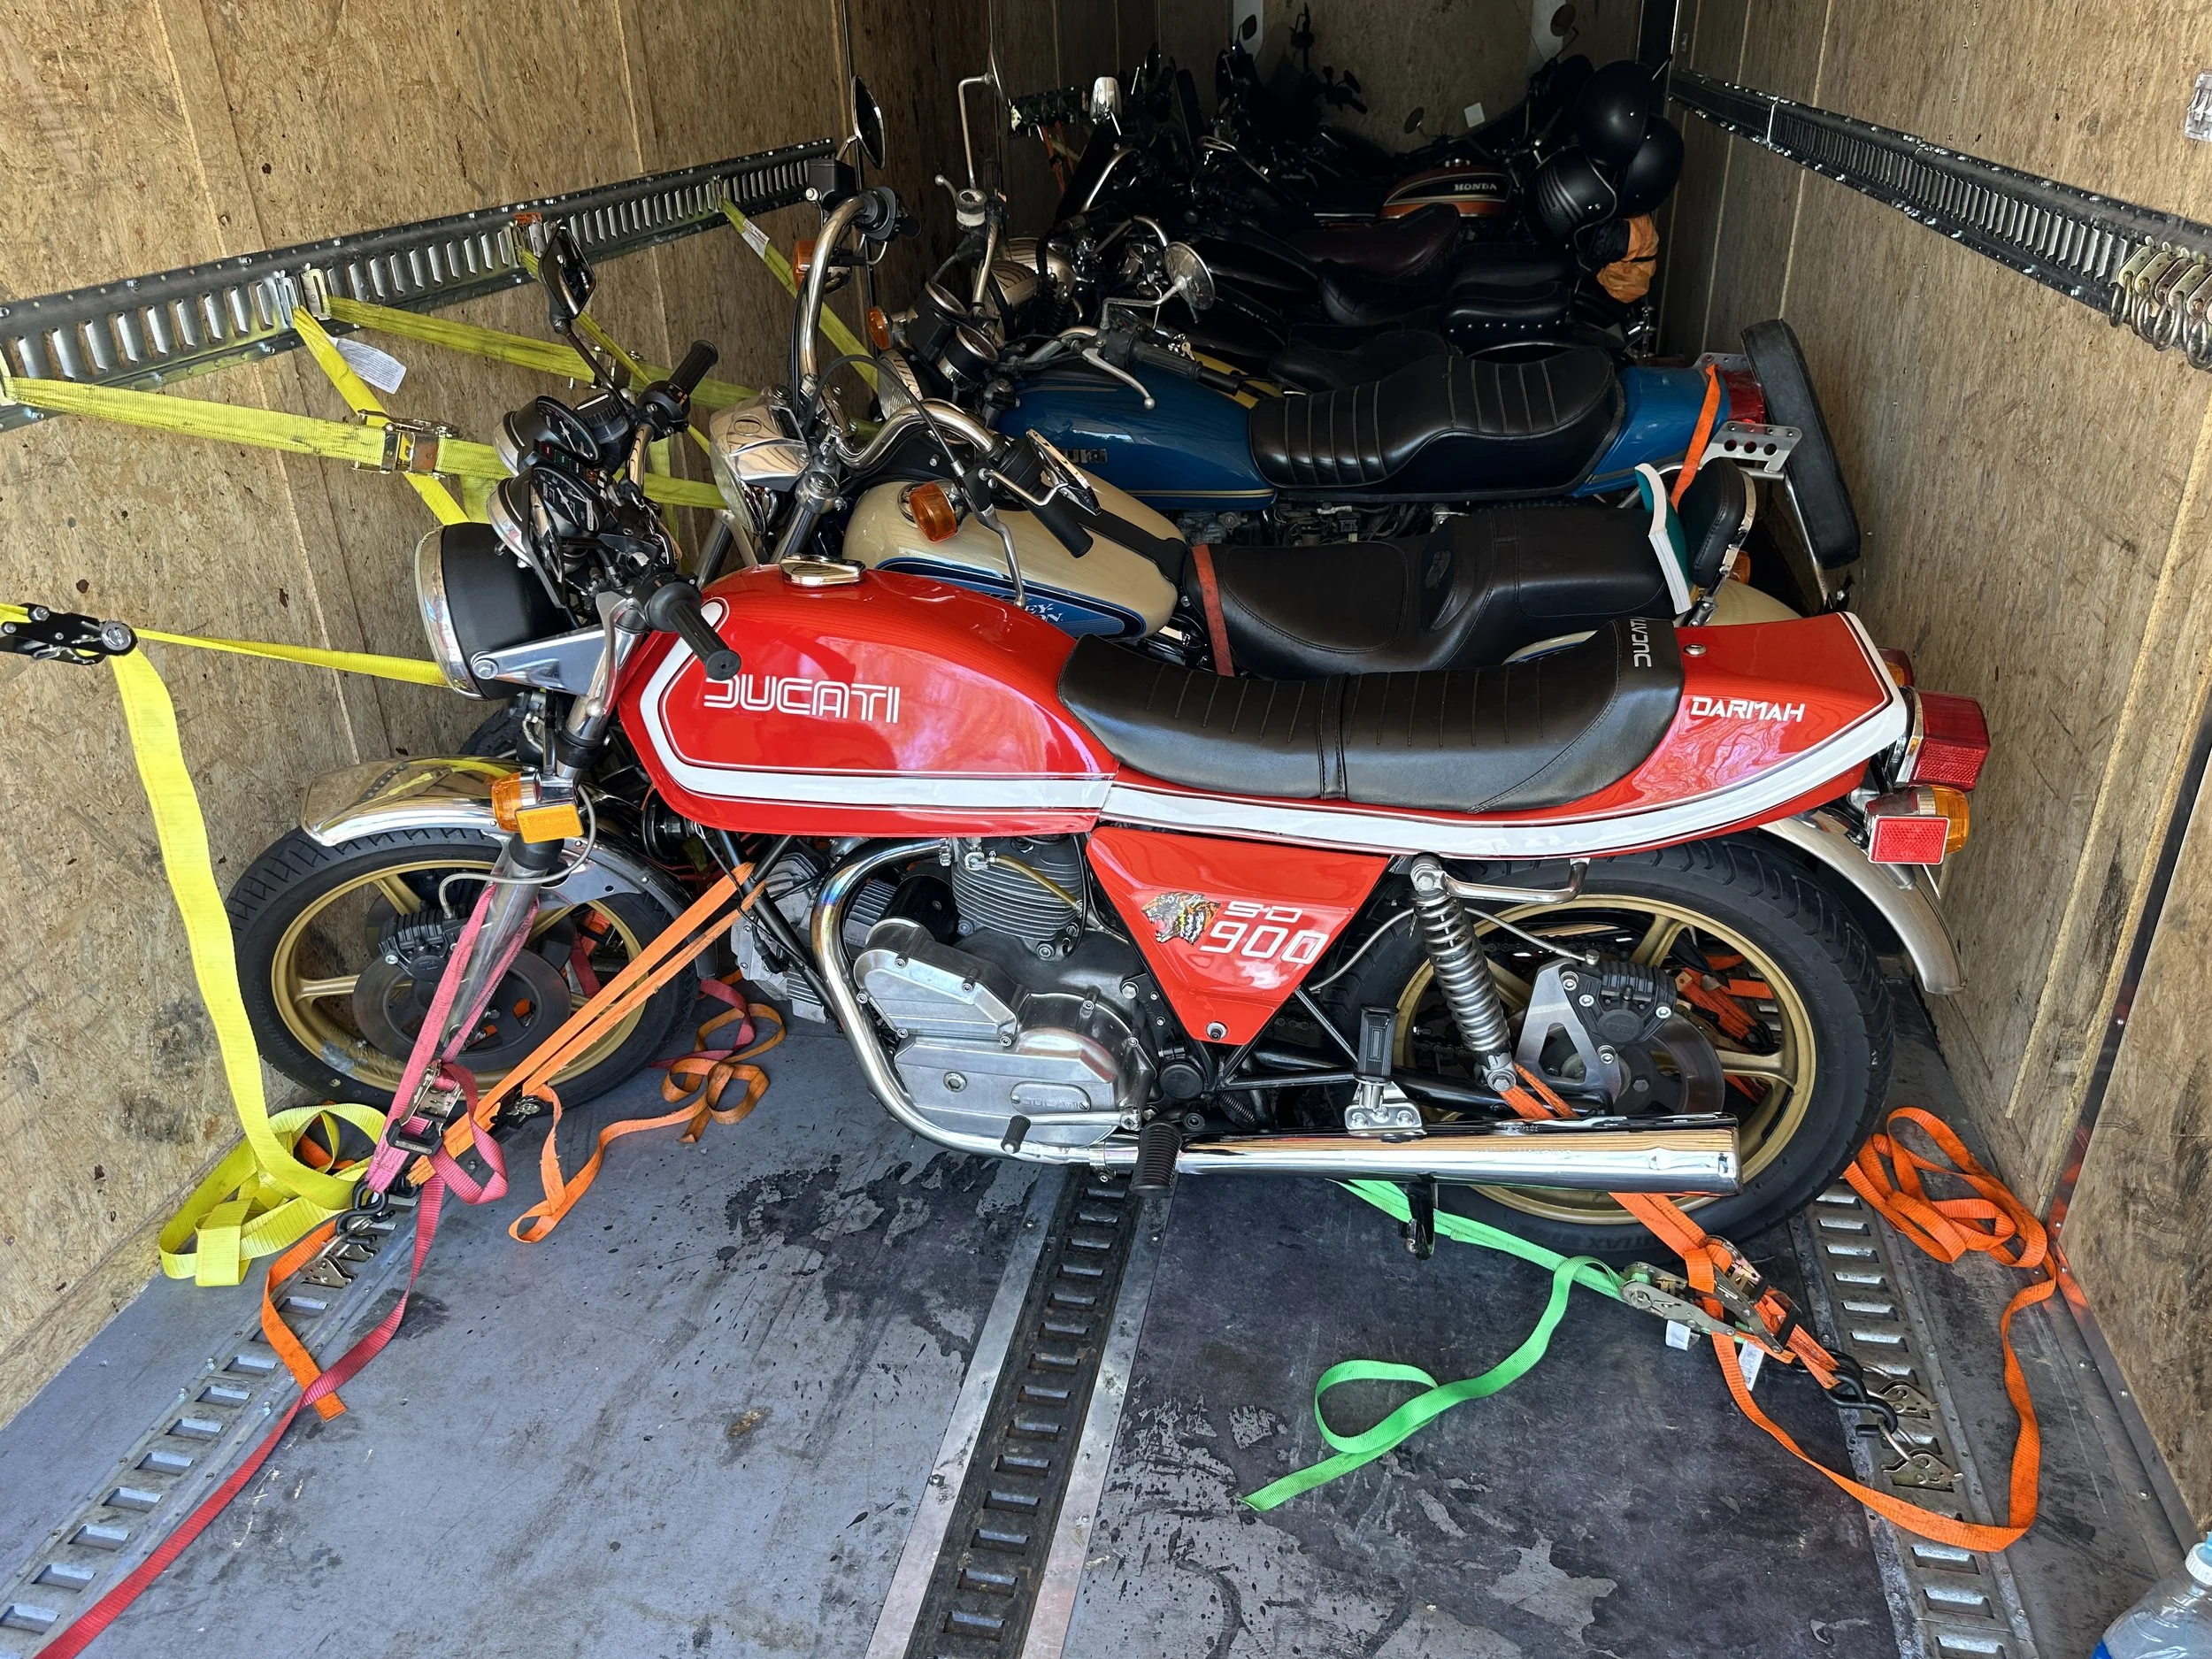
Frankly I couldn’t believe how the stars had lined up.Before I knew it I had connected with Iconic and they helped get the bike on a trailer from Nashville to LA.
Once inside the engine, Brooks' experience told him that the mere 7,215 mileage the clocks boasted was, at best, a lie. How could that be? Aforementioned Ducati aficionado, Ian Falloon, had written a hard back book report about this exact bike. The sales pitch for the E-bay ad said: “A coveted Falloon report accompanies this bike and details every aspect of the machine thoroughly – it is summarized by Mr. Fallon as “One of the best I have seen”. But he had never looked inside.
With his 45 year legacy of looking into 100’s of bevel twin engines, Brook can read the signs. He said the wear was so extreme in places that he reckoned it might even been raced. It was clear that for a considerable length of time, more than the mileage suggested, somebody had regularly taken the engine to it’s limits and somebody somewhere along the line has been telling some pretty big porkies.
Once Brook had renewed or replaced all the worn components, (pistons, big ends, valve seats,) he finished off the project by adding upgrades, some of which he designed himself, replacing all the weakest links in the motor (cams, sprag clutch, a complete transmission, a highly regarded Electronik Sachse ignition etc) in order to make the motor stronger, faster and more reliable.
With the engine back in the bike ready for some fine tuning, Brook doesn’t need a laptop or a meter or even a mercury filled carb balancing gizmo. He uses nothing more than his ‘feel’ and a screwdriver to get the carbs, the valves, the electronics, to work in harmony.
With the engine ticking over he goes to the back of the bike and listens, then moves forward to the carbs for a quick twiddle, then with a couple of blips of the throttle he’ll return to the rear to listen to the exhaust note, and it’s rinse and repeat until he’s happy.
It was a real blessing to have such an expert work on this engine. It now starts first thing with no choke. It just needs a few twists of the throttle to have the pumps send some fuel down the throats of the PHF32A Dellortos prior to hitting the start button. Black smoke backfires, followed by a hasty retreat out of the garage in a waving of arms to clear the air, are a thing of the past.
Out on the streets it pulls like a train and then with a blip at each downshift through the very precise VeeTwo (standard gearing) 3 dog transmission, the Conti’s announce our arrival at the lights to settle into a faultless idle in anticipation of the green light which will allow us to do it all again until we hit the open road. There, the bike comes into it’s own, it’s long wheelbase lazily, but deceptively swiftly, swooping through the easy bends of the Tennessean back roads being careful not to decimate the 45mph speed limit. By too much.
On my second big ride out I came across a trafficless long straight and decided to see what legs this motor has. Imagine my surprise that when I really committed to opening up the bike I found that I’ve been going everywhere at half throttle and full throttle had the bike launch forward like a startled horse with the noise of the Conti’s being, yes, maybe a little too loud. The cacophony of their booming and the unexpected unprotected rush of the wind had me let off the gas at 70mph. That seemed fast enough for now. Am I too old for this? At 63 I’m still wringing the heck out of my RZ’s LC’s and H2’s. I think that with these street/track cams and blueprinted everything else Brook may have built me a motor that might be too much for me. I can do a ton all day long on the LC but to the inexperienced me, the Darmah feels like a tank unleashed with me a mere passenger along for the ride rather than an integral component.
Nevertheless, it’s early days and I look forward to getting to know the potential of each other better. Being in the position of owning a Ducati like this is pleasure in itself and having one that’s had it’s engine repaired, enhanced and most importantly reinstalled and carefully set up by Mr Henry: it all makes the bike literally a joy to ride. In fact, even though it feels like it’s taking ME for a ride rather than me taking IT for a ride, EVERY ride on the Darmah is now a joyride, in the old sense of the word and that’s why we ride, because it brings that scarce and intangible feeling of simple joy, every time.
https://www.facebook.com/reel/7255258951234318
* * *
And that would seem to a typical Brit motorcycle journo place to end- but I daren’t leave you without revealing the full shopping list of tasks performed.
Brook Henry didn’t leave much untouched, including:
Complete cylinder head strip consisting of De-carbon of combustion chamber and ports. Removal of old seats and guides.
Measure and size blank valve seats and valve guides to suit.
Heat and fit seats and guides. Blend seats and ream guides. Cut seats to correct height and lap valves which included new Inlet & Exhaust Valves, seals, guides and seats and reconditioned opening and closing rockers.
New Top Bevel Bearing Sets
New Cam Bearings
New (Exchange) Top Shims
New (Exchange) Bottom Shims
Lap Cylinder Head Sealing Face
Rebore and Hone
New Piston sets
Clean and Deglaze Clutch
New Clutch Hub
New Vee Two Big End Assembly
Press and True Crank
New Main Bearings
New Gaskets and Seals
New Vee Two Sprag Clutch Upgrade Kit
New Oil Filter
New Oil Pump
New Dip Stick
New Pick Up Drain Screen Insert
New Gland Nut/Alternator Ignition Wires
New Complete Vee Two Gearbox 3 Dog STD ratio
New Set Gearbox Bearings
New Selector Drum Stop Plate
Second Hand 1st Selector Fork
New Front Sprocket
New Front Sprocket Nut
Reshim Crankshaft and Gearbox & Reassemble
New Output Bearing Modification (retaining screws)
New Starter motor modification
Drill Oil Drain to Gearbox
New Spark Plugs
New Re-Wire Alternator Output wires (PTFE wire)
Aqua blast (and where appropriate) polish all Engine Outers
New Manifold flange adapter Kit 32mm
New Gear Gazer
New Desmo Street/Track Cams
New Vee Two Aluminum Oil Filter Cap
New Vee Two Breather Tower
New Think Thrust Washer Conversion
New Complete Digital Ignition including Twin Fire Coil
Carbs Refurbished and completely rebuilt with new pump parts, seals, needles, jets and air filters.
And then Kento Kunitsugu, Iconic’s Consigliere, amazingly and patiently oversaw getting all these things done:
Wheels Removed and relieved of all the accessories such as discs, bearings, oil seals, tires etc etc and then Re-Powder Coated. (Why? Because front wheel had been partially stripped by a leaking brake caliper)
Detached fuel tank liner removed (it was floating) and new one applied/installed.
New Front and Rear Bridgestone Battlax’s and tubes
New Battery
New left and right Ducati Petcocks.
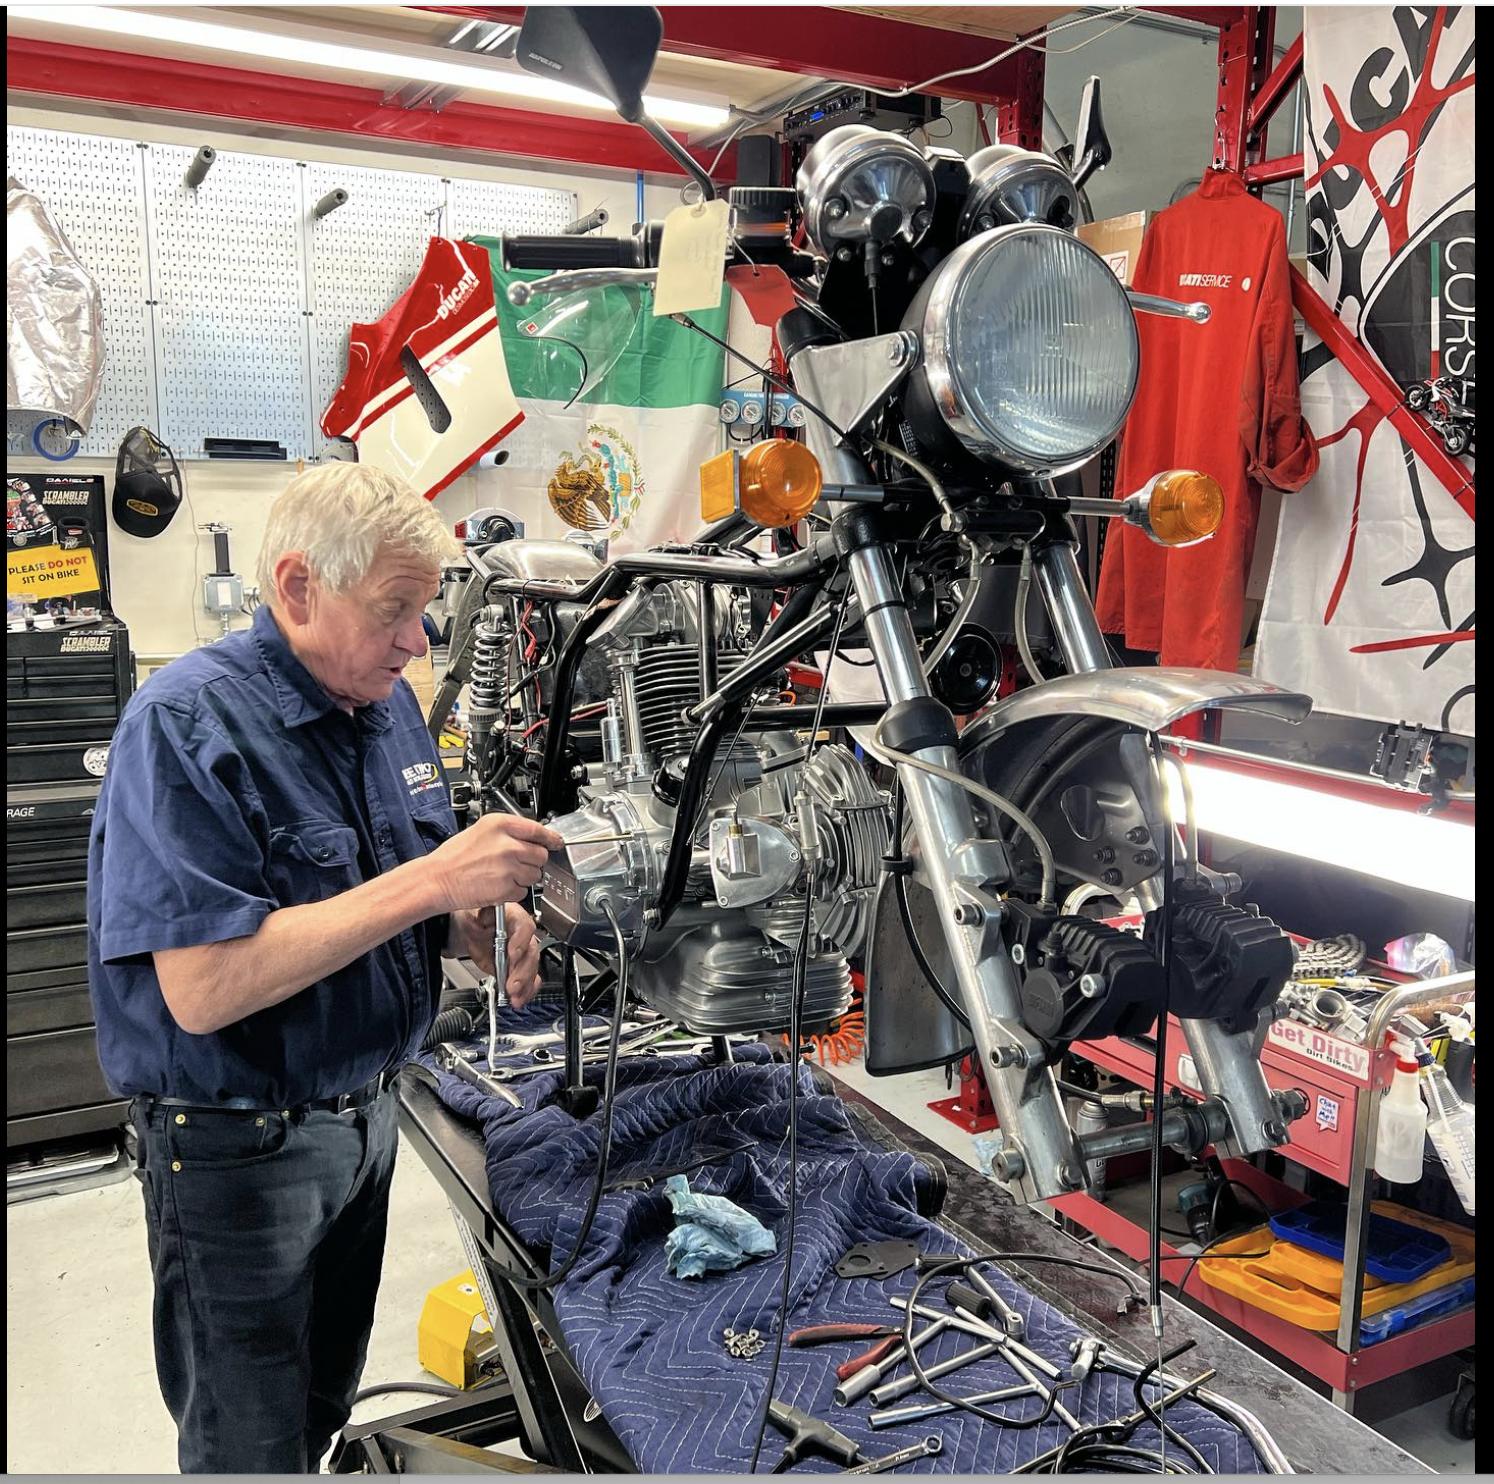
Master at work...

Kento @ Iconic oversaw getting the wheels powder coated and new tires installed. What a brilliant service. Click on the pic to learn more about them
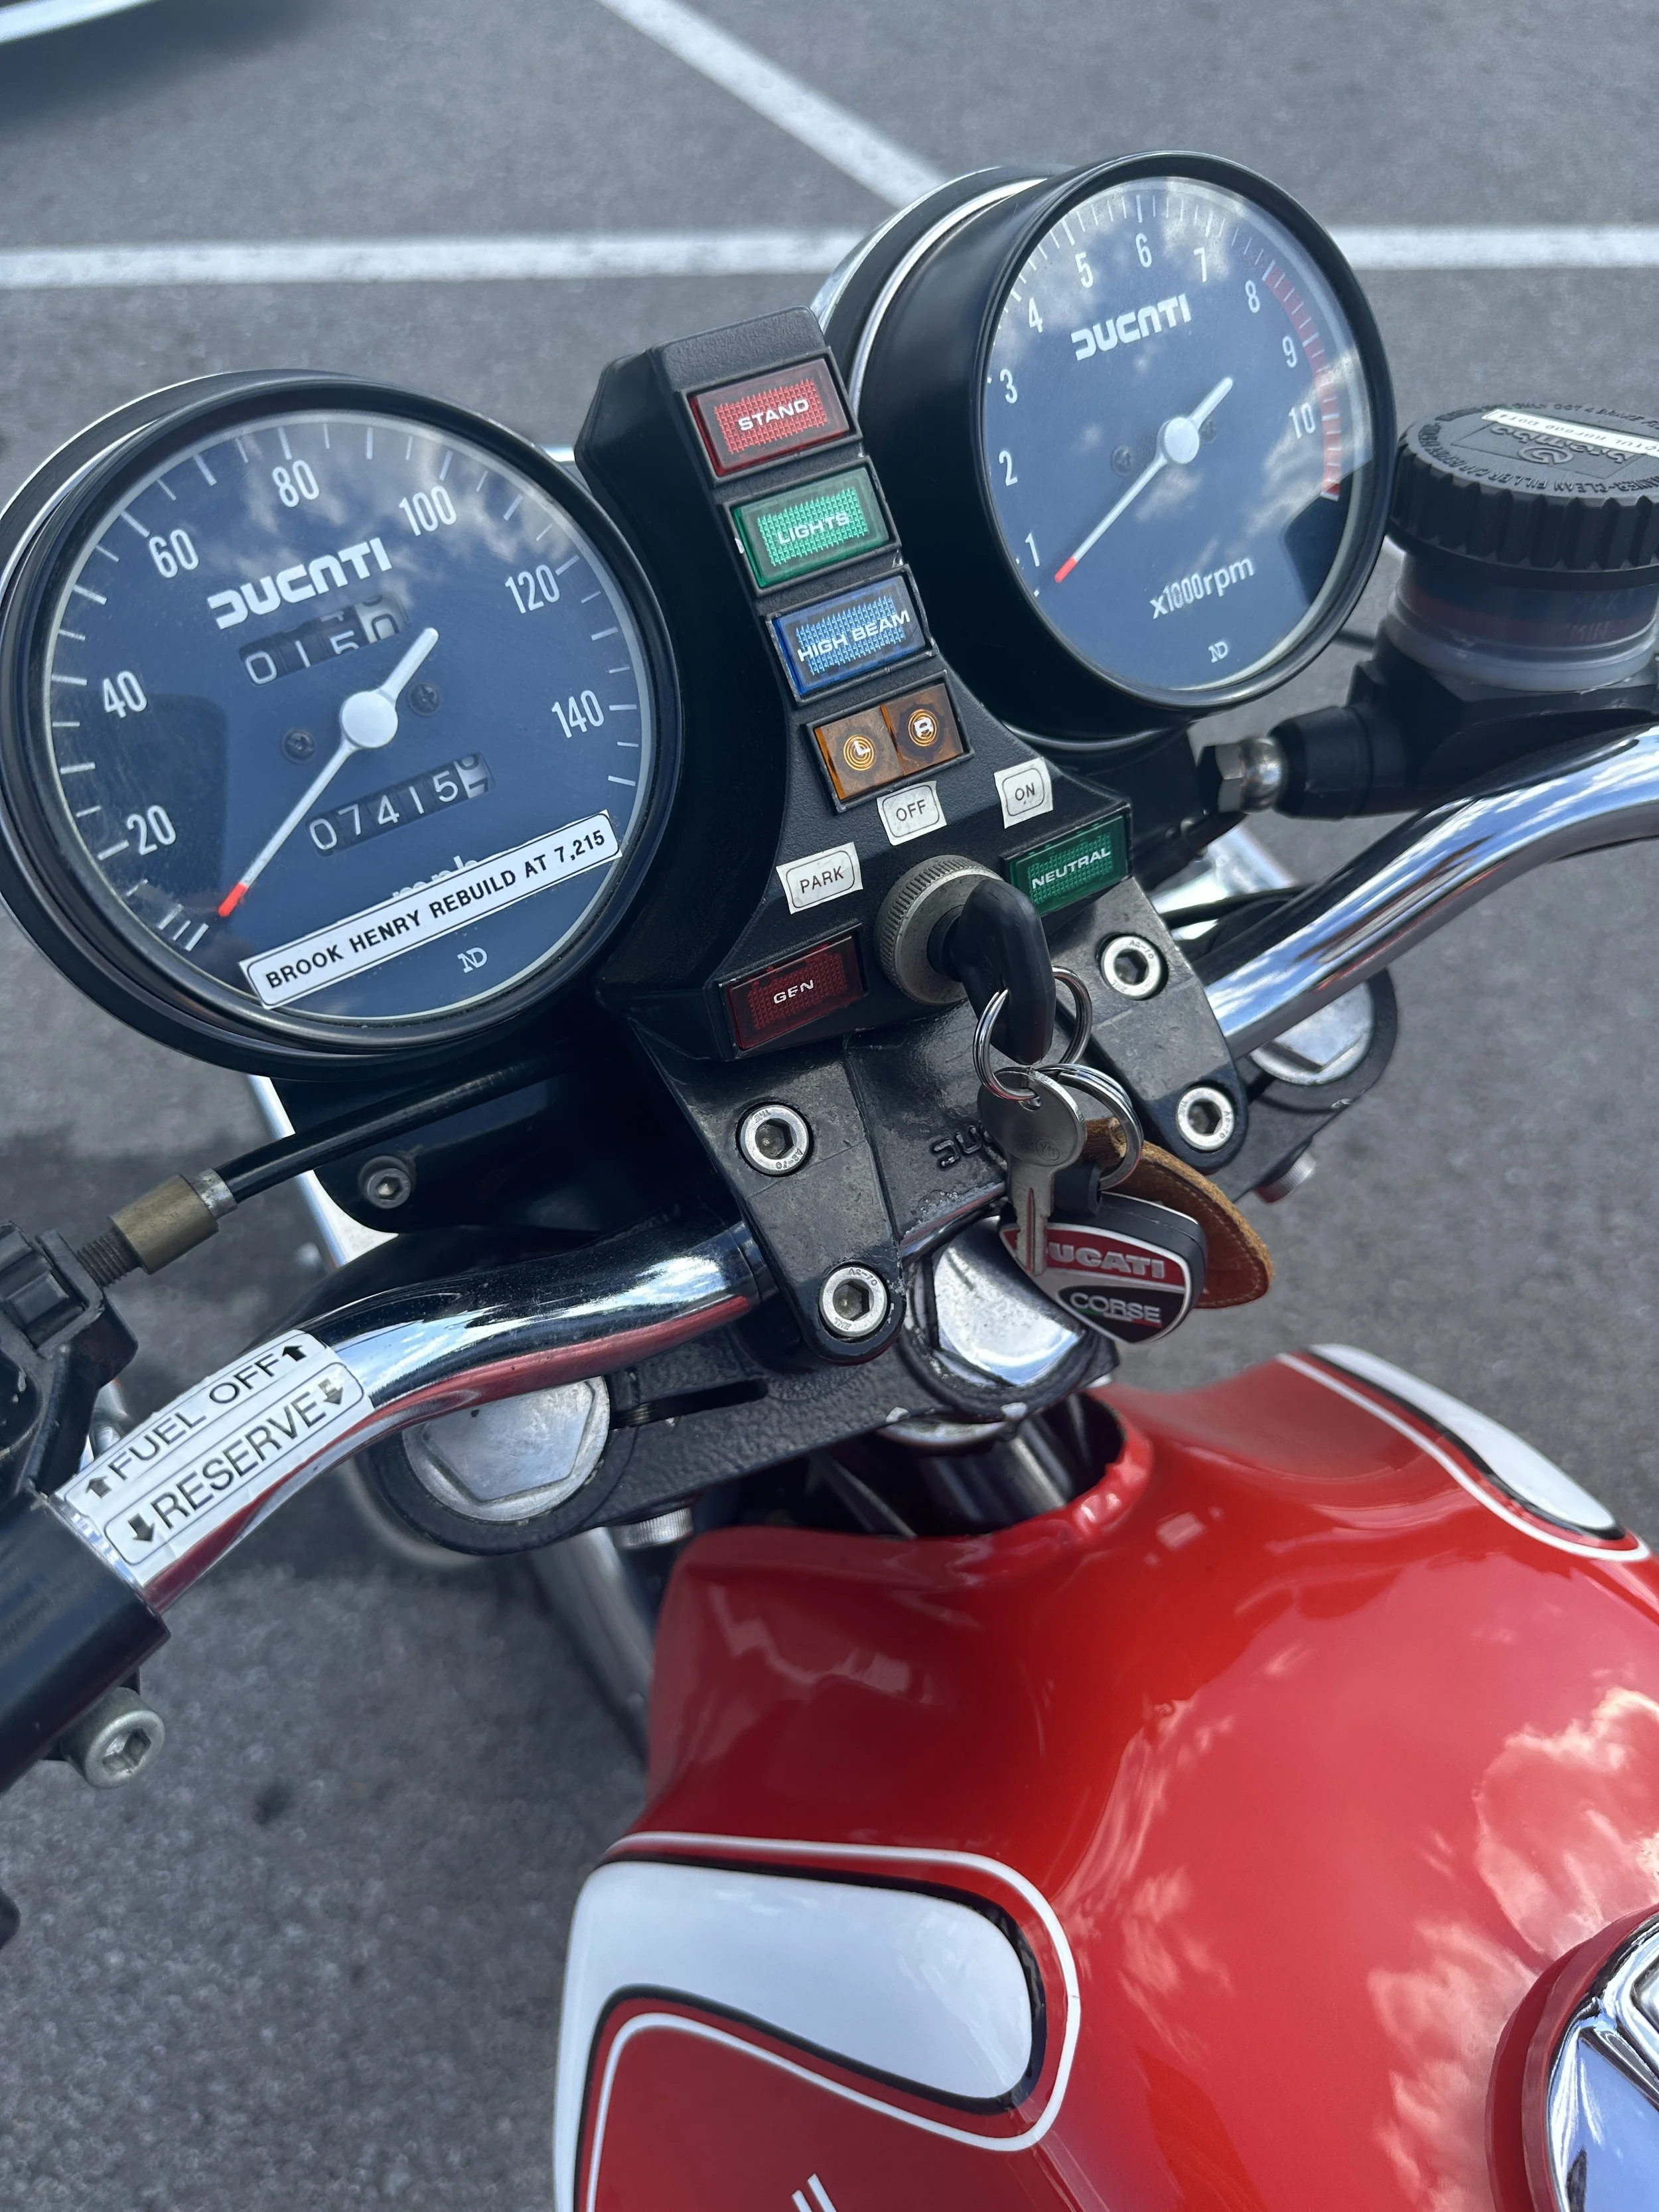
A great dash and a note that the engine was rebuilt at an indicated 7,215 miles. Actual mileage up until then is somewhat a mystery.
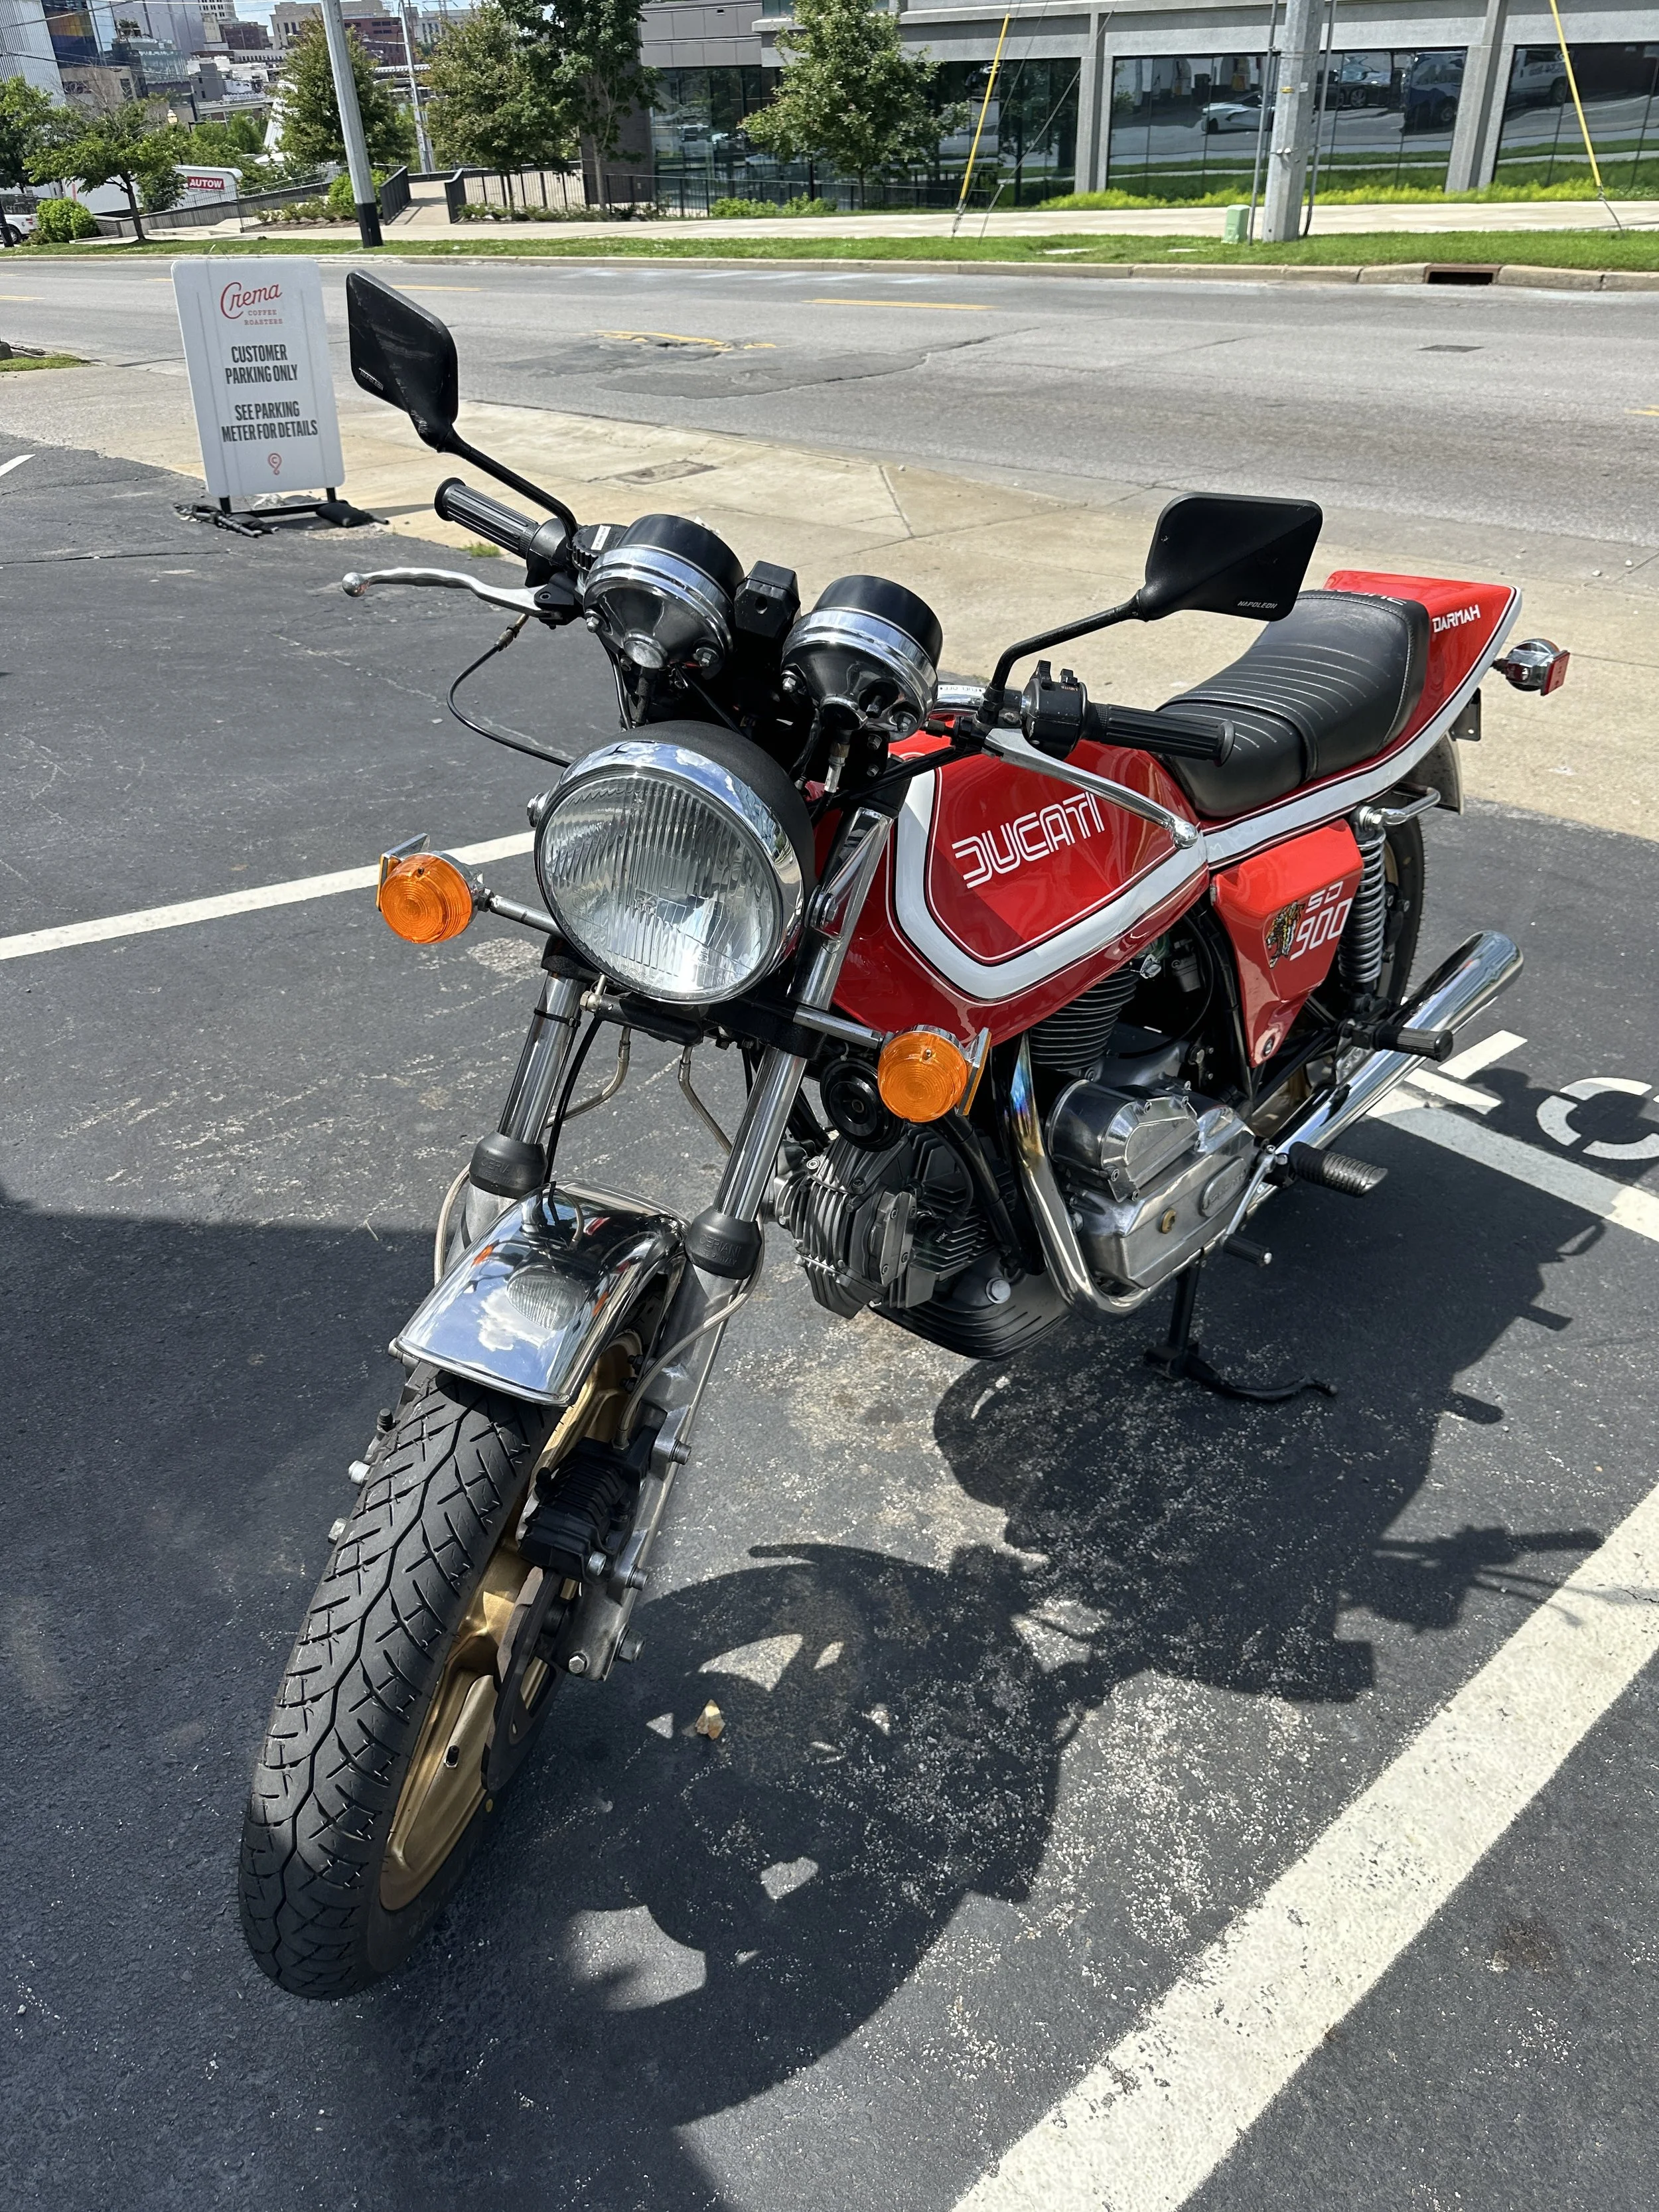
Parked at my favorite Nashville coffee place. Crema Coffee Roasters. Only place in town with dedicated motorcycle parking. Would be churlish not to continuously take advantage of it....click on pic to learn more about Crema.

Bare backed
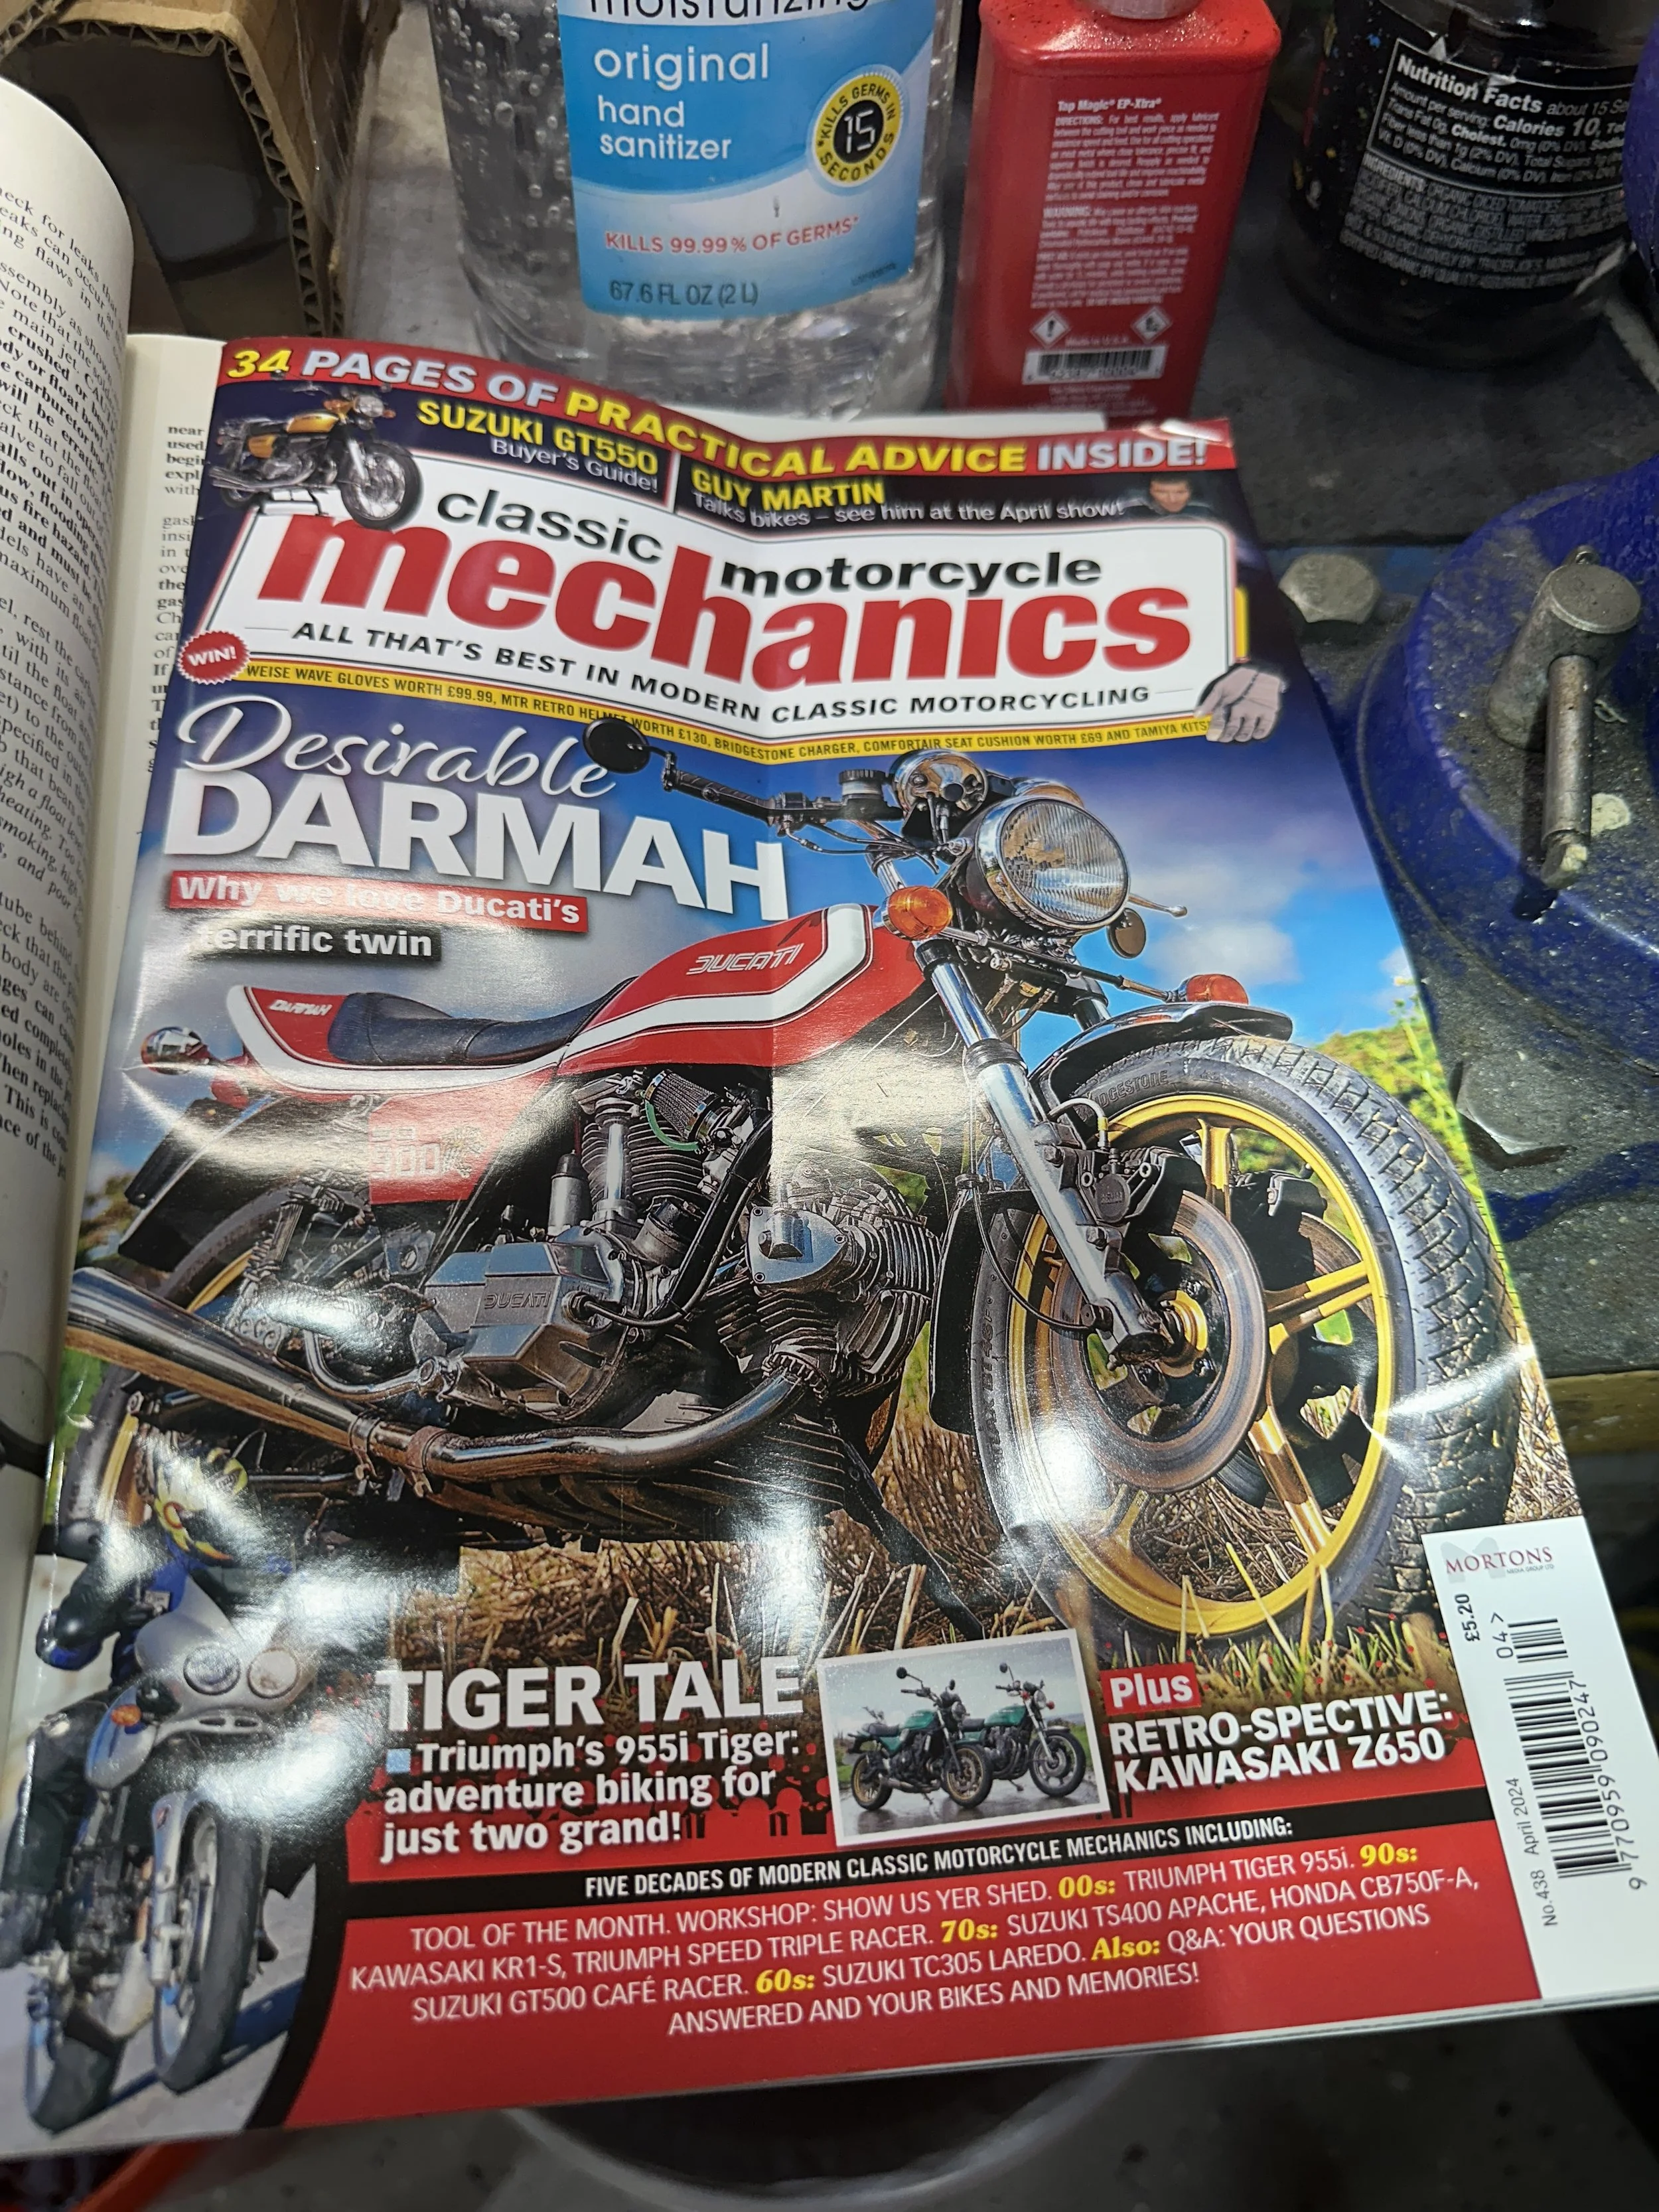
No, not mine but a good article nonetheless. April 2024 Edition.